
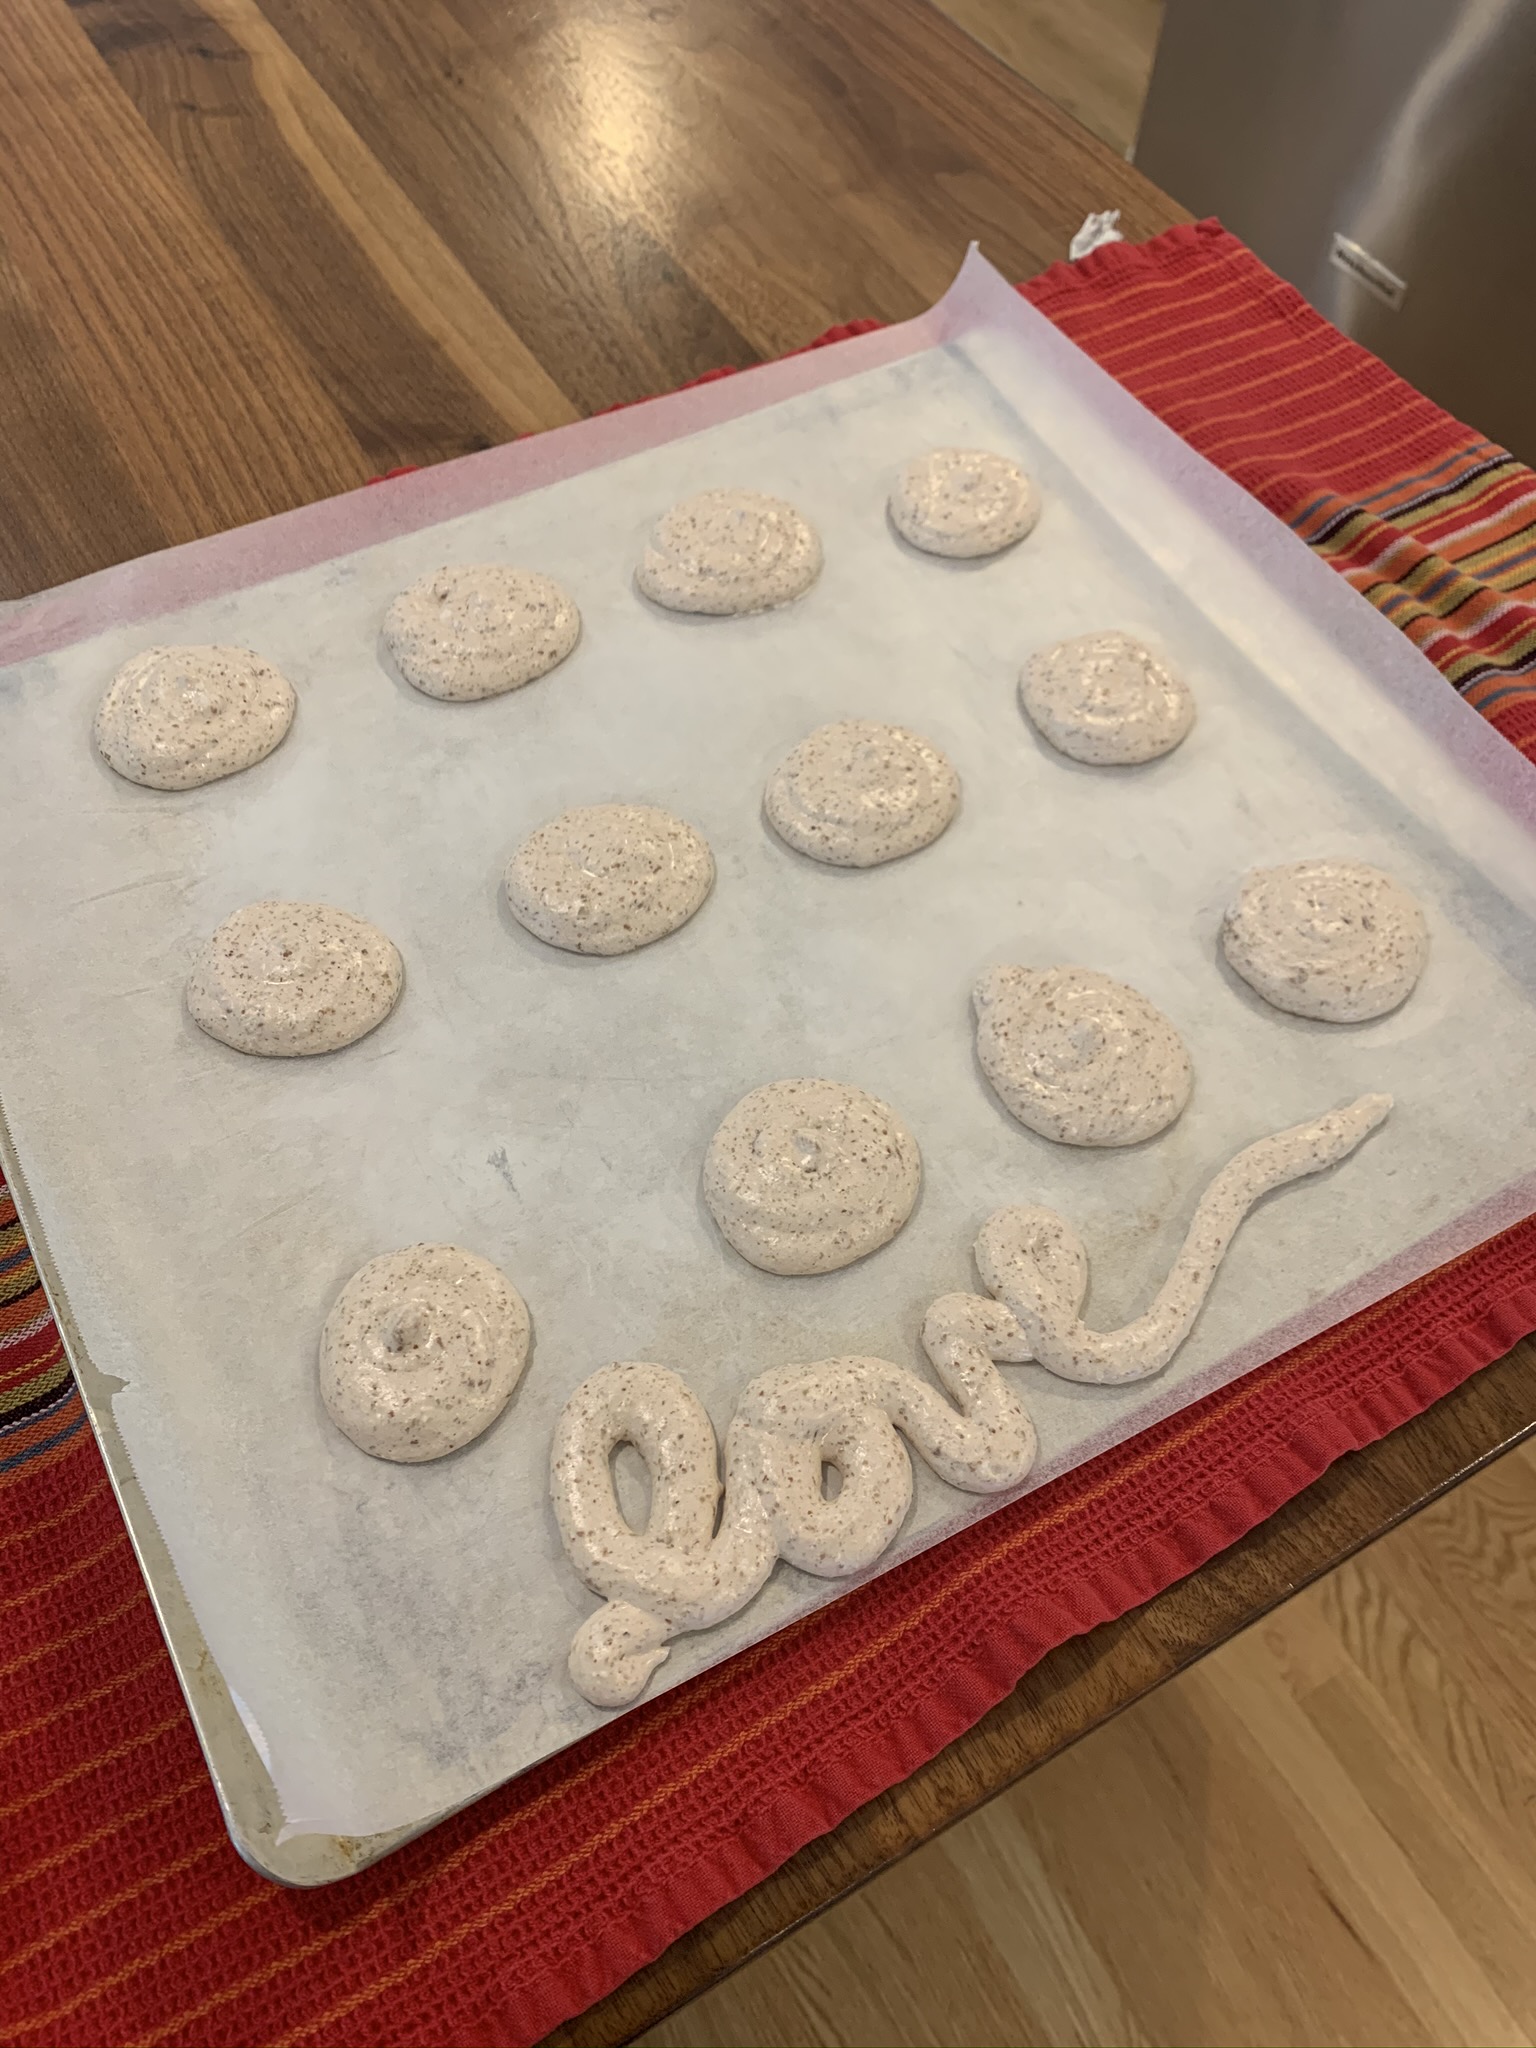
Just a friendly reminder to take care of eachother! #colliersmarket #sometimesmacarons #extrabatterlove #chocolatealmond #frenchmacarons
Enjoy your dinnertime.
Just a friendly reminder to take care of eachother! #colliersmarket #sometimesmacarons #extrabatterlove #chocolatealmond #frenchmacarons
Less is more. I find this is often true with recipes and ingredients, and this recipe has a short ingredient list with big flavor and texture.
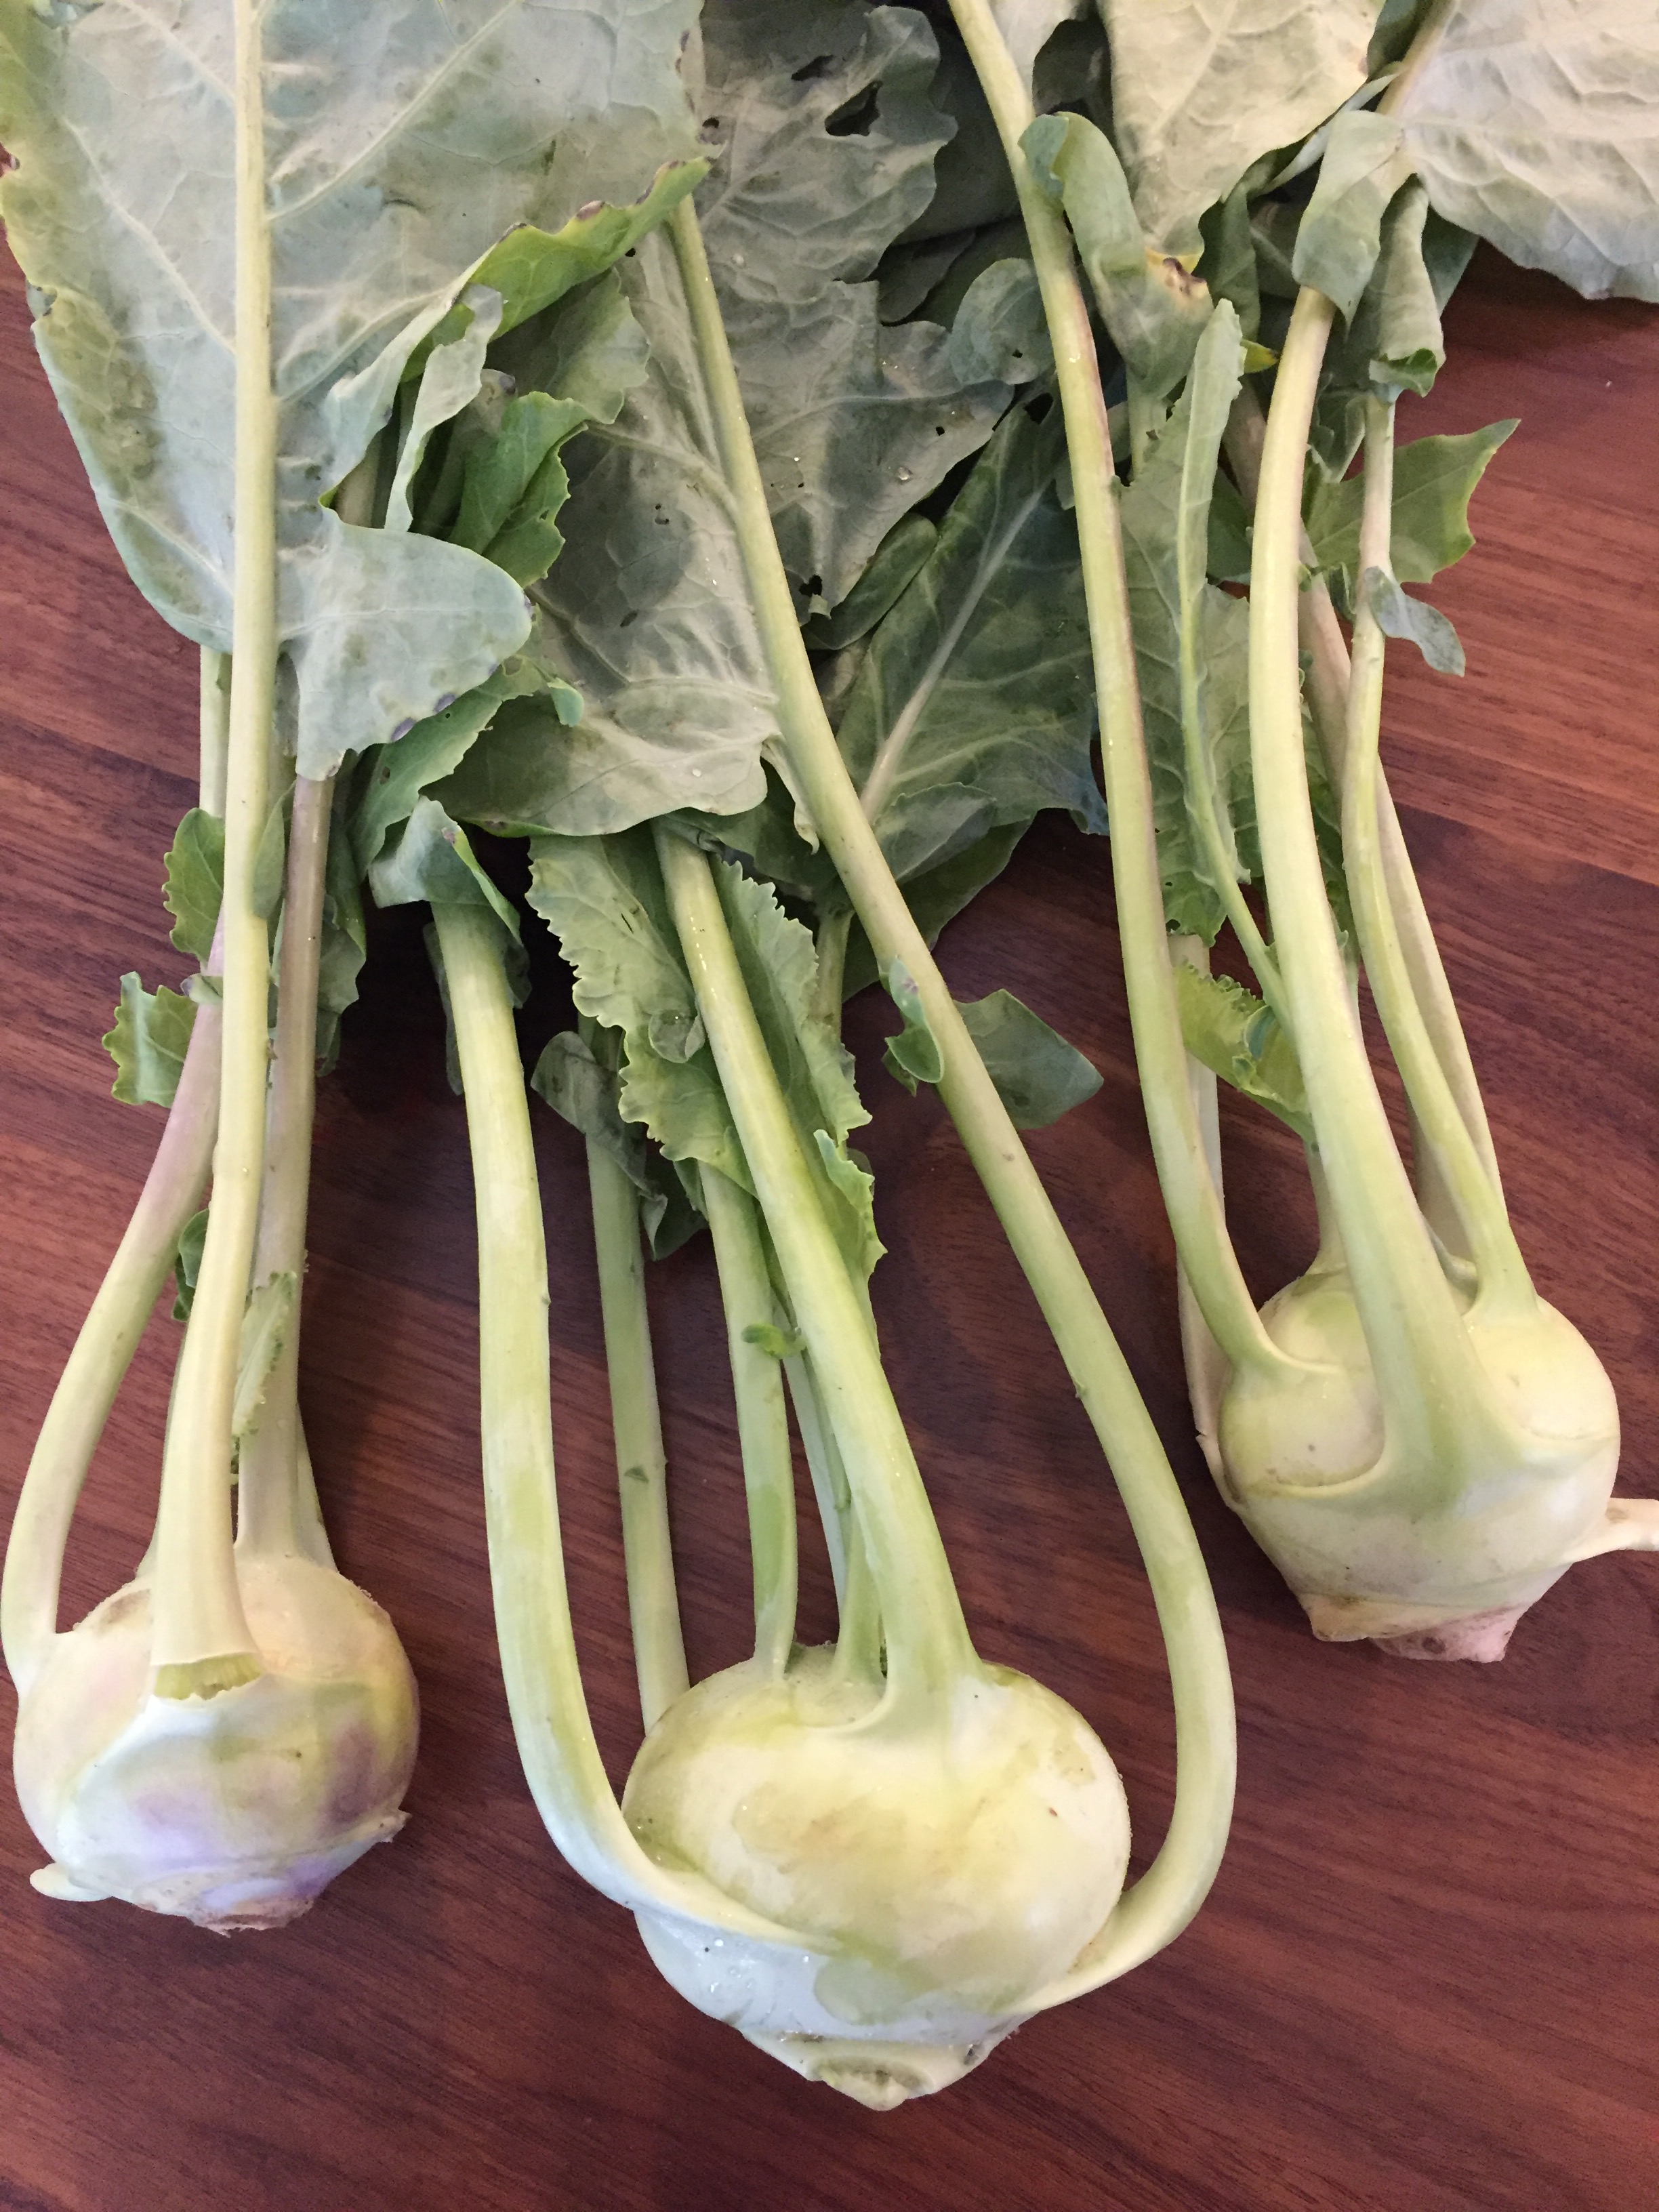
Kohlrabi is in the Brassica family along with cabbage, broccoli, cauliflower, and Brussels sprouts, and is a rather amusing looking little devil.
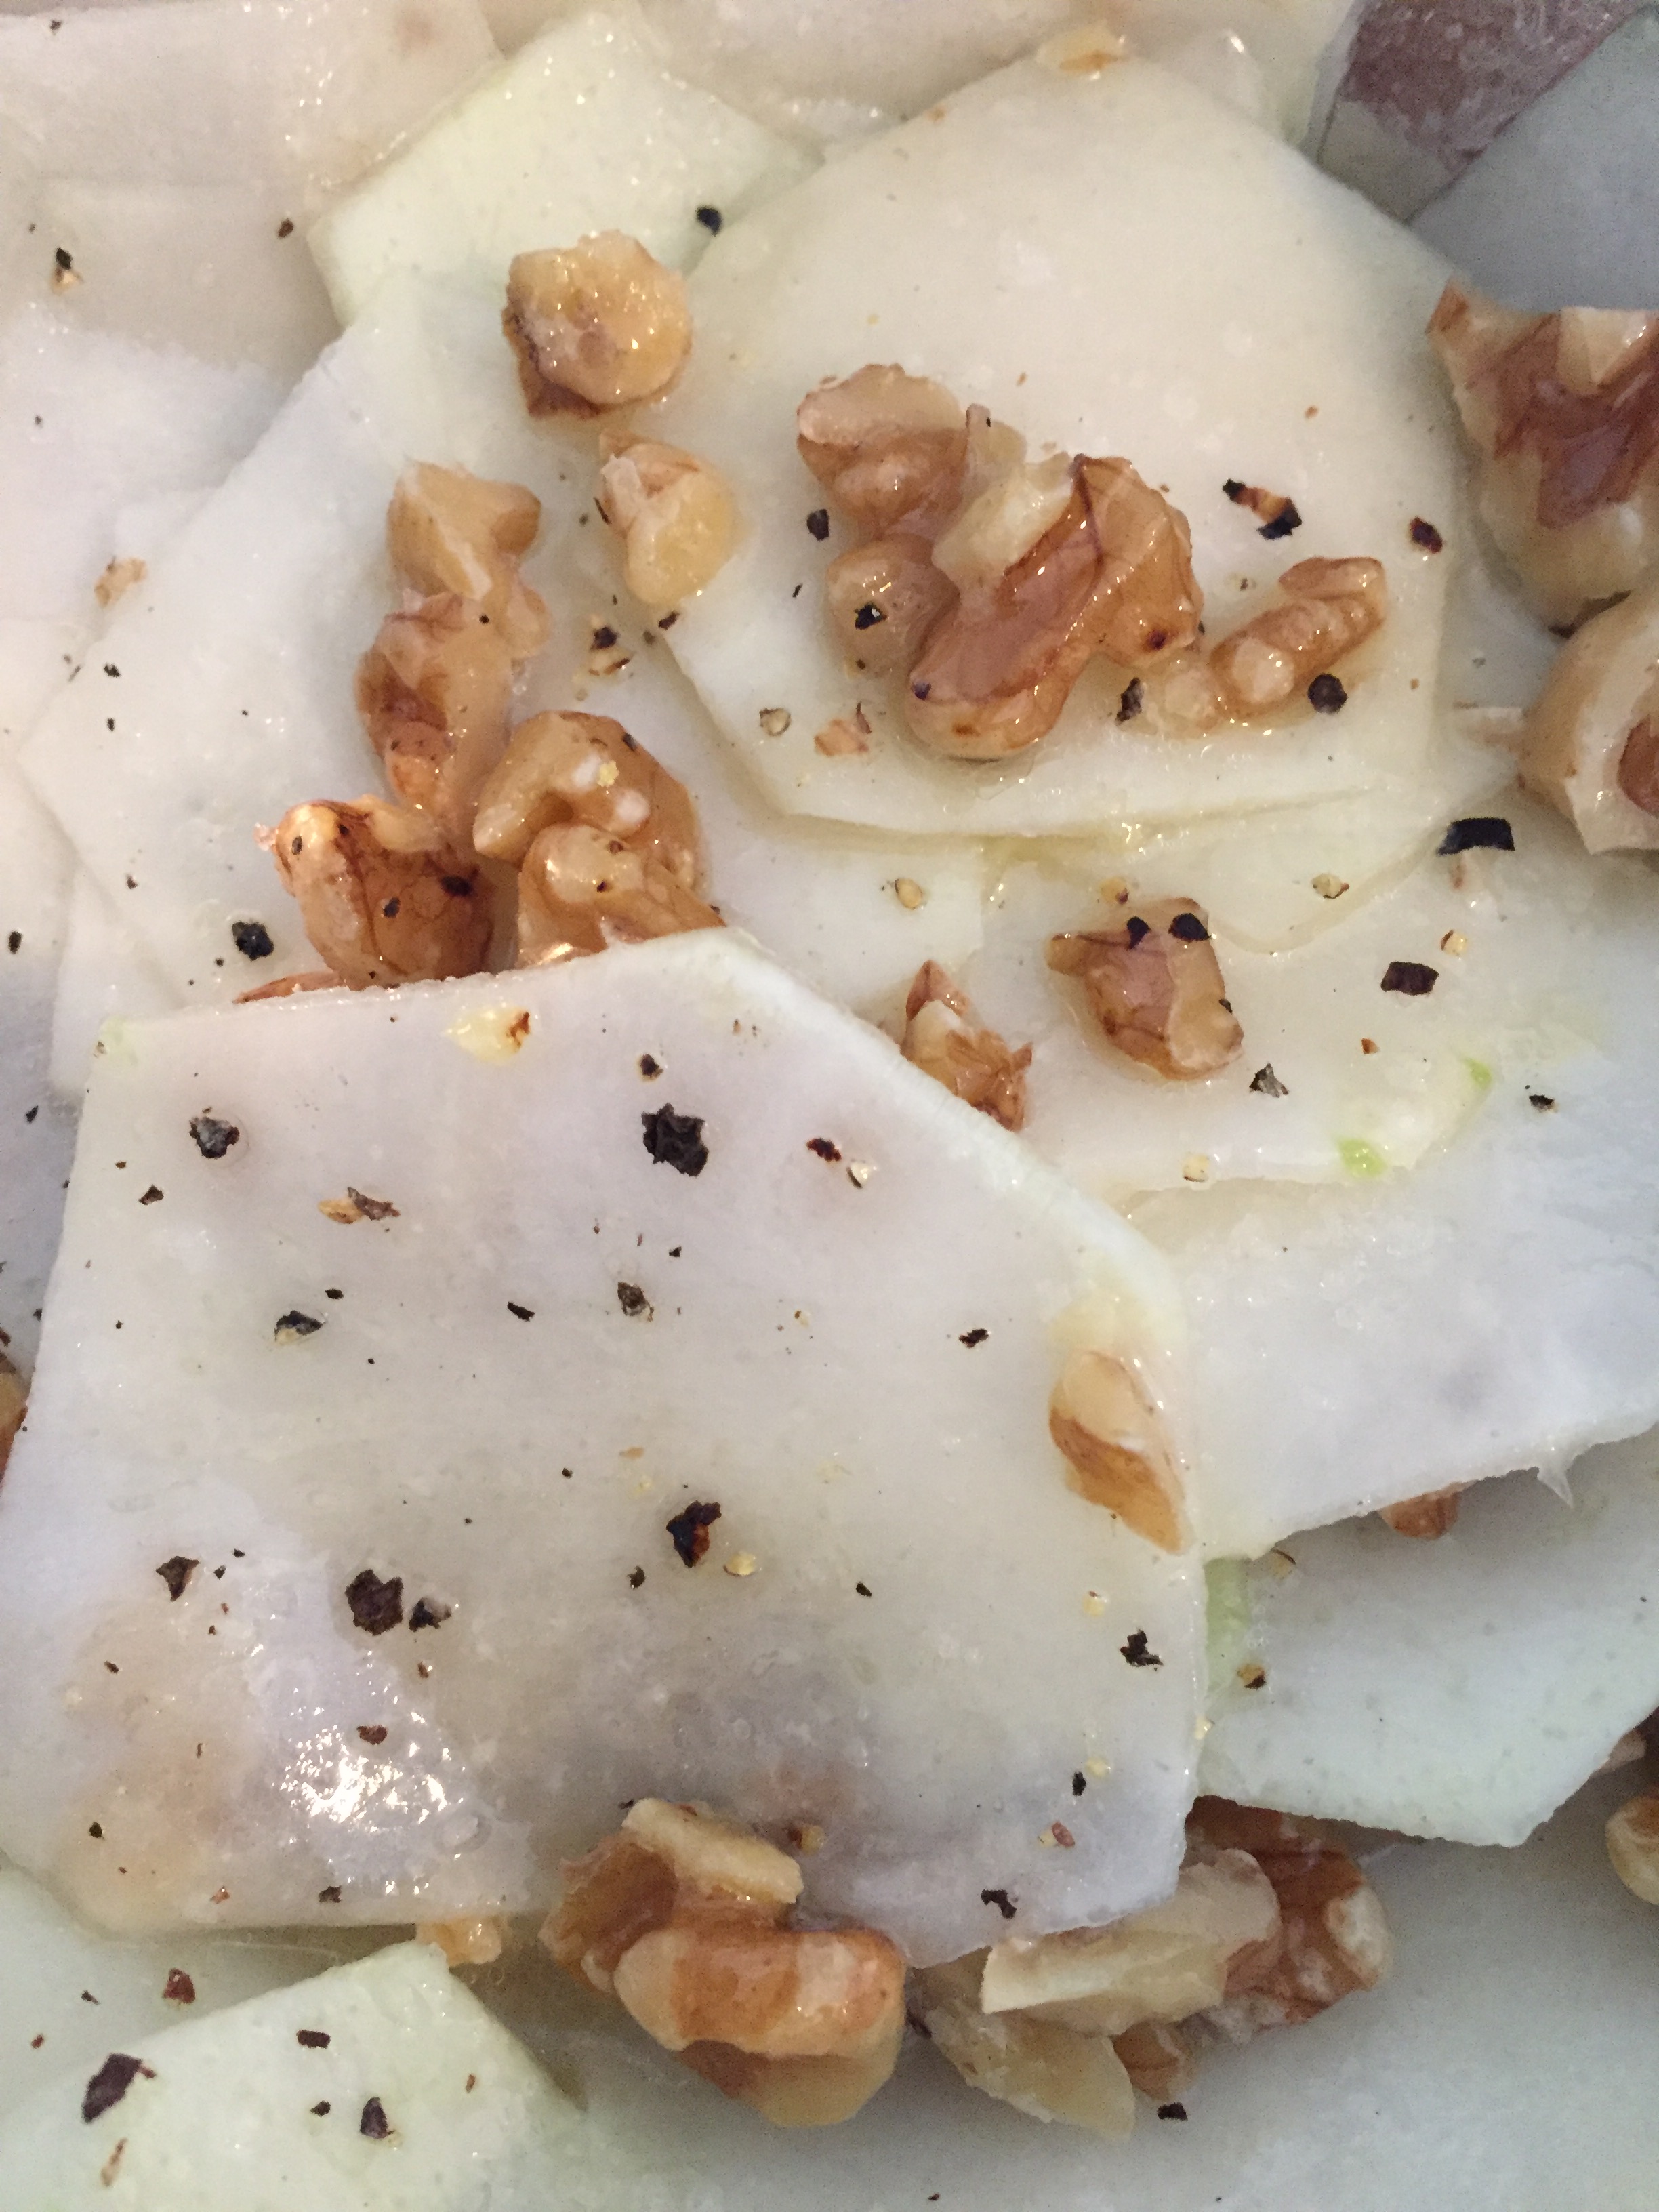
It has a subtle, earthy flavor, and its texture is versatile: great crunch raw, or sweet tenderness roasted. In this salad, from Michael Anthony’s terrific book “V is for Vegetables”, it is sliced super thin and dressed with toasted walnuts and walnut oil & lemon juice dressing.


The trick to a salad like this one, or any where a vegetable is called to be thinly sliced, is a mandolin. I very much enjoy weilding a knife on a regular basis and can’t deny the consistent and ultra thin results from a kitchen mandolin. My favorite is a simple, light, Japanese one from Benriner ($23 on Amazon). Once you trim and peel the kohlrabi, slice, very carefully, onto a cutting board.


A little whisking and then gently fold in the kohlrabi and walnuts. The recipe calls for toasted walnuts, which is I know sometimes feels like an extra step, but it is always worth it. A hot oven at 400F for 3-4 minutes or a 2-3min in a hot, dry pan on the stove will bring out their best flavor.


Loveliness, crunchiness, tenderness.

Crunchy Salad of Kohlrabi and Toasted Walnuts, serves 4
Michael Anthony, V is for Vegetables
Ingredients:
1/4 cup fresh lemon juice
1/4 cup walnut oil
2 T olive oil
salt & pepper
1 or 2 kohlrabi, peeled and sliced paper thin
1/2 cup toasted walnuts, roughly chopped
Whisk together the lemon juice, walnut oil and olive oil in a small bowl, then add lots of salt and pepper. Combine the kohlrabi and walnuts in a medium bowl. Gently toss with enough of the vinaigrette so that the salad is quite moist, separating the kohlrabi slices.
I also like to add freshly grated Parmesan right before serving.
Enjoy!

A Salade Nicoise is a classic French salad named after its birth city of Nice (pronounced neese). I have always loved it for sentimental reasons, but it’s perfect hot-weather fare because every ingredient can be prepared in advance and kept cool, and then you simply assemble the plate. It’s crunchy and salty and zippy, and when you add a pinch of nostalgia, I could make a case that it’s the greatest salad of all time.
In typical French fashion, there is often great debate about what is traditional and what is not in certain classic dishes (in this case, raw or blanched green beans, tuna or anchovies), but I will simply represent the first one I had over twenty years ago, as a college student in Grenoble at an outdoor cafe table, as it remains the one I still make today. There are easy alterations but this is my standard.
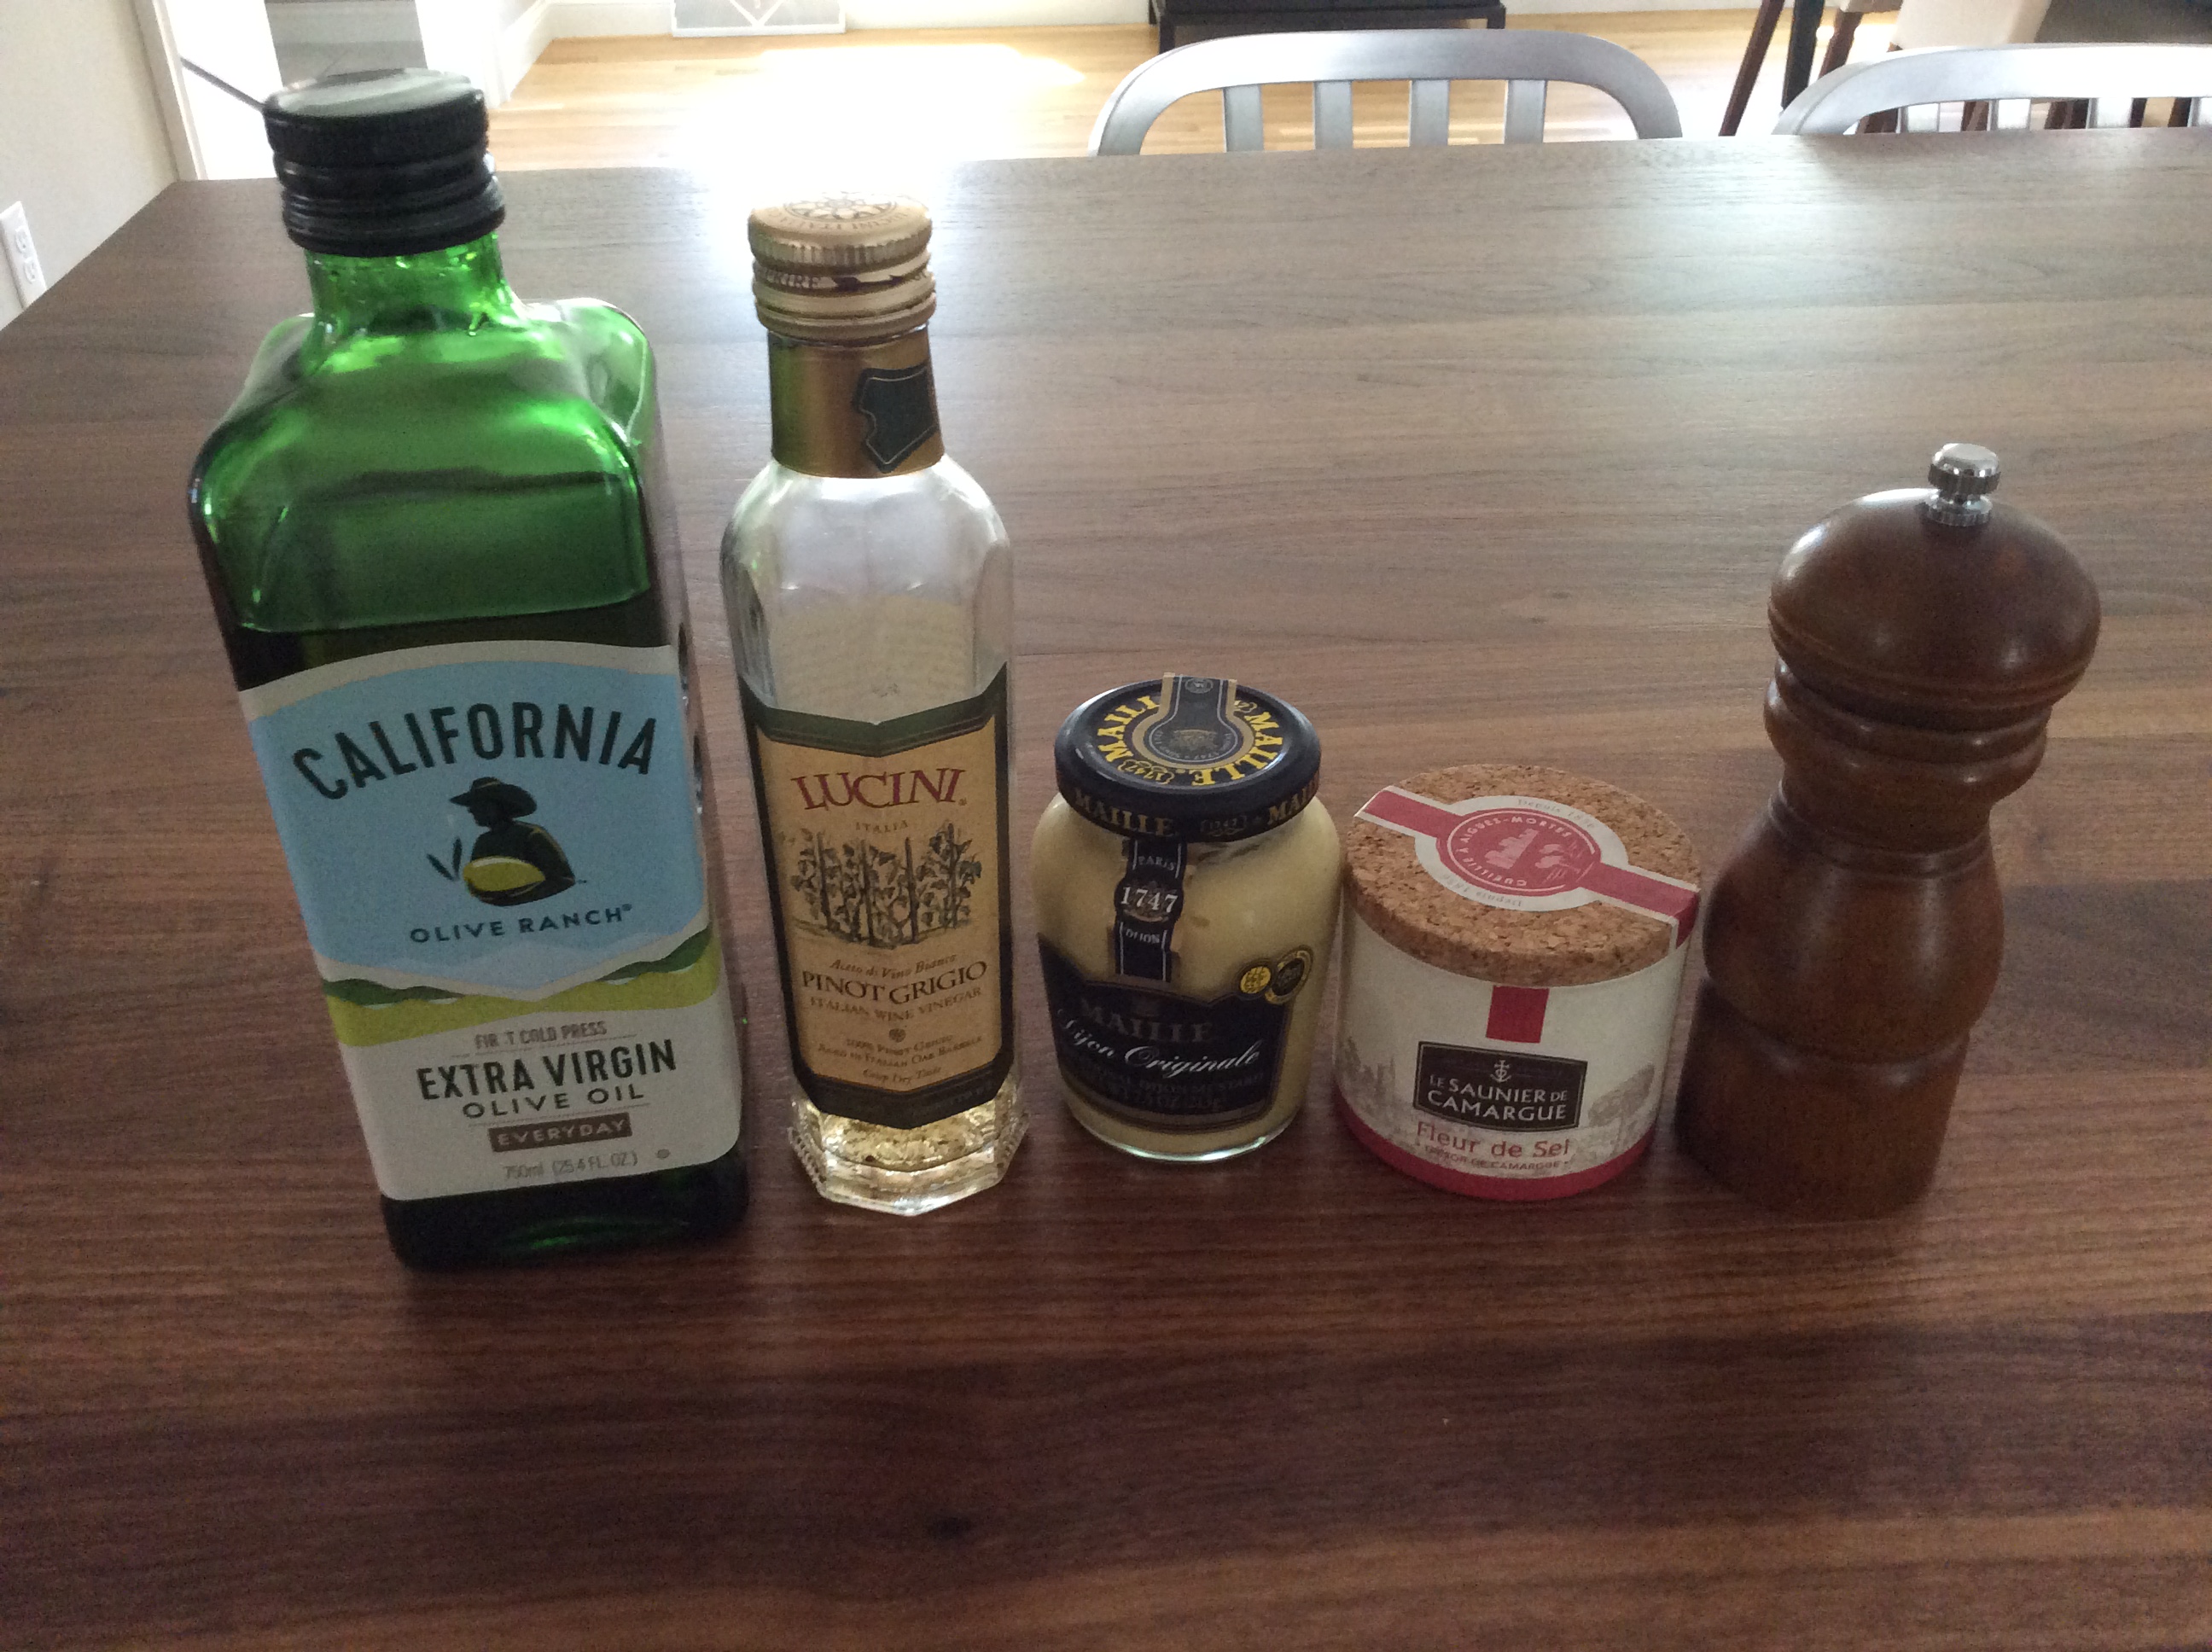
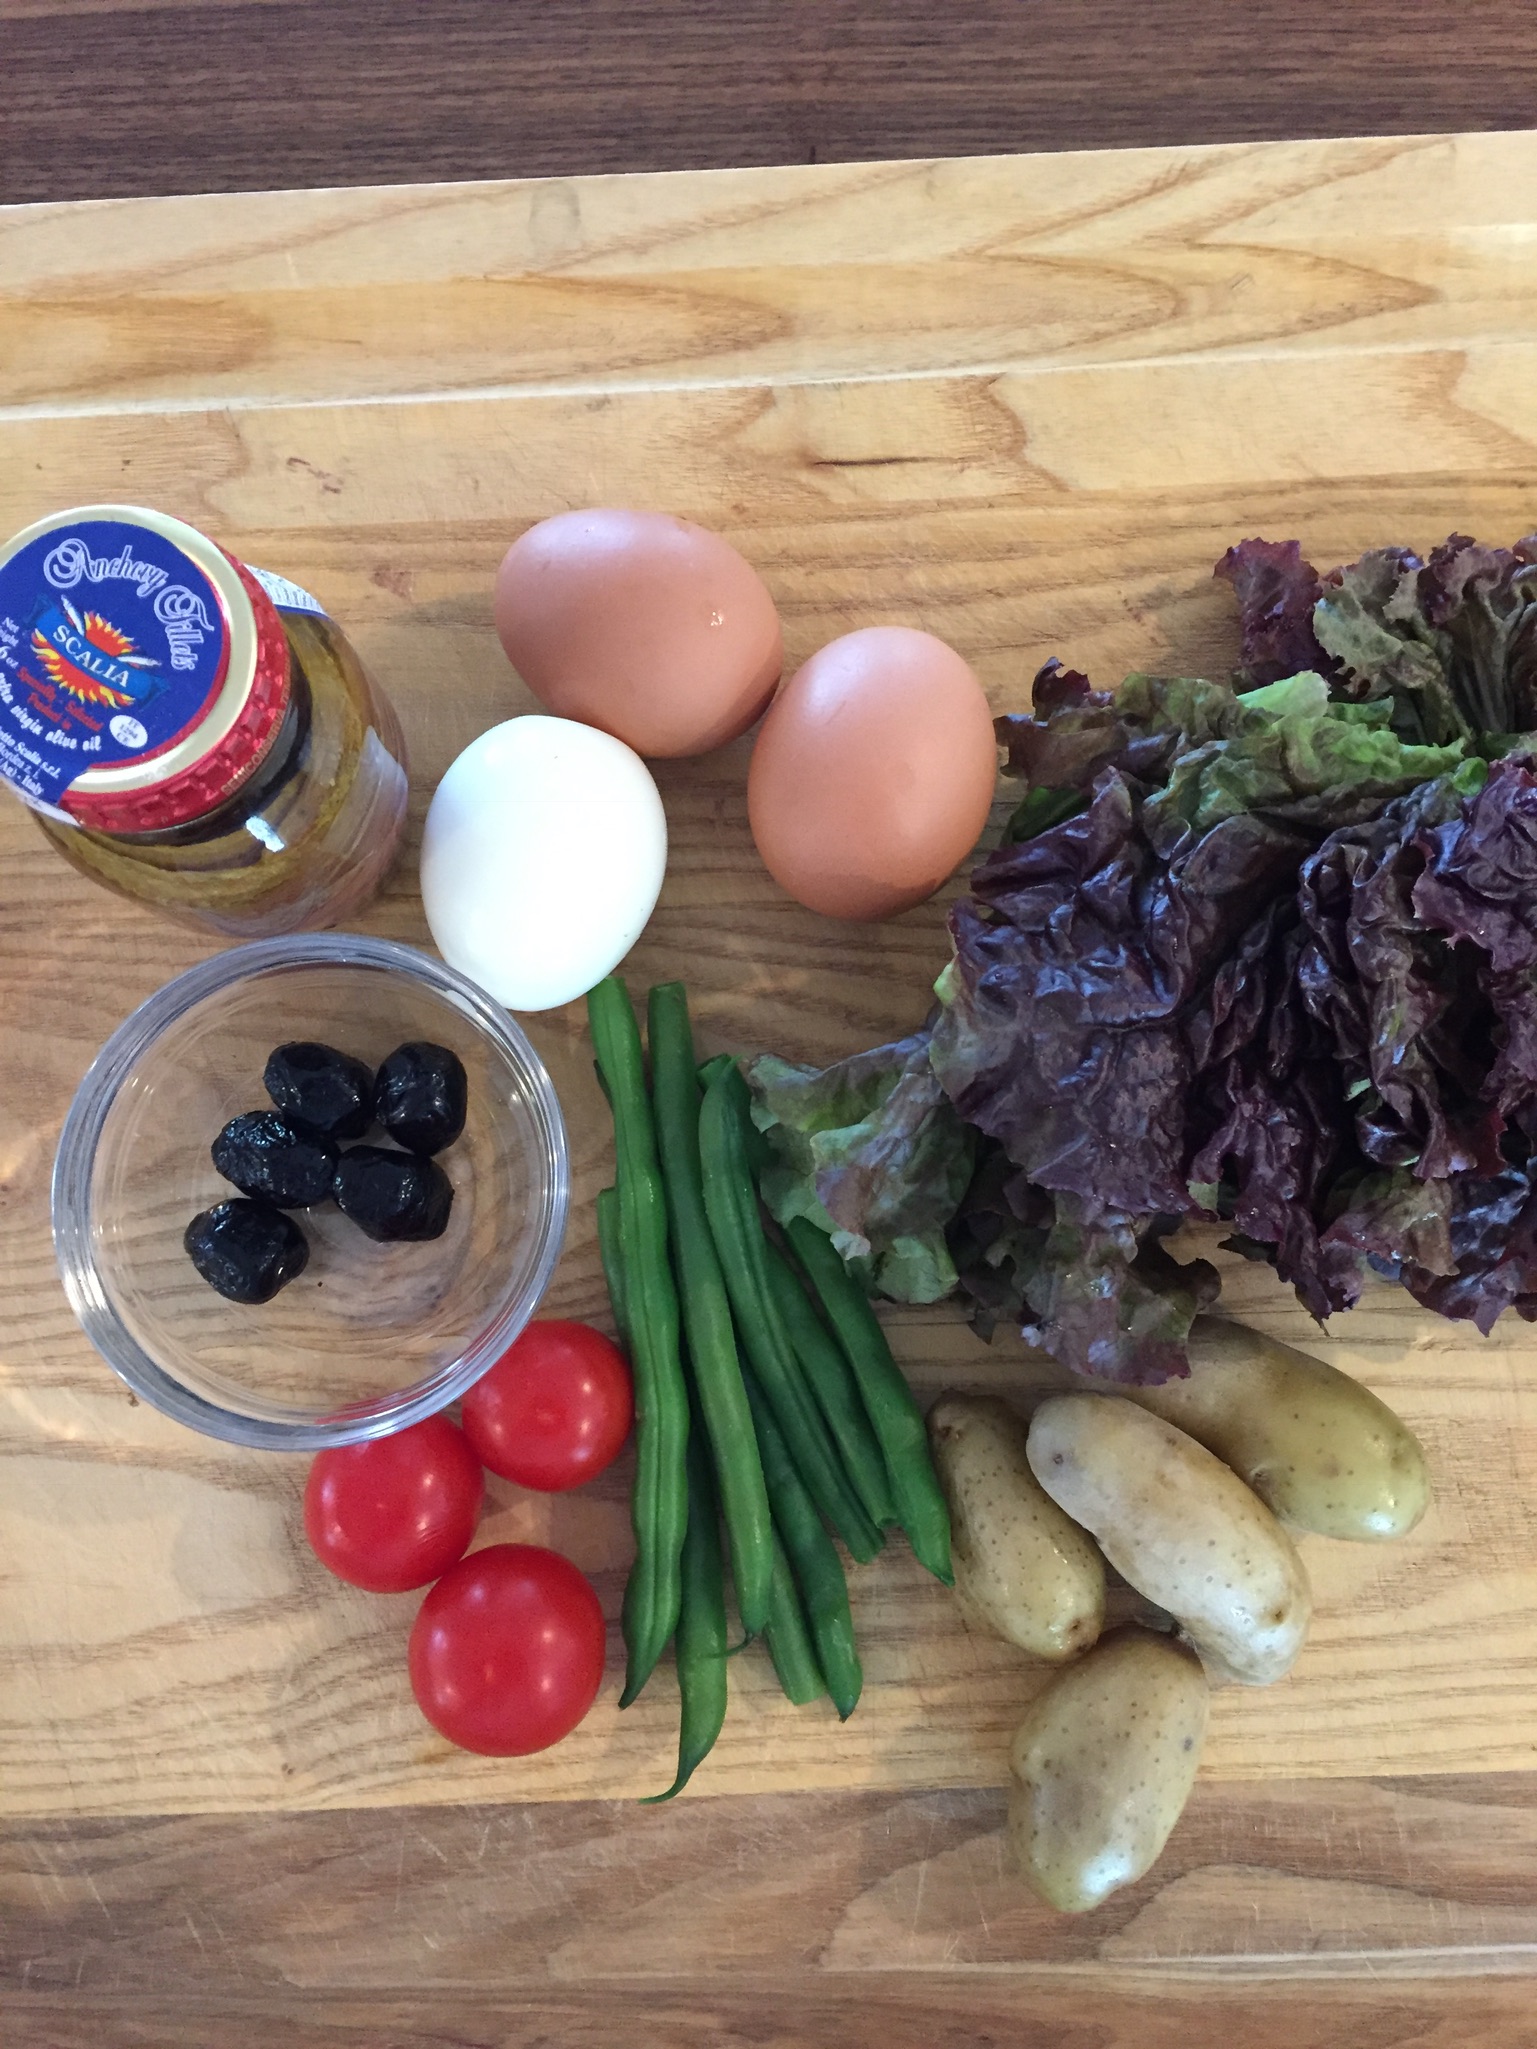
The salad is quite simple, it’s roughly six or seven ingredients and a dressing, but it’s about each ingredients’ quality and preparation that makes it a classic.
Dressing:
3T Good olive oil
1T good white wine vinegar or champagne vinegar
1T good Dijon mustard
good salt, preferably fleur de sel
freshly cracked peppercorns
Whisk & taste – This is the magic.

Ingredients, for one salad:
Several leaves of lettuce – dark romaine or soft boston lettuce
Ripe tomato, one small or several cherry tomatoes
3-5 Nicoise olives (small, jet-black cured olives, may also be Moroccan olives, never pitted)
One organic hard boiled egg (instruction below)
Several blanched green beans (instruction below)
1-2 anchovy fillets, room temperature (buy jarred if you can find them and don’t be afraid!)
One or two fingerling or small potatoes, boiled – Optional, but since I’ve never met a potato I didn’t like, I add them; also, you can boil the potatoes and add the green beans for the last minute to save time.
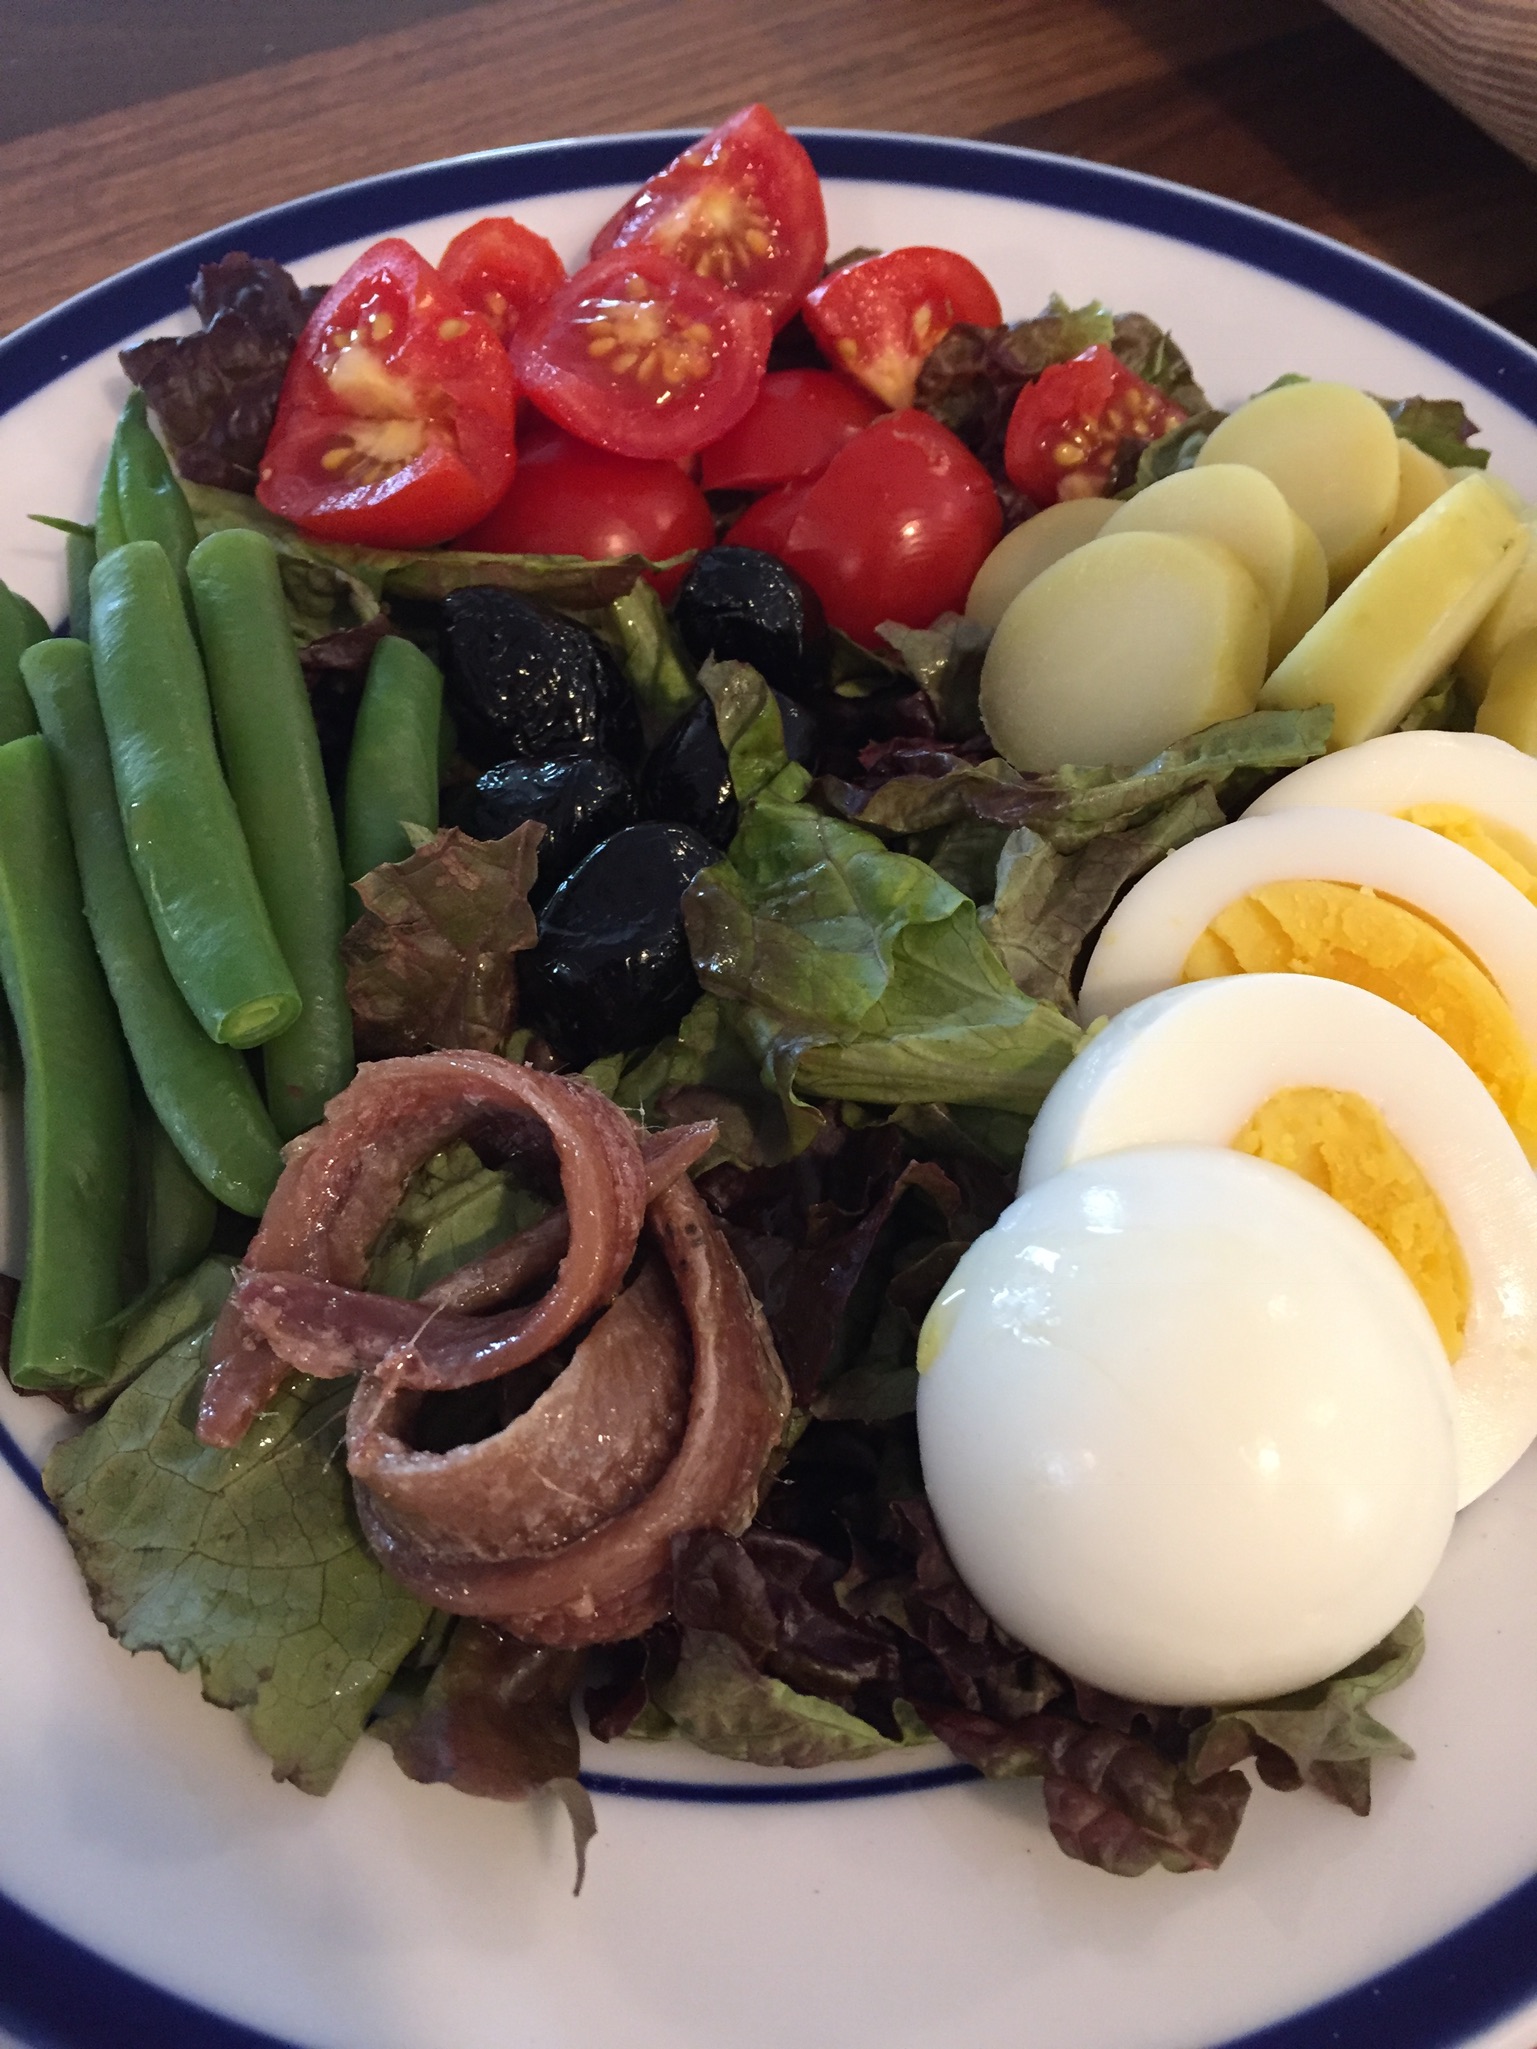
When you are ready to plate, tear the lettuce into bite size pieces and top with peeled, sliced egg, sliced potato, sliced tomato, anchovy fillets, green beans, Nicoise olives at the center. Add one or two tablespoons of dressing (always start with less). Et voila! The best extra ingredient, if you’ve got it, is warm alfresco weather to sit and enjoy it outside.
Perfect Hard Boiled Egg:
Place 1-2 eggs in water in pot, bring to full boil, put the lid on, turn the heat off, remove pot from burner and allow to steep for ten minutes. Drain eggs and run under cold water.
Boil potatoes & green beans: Add two or three potatoes to pot with pinch of salt and bring to boil, allow to boil steadily but not furiously for roughly 20min, checking after 15min (especially if potatoes are small) with a fork for tenderness; add green beans for last minute and drain.

This is one of my favorite winter salads (or spring, or summer, or fall) because it can be chopped and whisked together in minutes and has a short ingredient list: endive, avocado, olive oil, Dijon mustard, vinegar, lemon juice, salt & pepper.

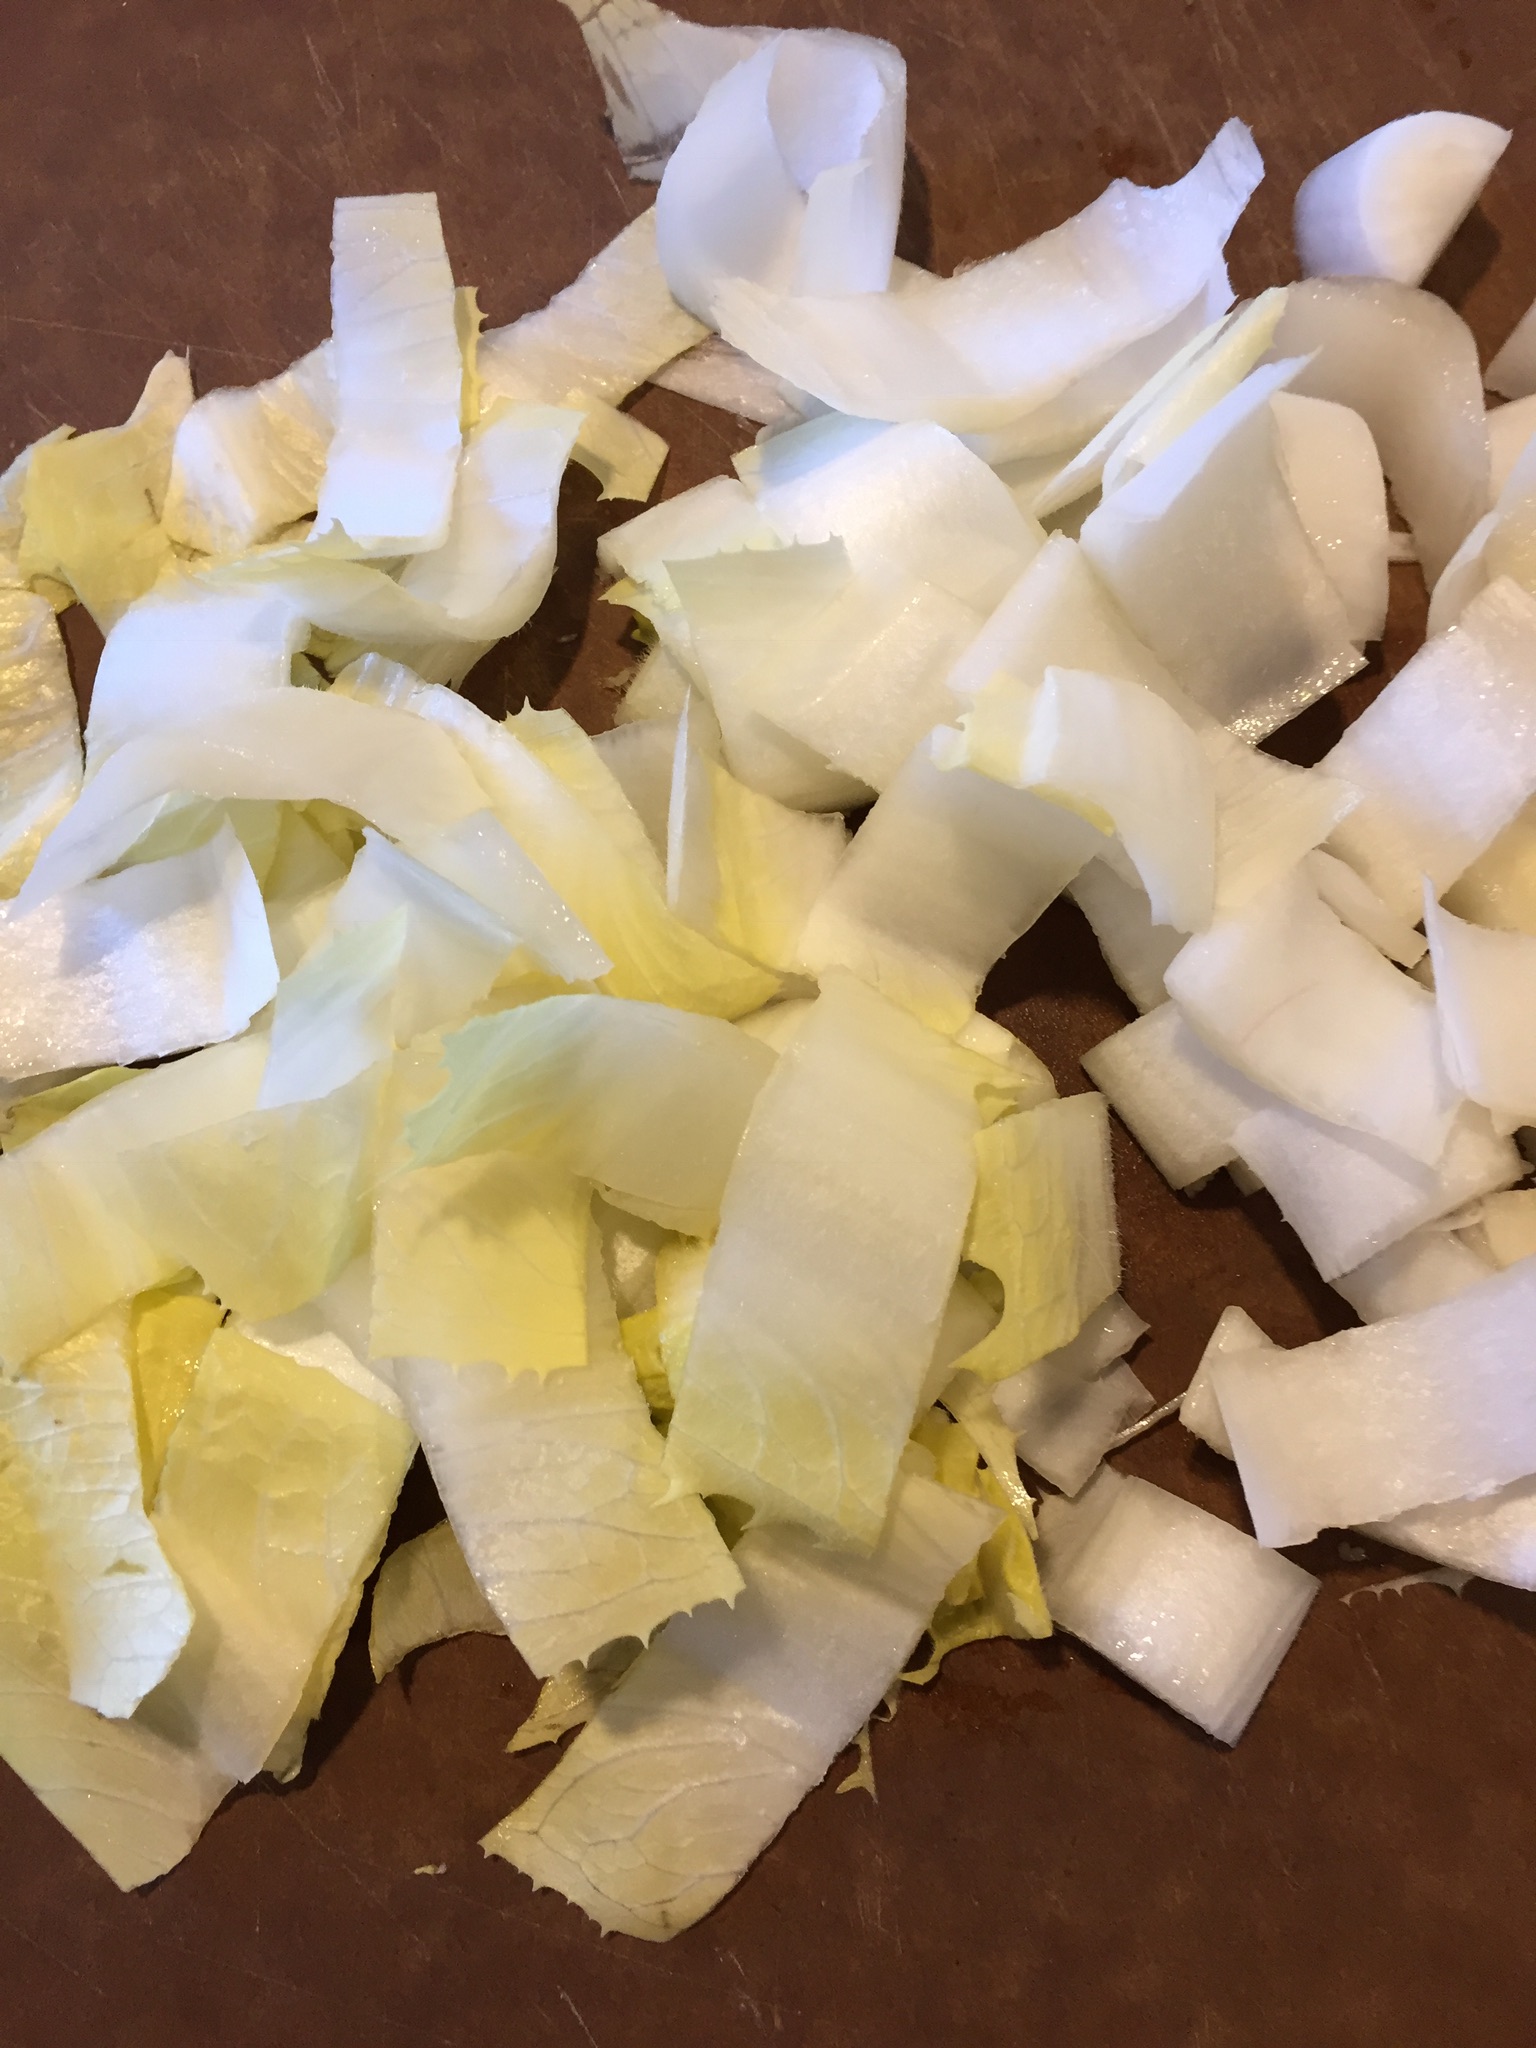
My affection for it has increased since it is also raw, and as we continue our family’s kitchen remodeling and have no working kitchen (or more importantly no kitchen sink), recipes that are quick and cold are a plus. It begins with the lovely relationship between crispy endive and smooth avocado…
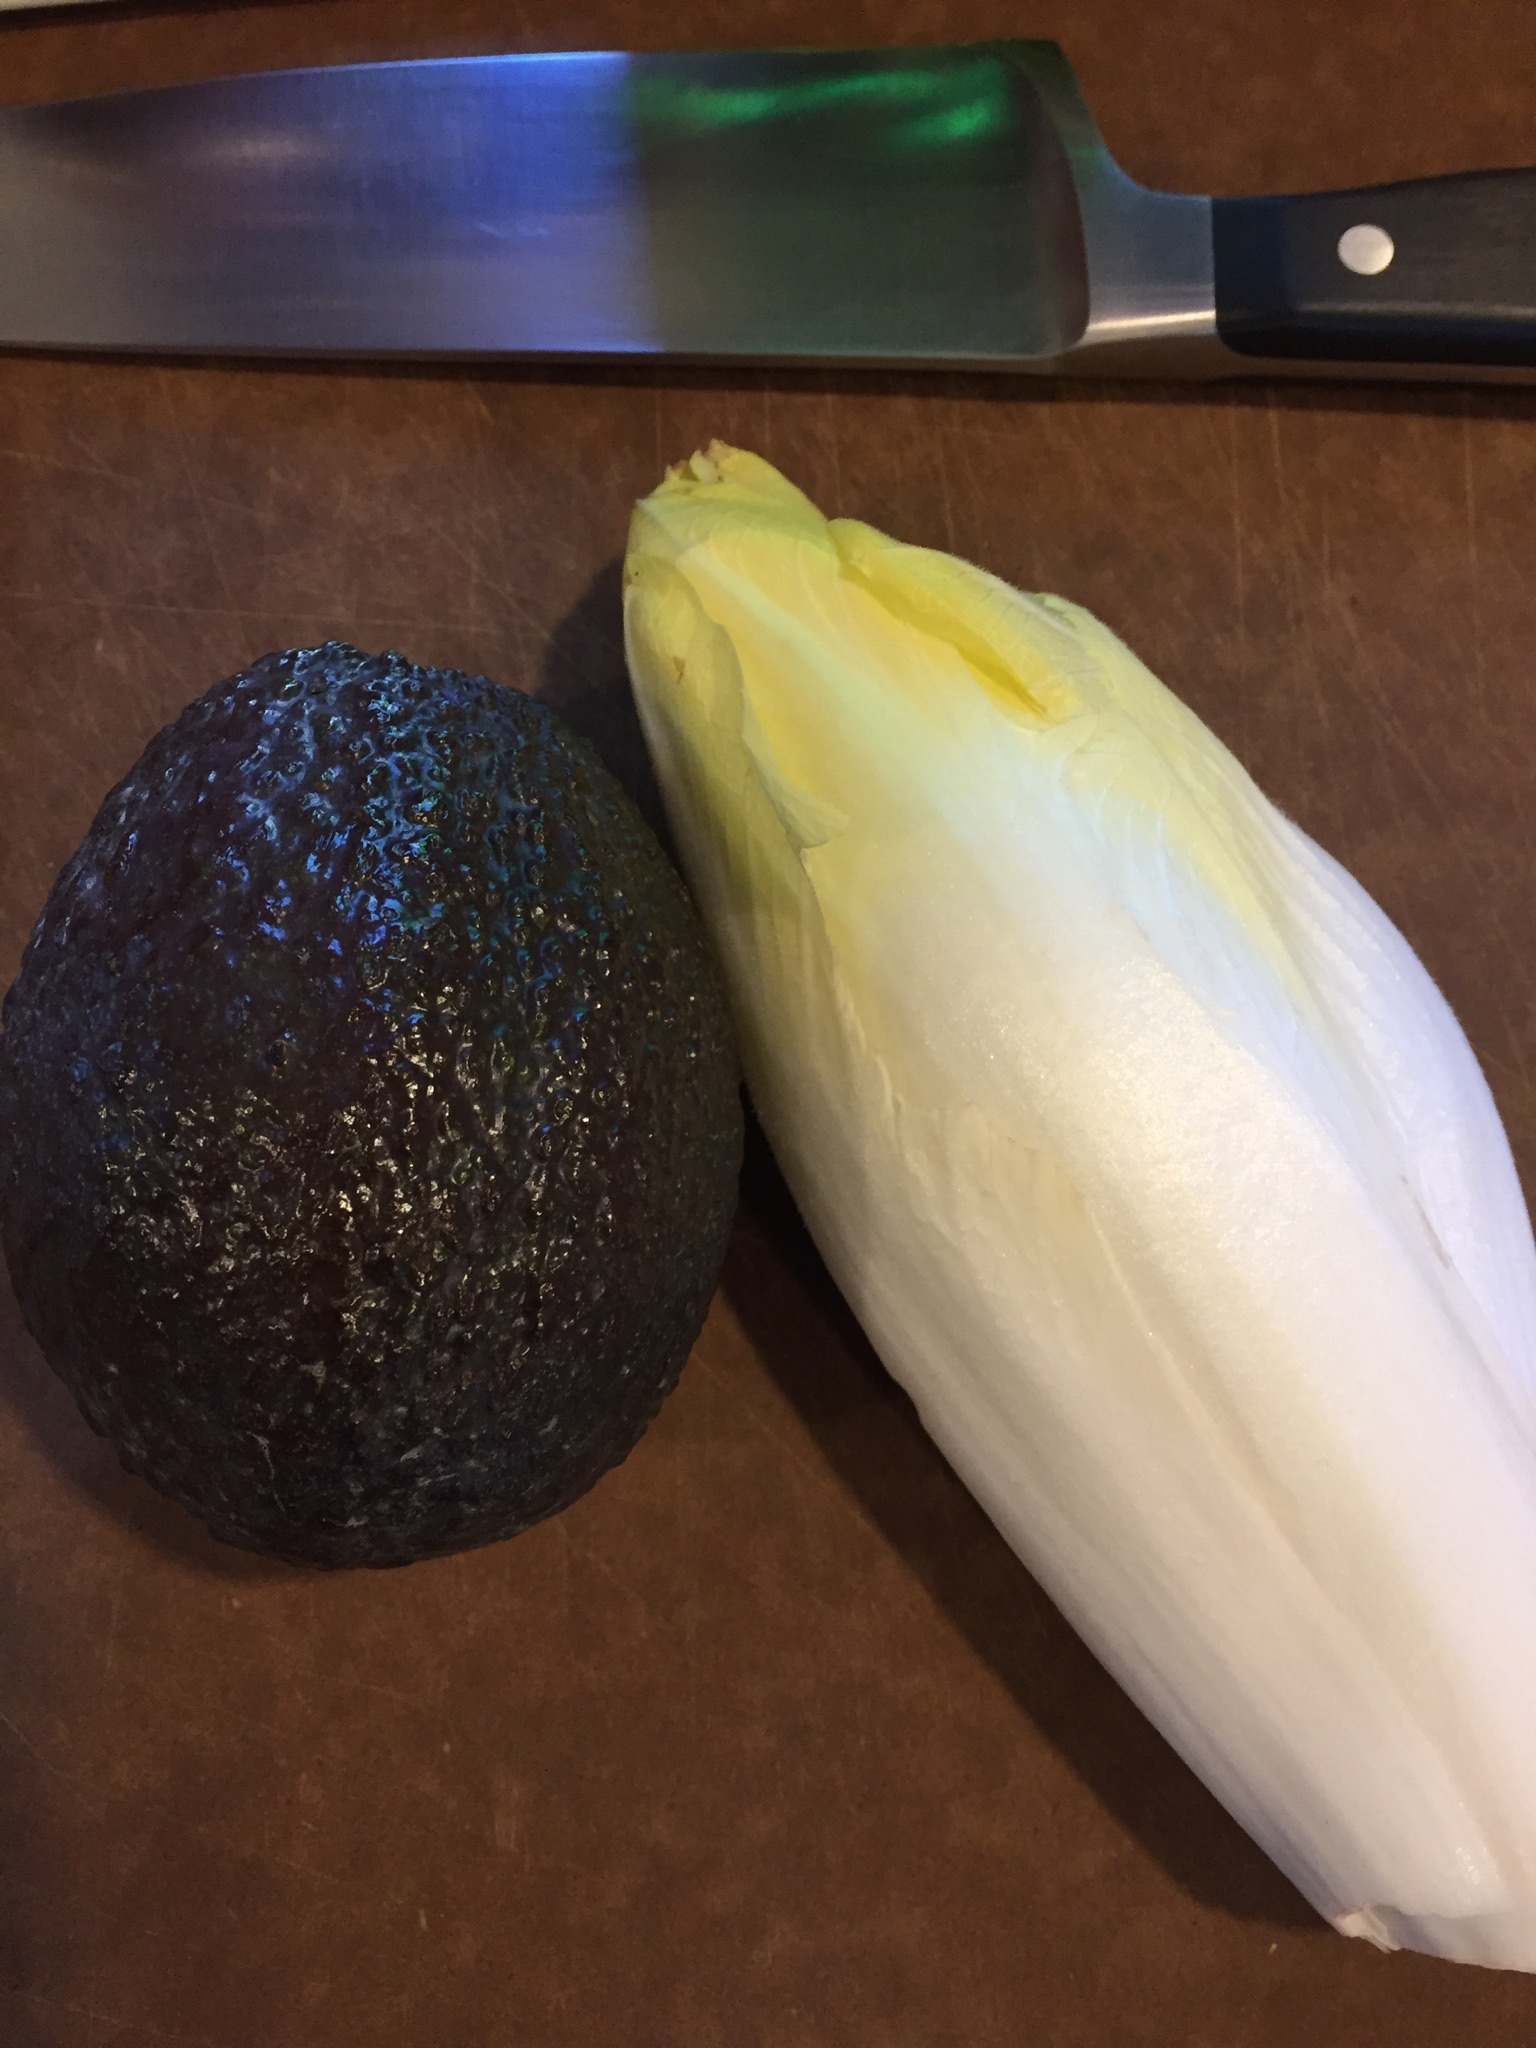
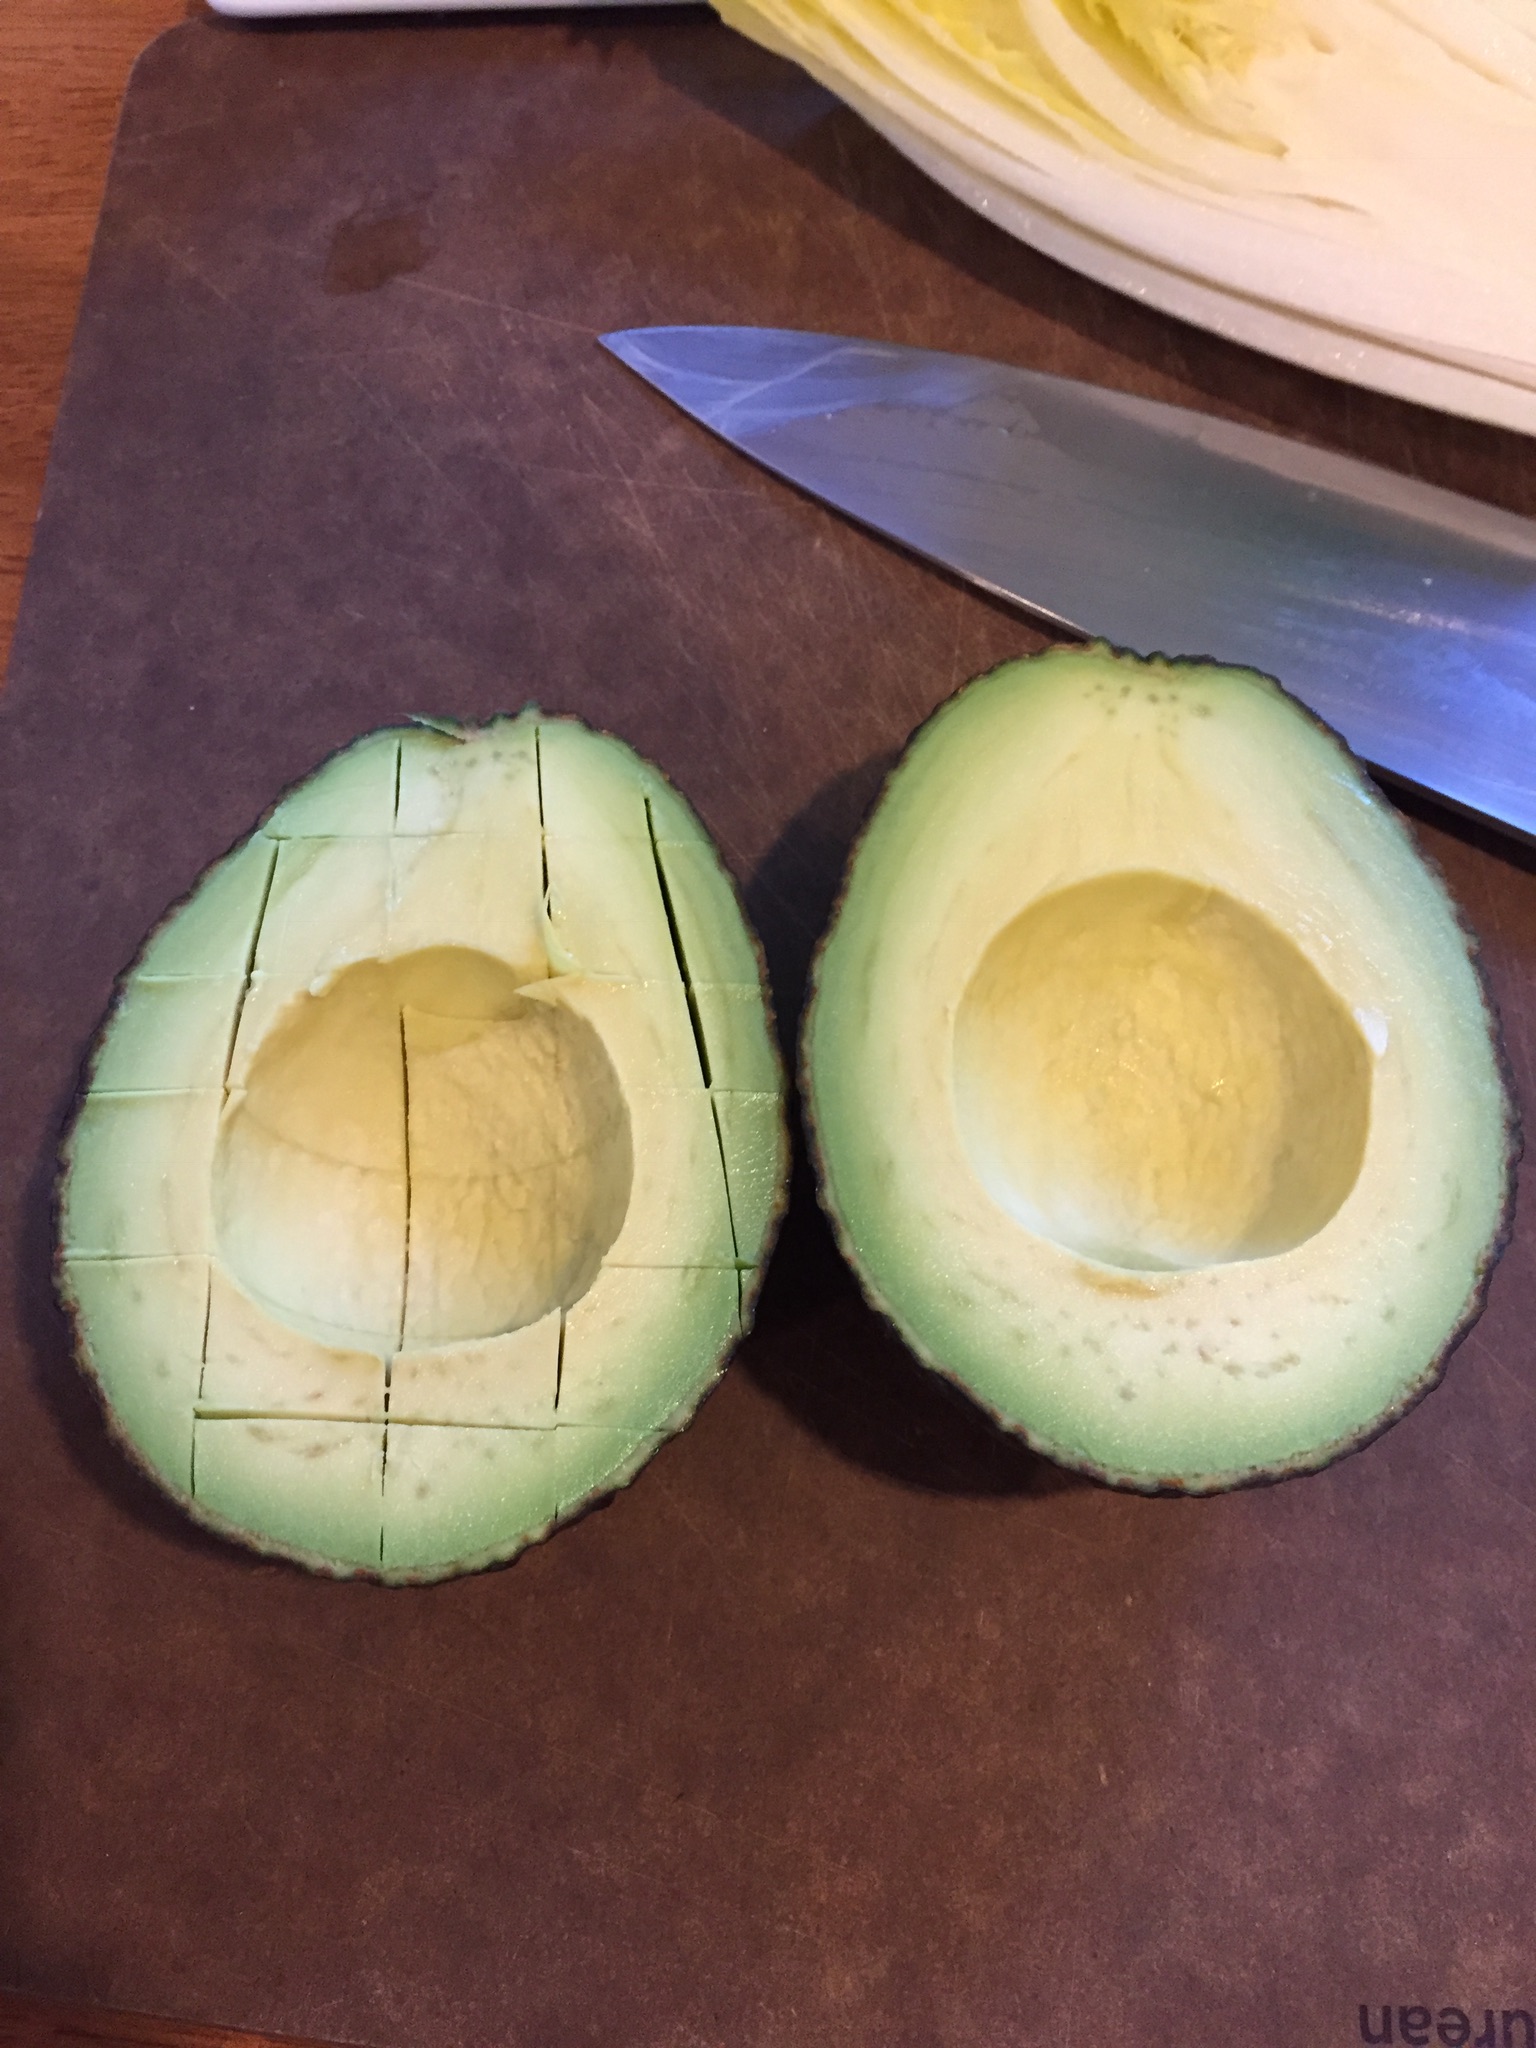
See how they nuzzle? I love contrasts – in life, in opinions, in friends – and this is no exception. Endive is such a treat: if you’ve never worked with it, buy one and toss into your next salad for a great crispy crunch. Or slice in half lengthwise, braise in a bit of butter and olive oil, then sprinkle with a touch of sugar. Delicious. And avocado adds silkiness and a bit of good fat to the marriage. For this salad, slice the endive lengthwise and then cut into half moons. Halve the avocado (remove pit), make grid with a knife, then scoop out with a spoon. Both can head into a medium sized bowl.
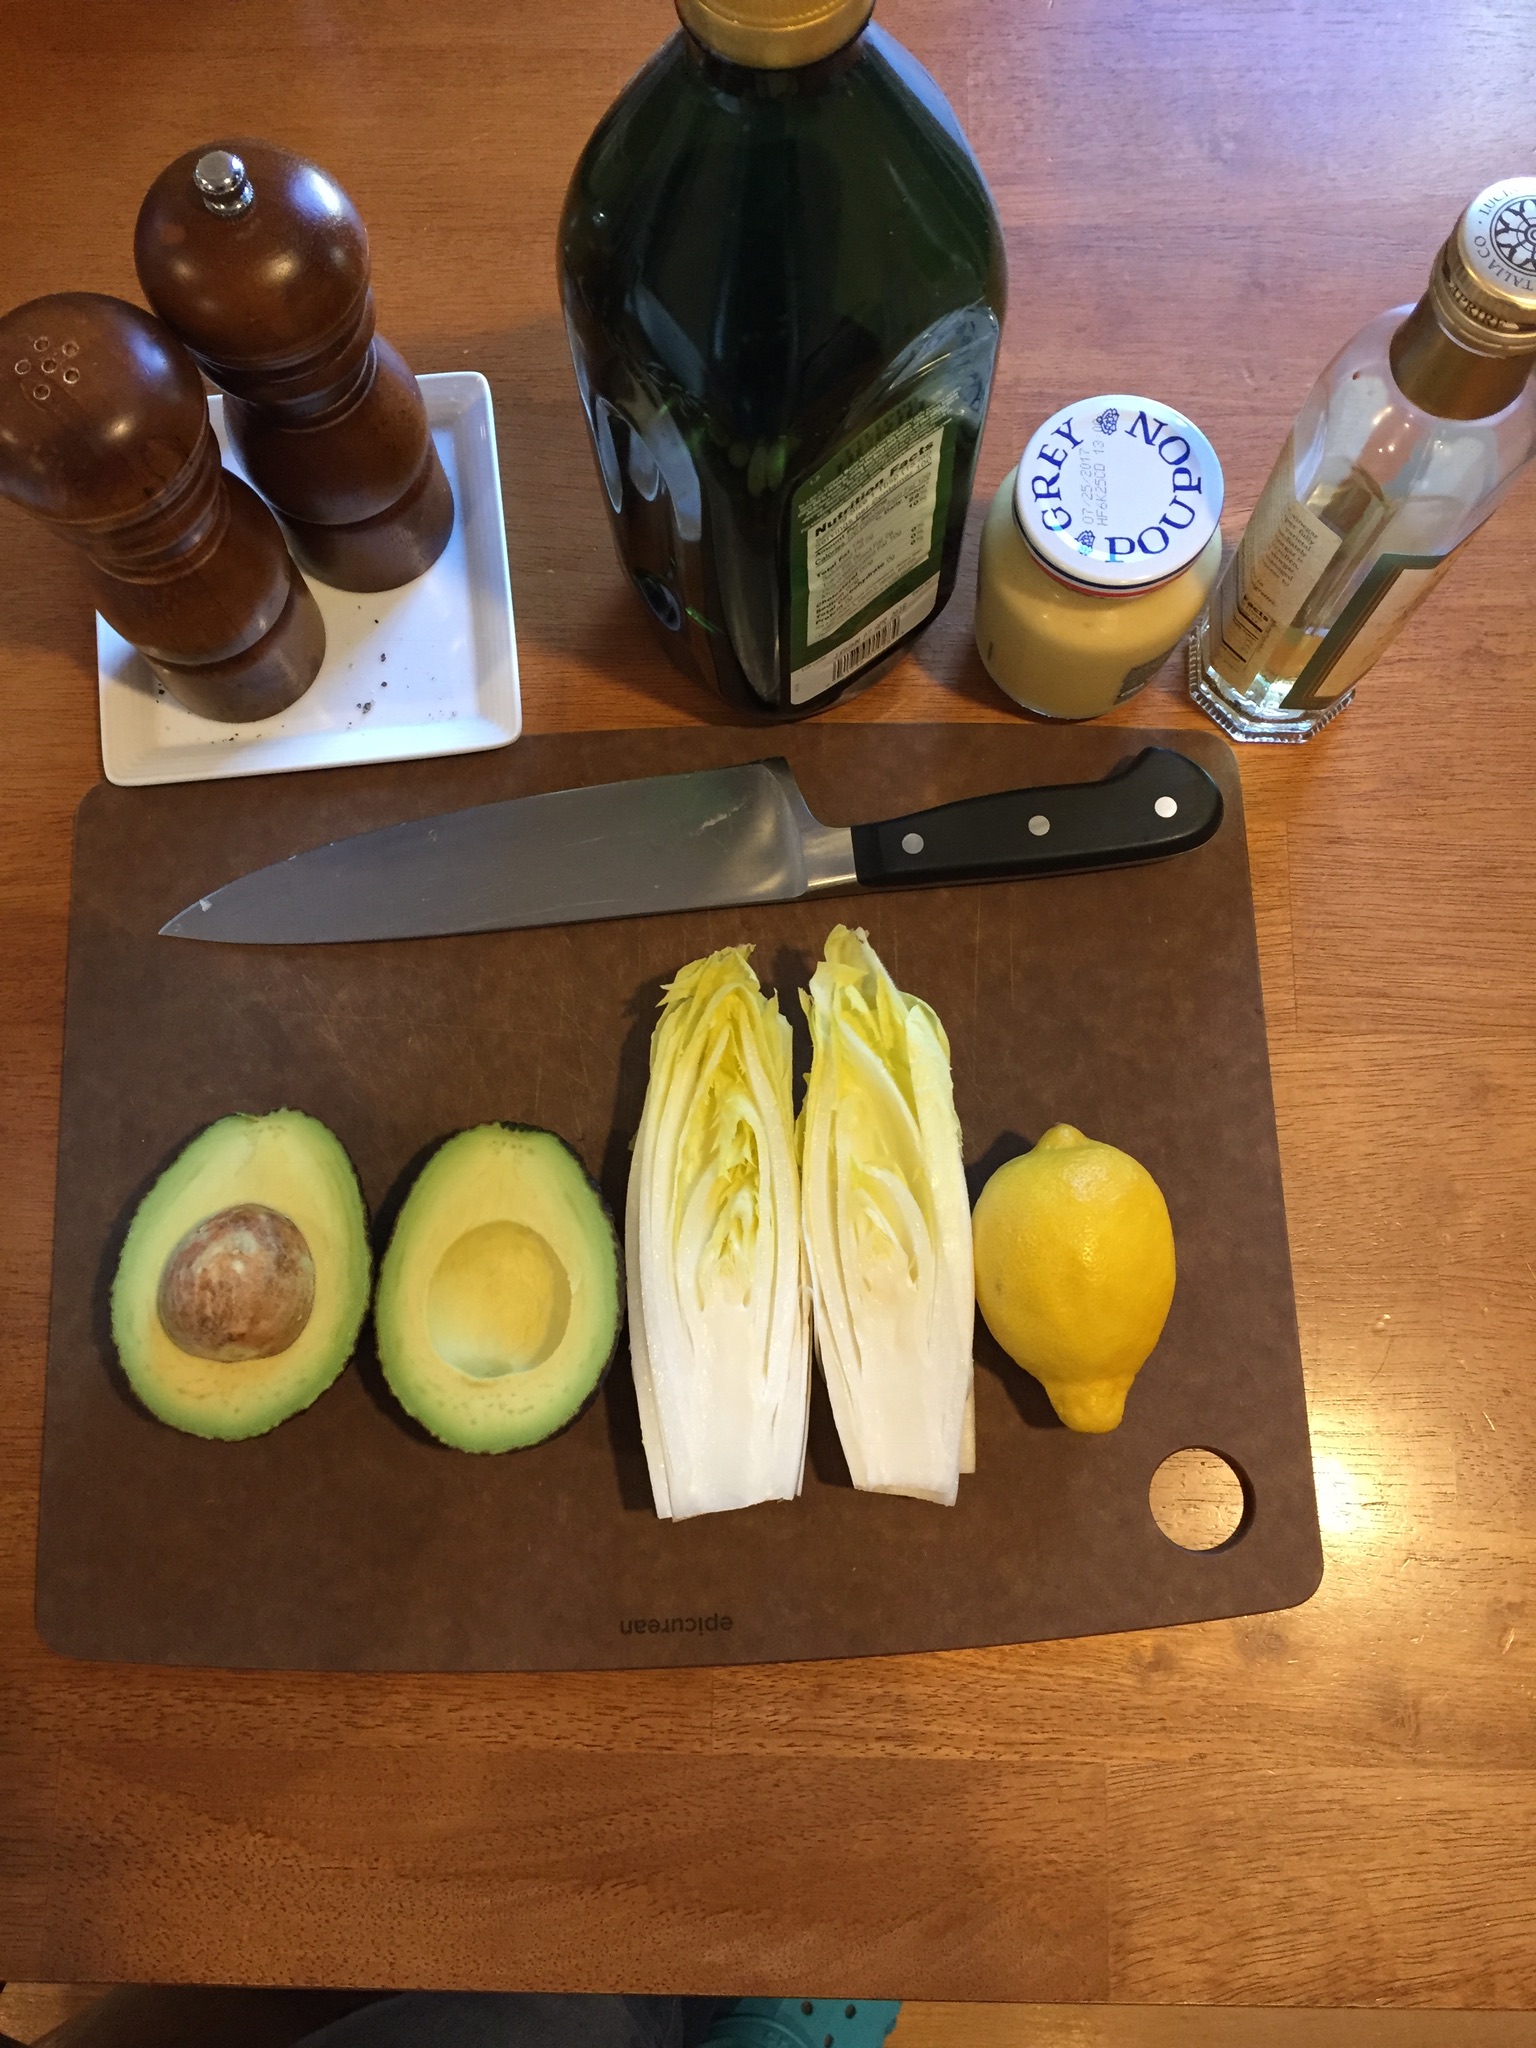
In a small bowl, whisk together the vinaigrette (a basic french one always has zesty Dijon mustard), and pour over the endive and avocado, stirring gently. Enjoy!
Endive & Avocado Salad
Ingredients:
One head Belgian endive, sliced lengthwise and cut into half moons
One ripe avocado, halved, pitted, cubed and scooped
Add both to medium sized bowl, pour vinaigrette over top, stir gently.
Basic French Vinaigrette:
4T olive oil
1/2t Dijon mustard
1T vinegar (I typically have champagne on hand, but sherry also fine)
Squeeze of fresh lemon juice (optional, and only if you have lemons handy)
1T minced shallot (optional)
Pinch salt & freshly ground black pepper, to taste
Whisk all together in a small bowl
Enjoy immediately (both avocado and endive brown quickly once cut or sliced).
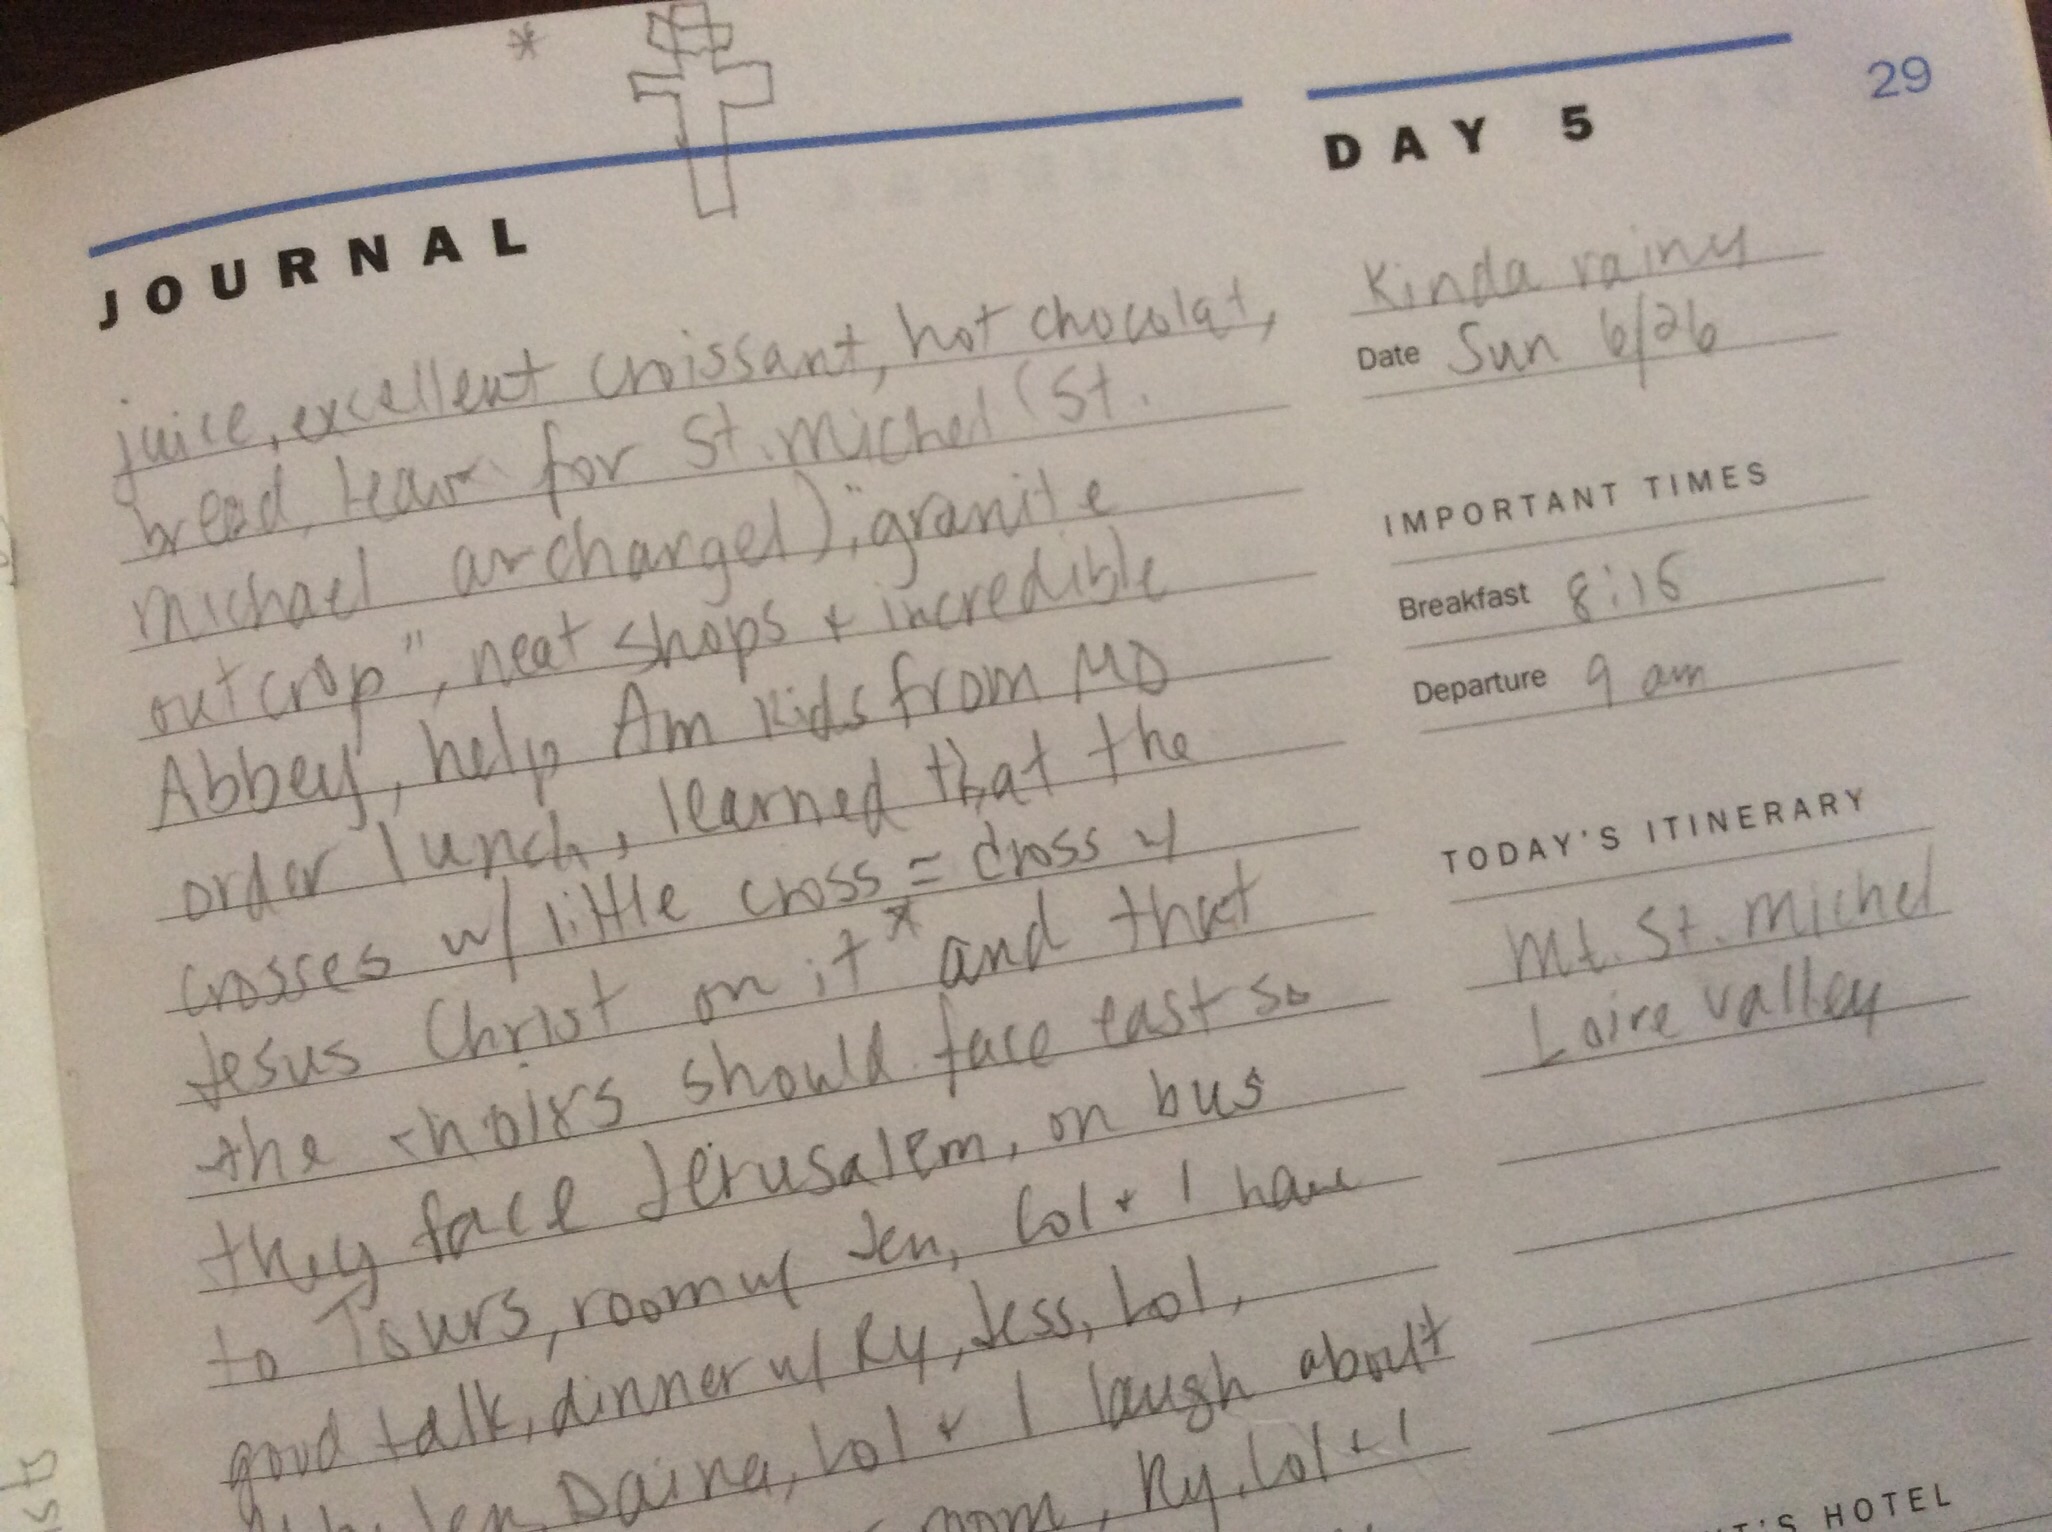
I was 17 for my first trip to France, the summer before my senior year of high school, when a beloved French teacher arranged for her french language students her annual two-week trip to France. We covered an impressive amount of territory: starting in Paris, heading north to Normandy and the American Cemetery, west to Tours, south to Avignon, Arles, Nimes and southeast to Nice, Monaco, Eze and Grasse. I was beyond excited for the adventure and remarkably, documented it all in both pictures and a journal…

Everything was, naturally, brand new to me…

And I was smitten at every turn, every new city, every new bit of knowledge and history, every morning breakfast:
A few short years later, I returned to spend my junior year of college in France, studying in Grenoble and then Paris. I have traveled back a handful of times since then, mainly to Paris, but this year’s family trip to Provence carried special meaning: I returned to a few of those cities from that 1994 trip, over twenty years later, with a husband and two children.
Then 1994 (in three photographs):
Palais des Papes (Palace of the Popes, Avignon)
Pont d’Avignon (Avignon bridge)
Paying tab in francs

Now:
Palais des Papes

Pont d’Avignon

Date night glass of Armagnac, paying in Euros, we helped close down the restaurant…

Here’s to travel, and getting older and wiser! A few shots from our wonderful trip to Provence.
VIVE LA FRANCE!
Looking inside-out onto the street: one of our favorite restaurants in St Remy: L’Aile Ou la Cuisse (The Wing or the Thigh)

Hot, beautiful weather means taking a break, outside a church door in Roussillon; not pictured: lots of glace (ice cream).

Thumbs up from the kids, Glanum Architectural Site, overlooking St Remy in background

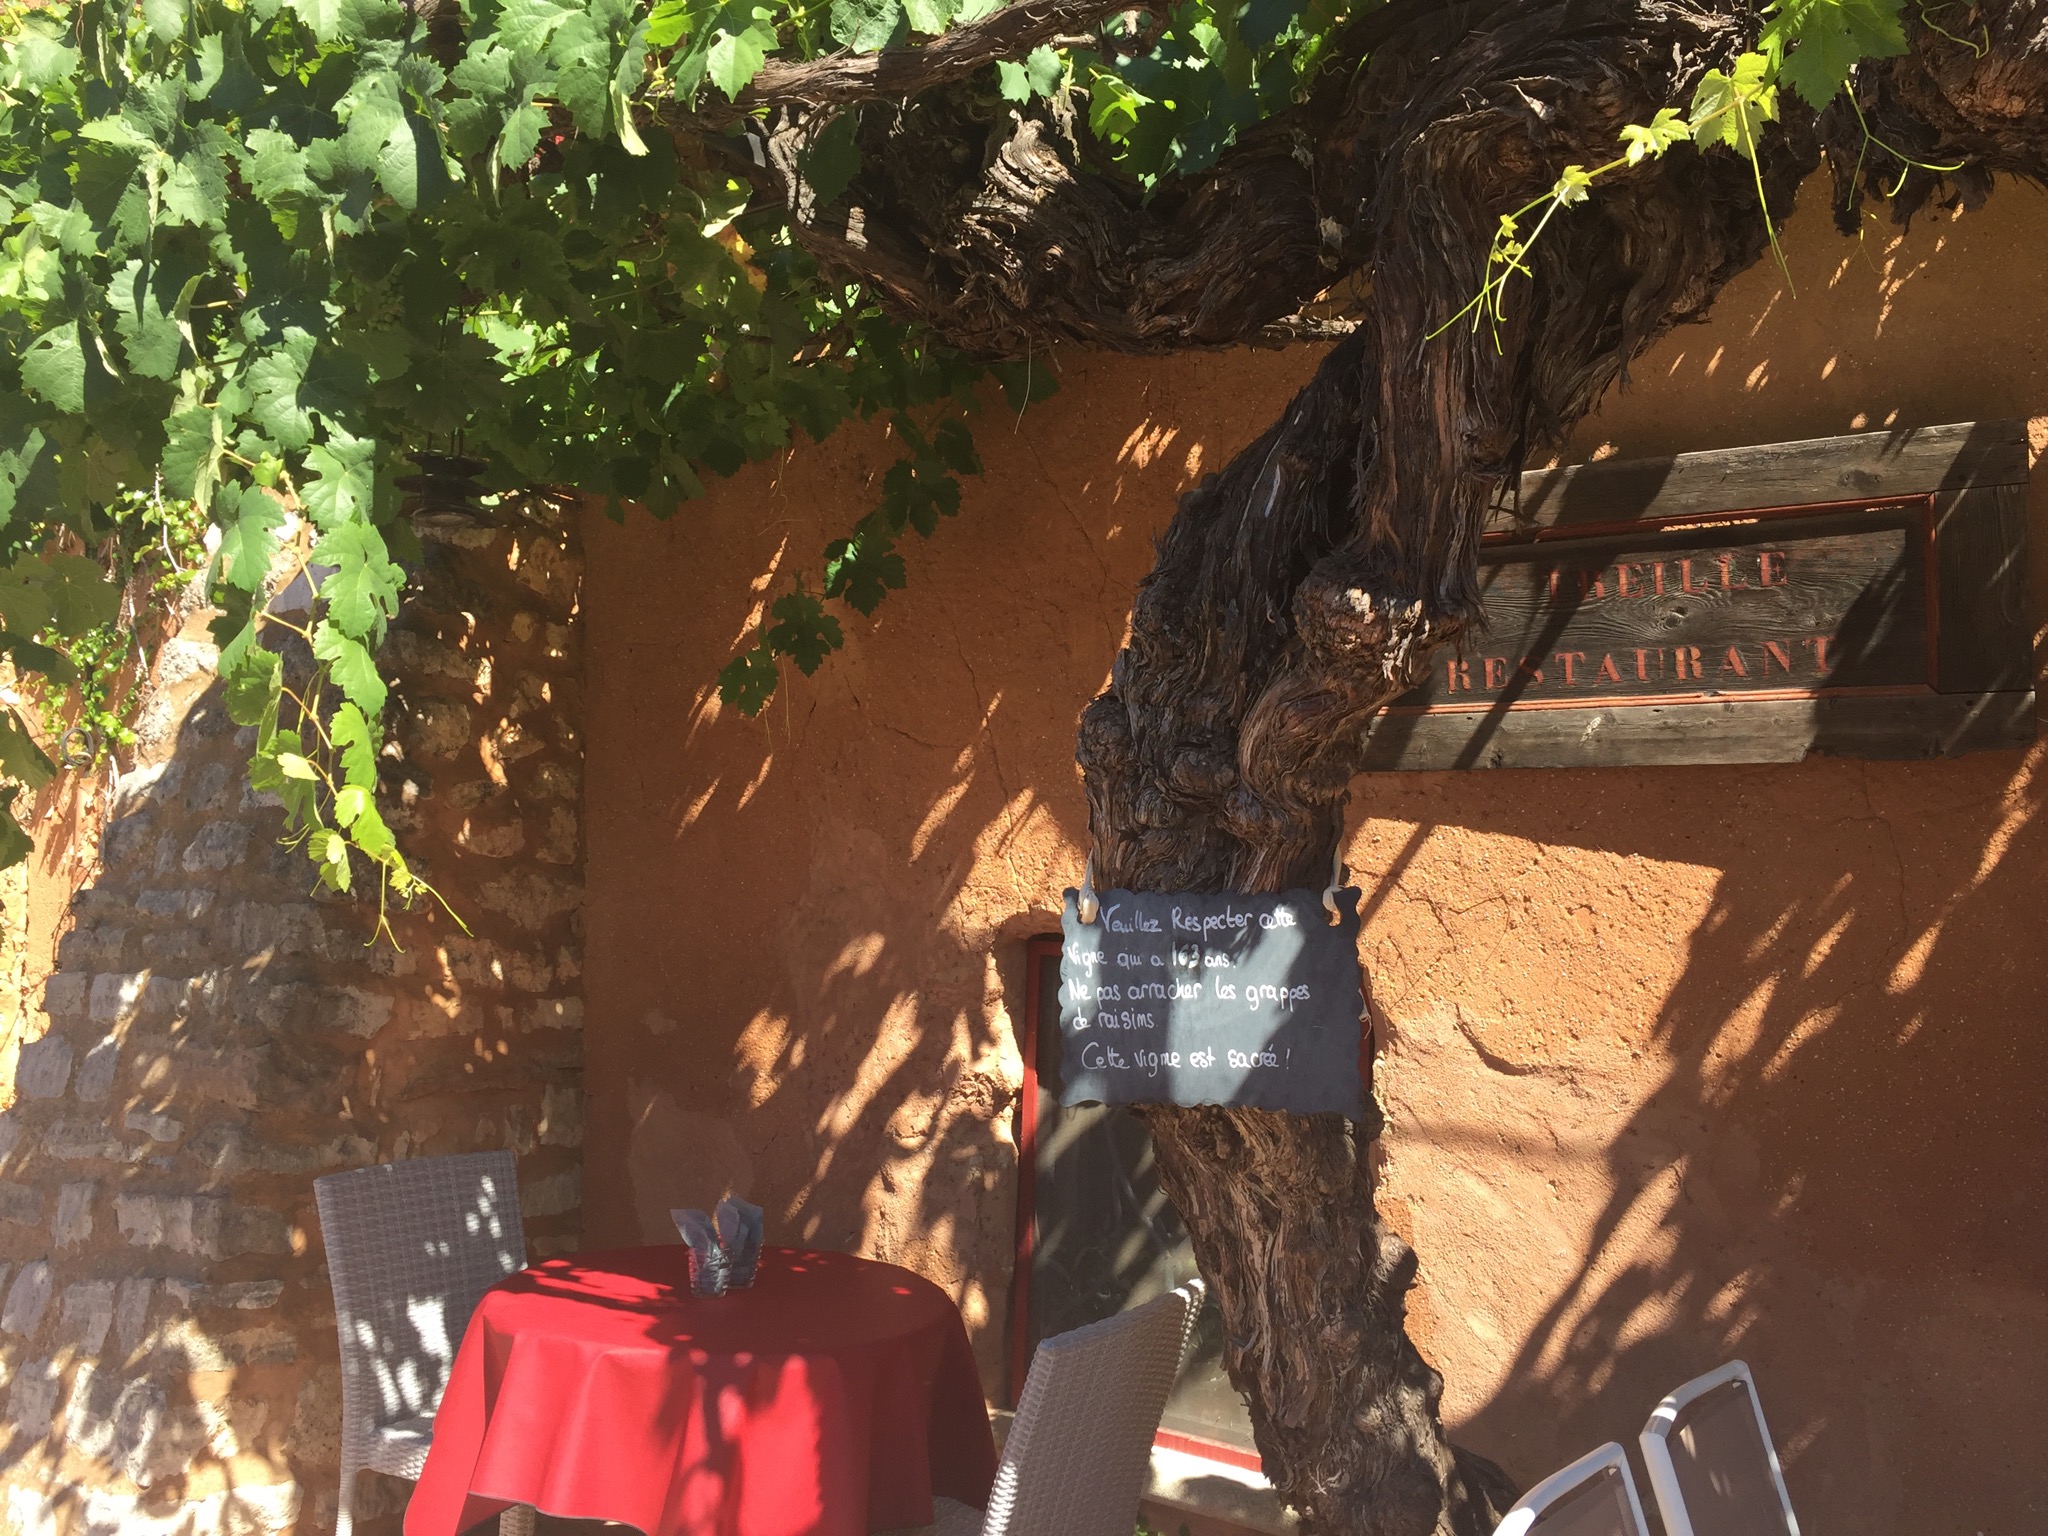
A cafe table with sign that reads: “Please respect this vine which is over 160 years old. Do not pick the grapes. This vine is sacred.”
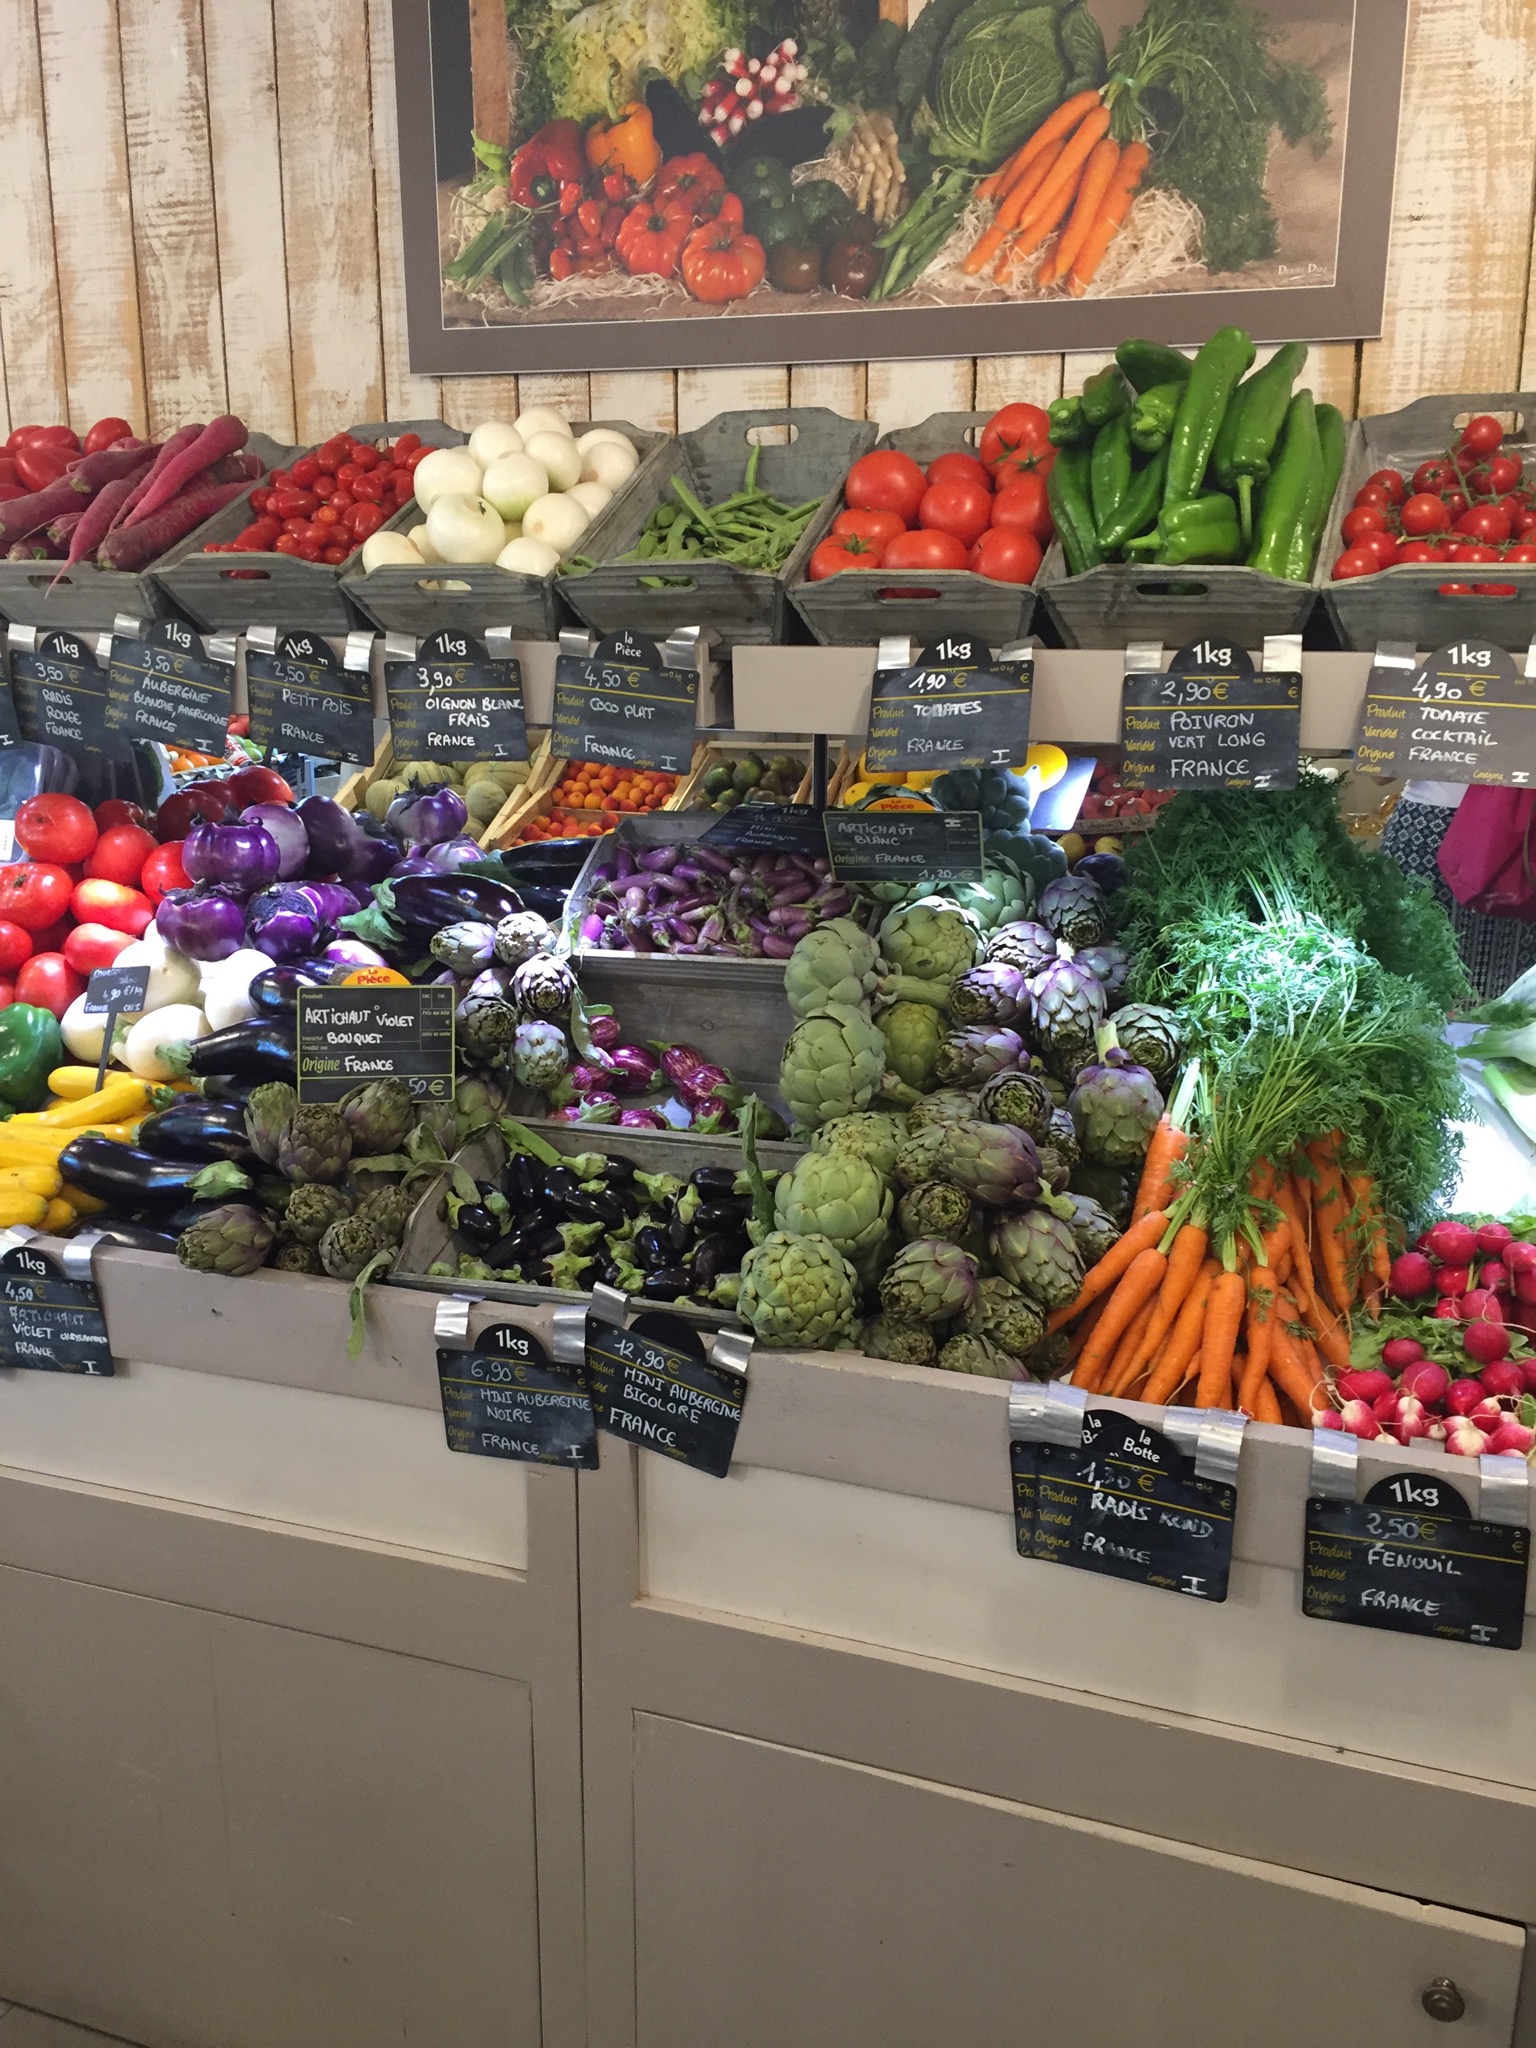
Vegetable and Fruits in shop in St Remy
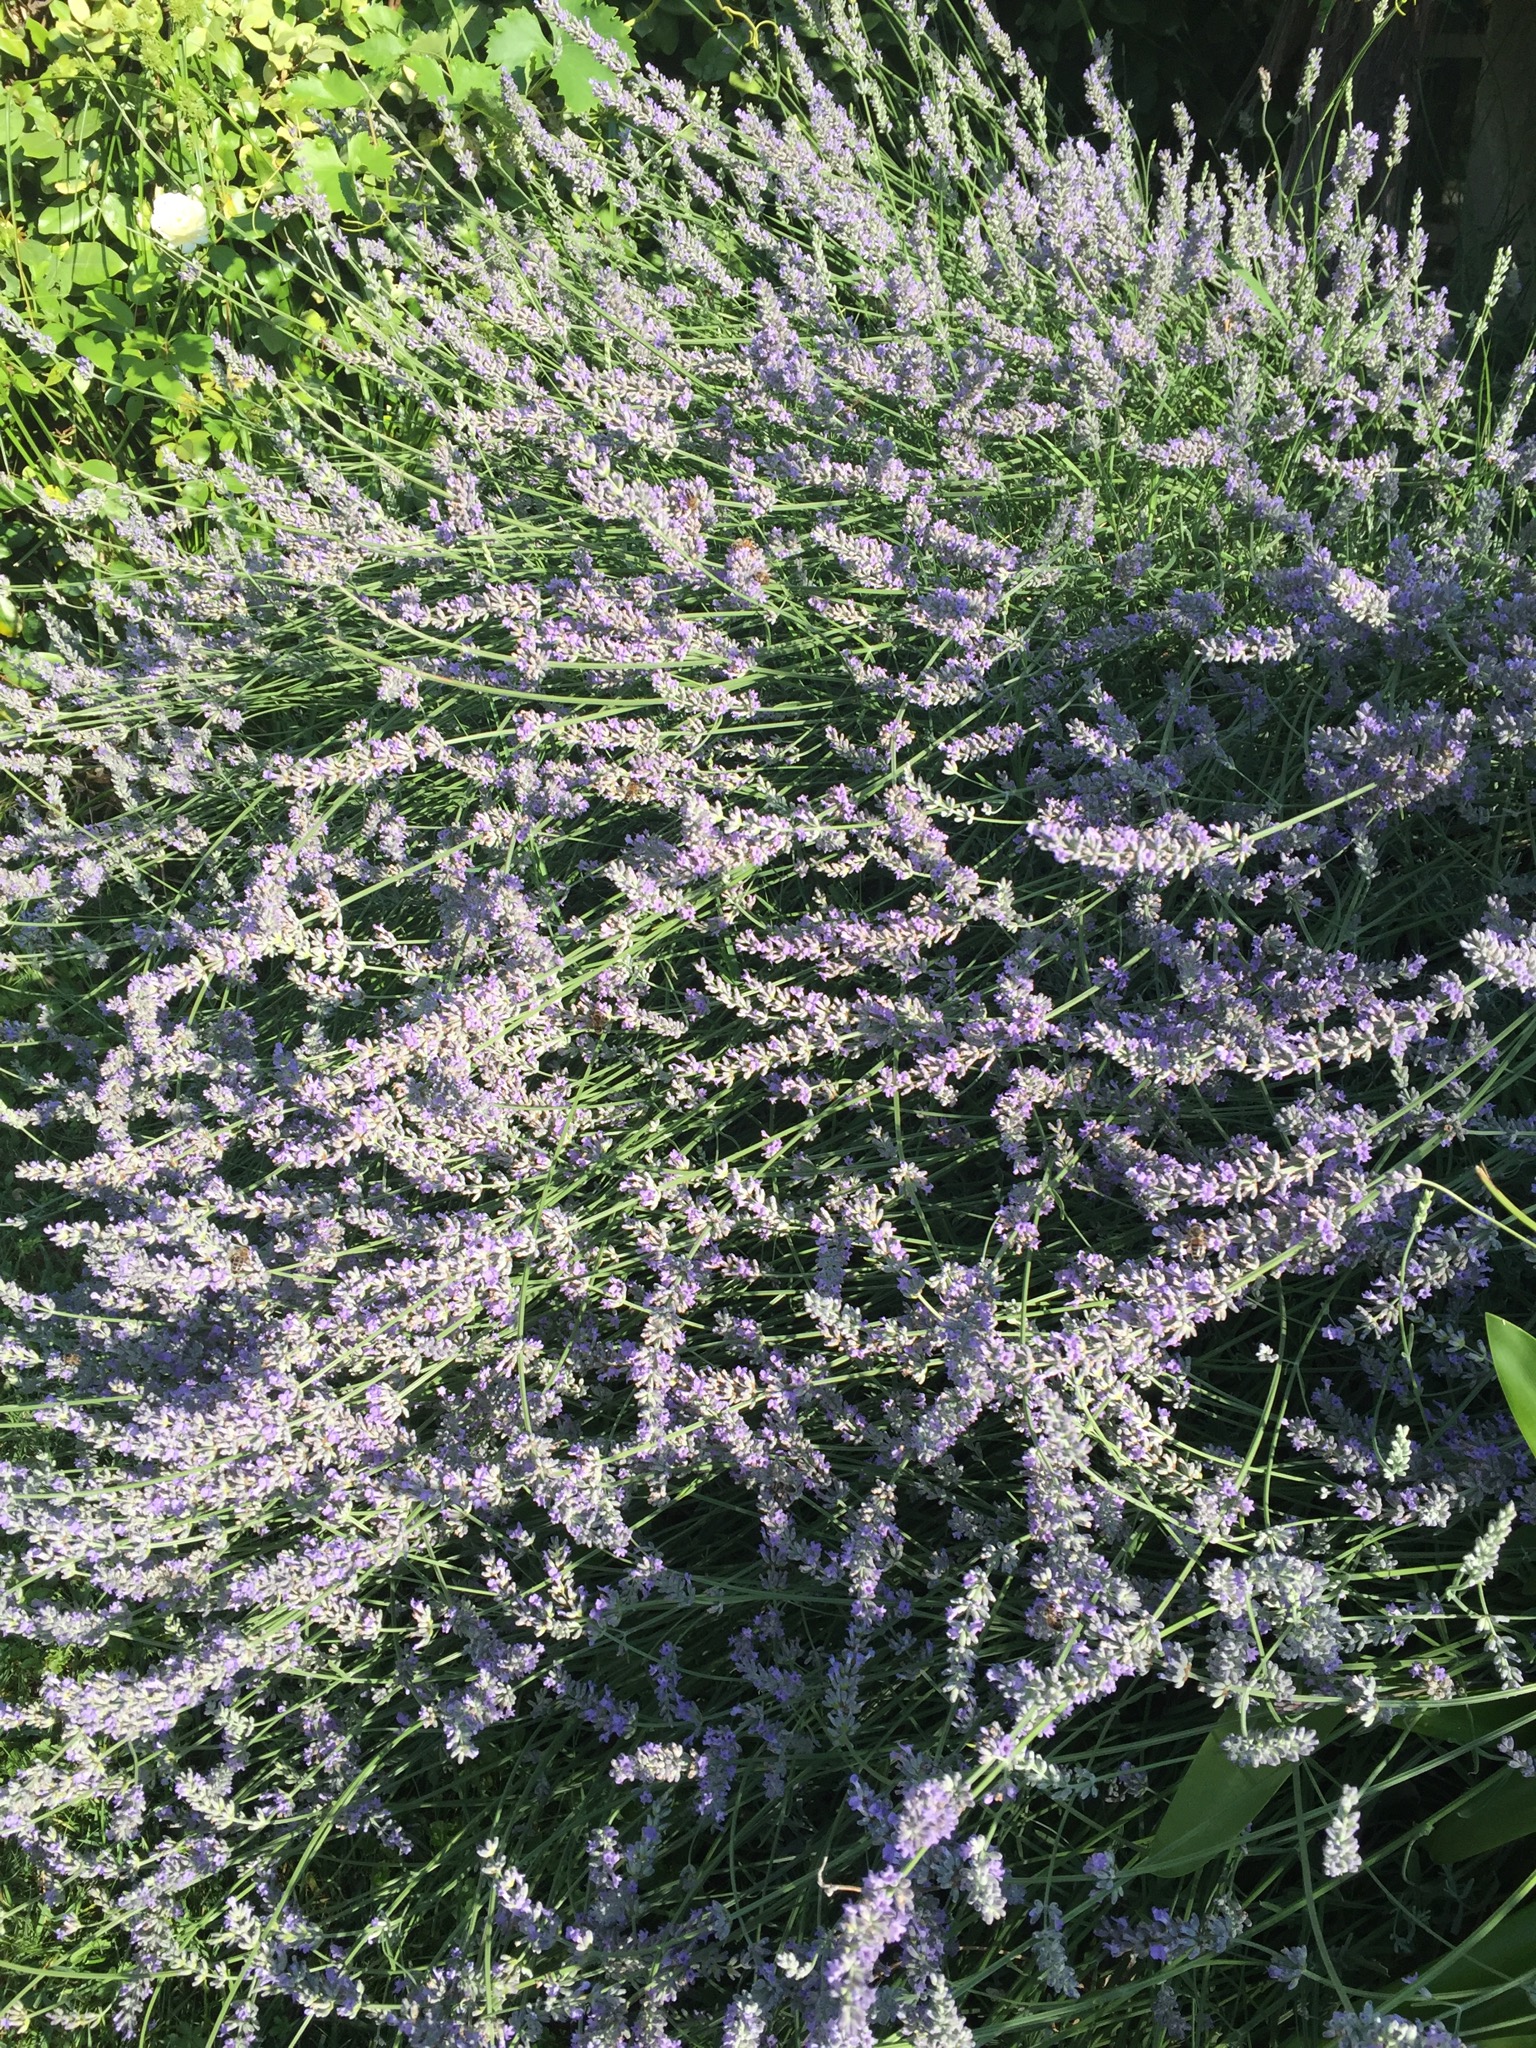
Lavender in bloom

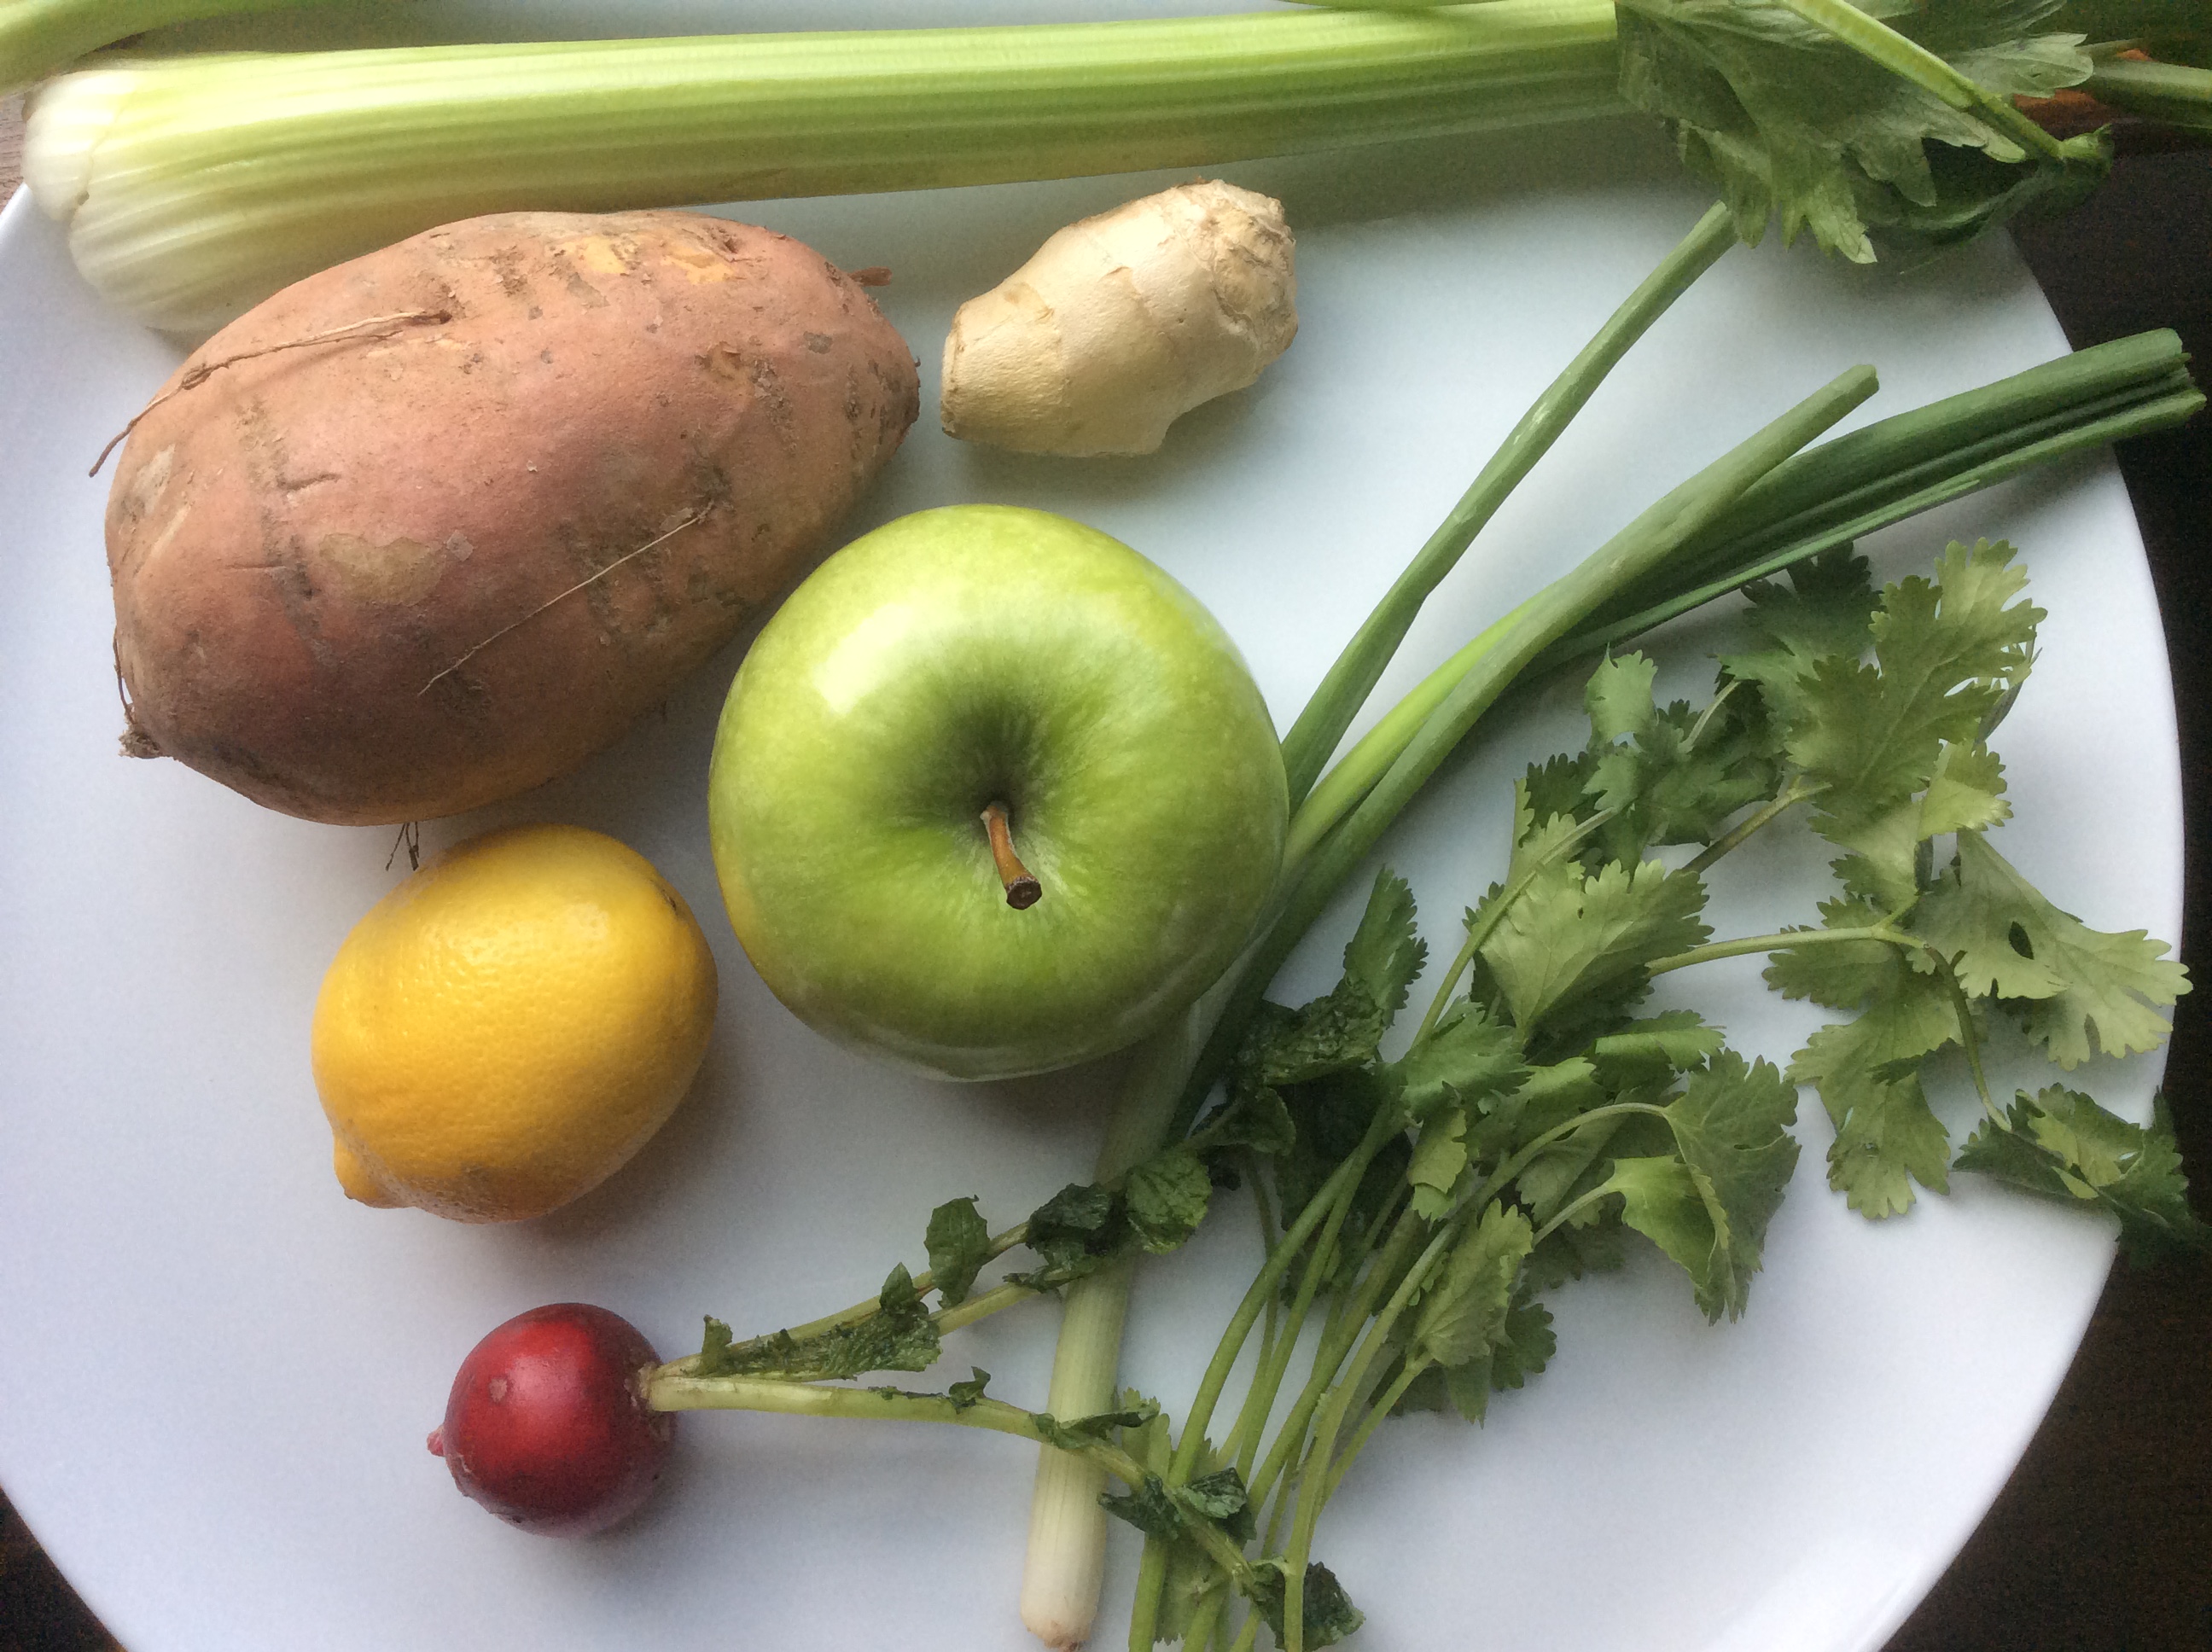
Here is a perfect dish for trumpeting Spring: crunchy vegetables, bright lemon juice, spicy grated ginger and sweet honey – like a deep breath of fresh air after a long winter. I stumbled upon this recipe on Food52: I stopped on this one when I read ‘raw sweet potato’, intrigued, and made it that afternoon. Yum! Indeed, the starchy sweet potato acts like jicama might: sturdy and crunchy, as the backbone for the other sweet and spicy components.
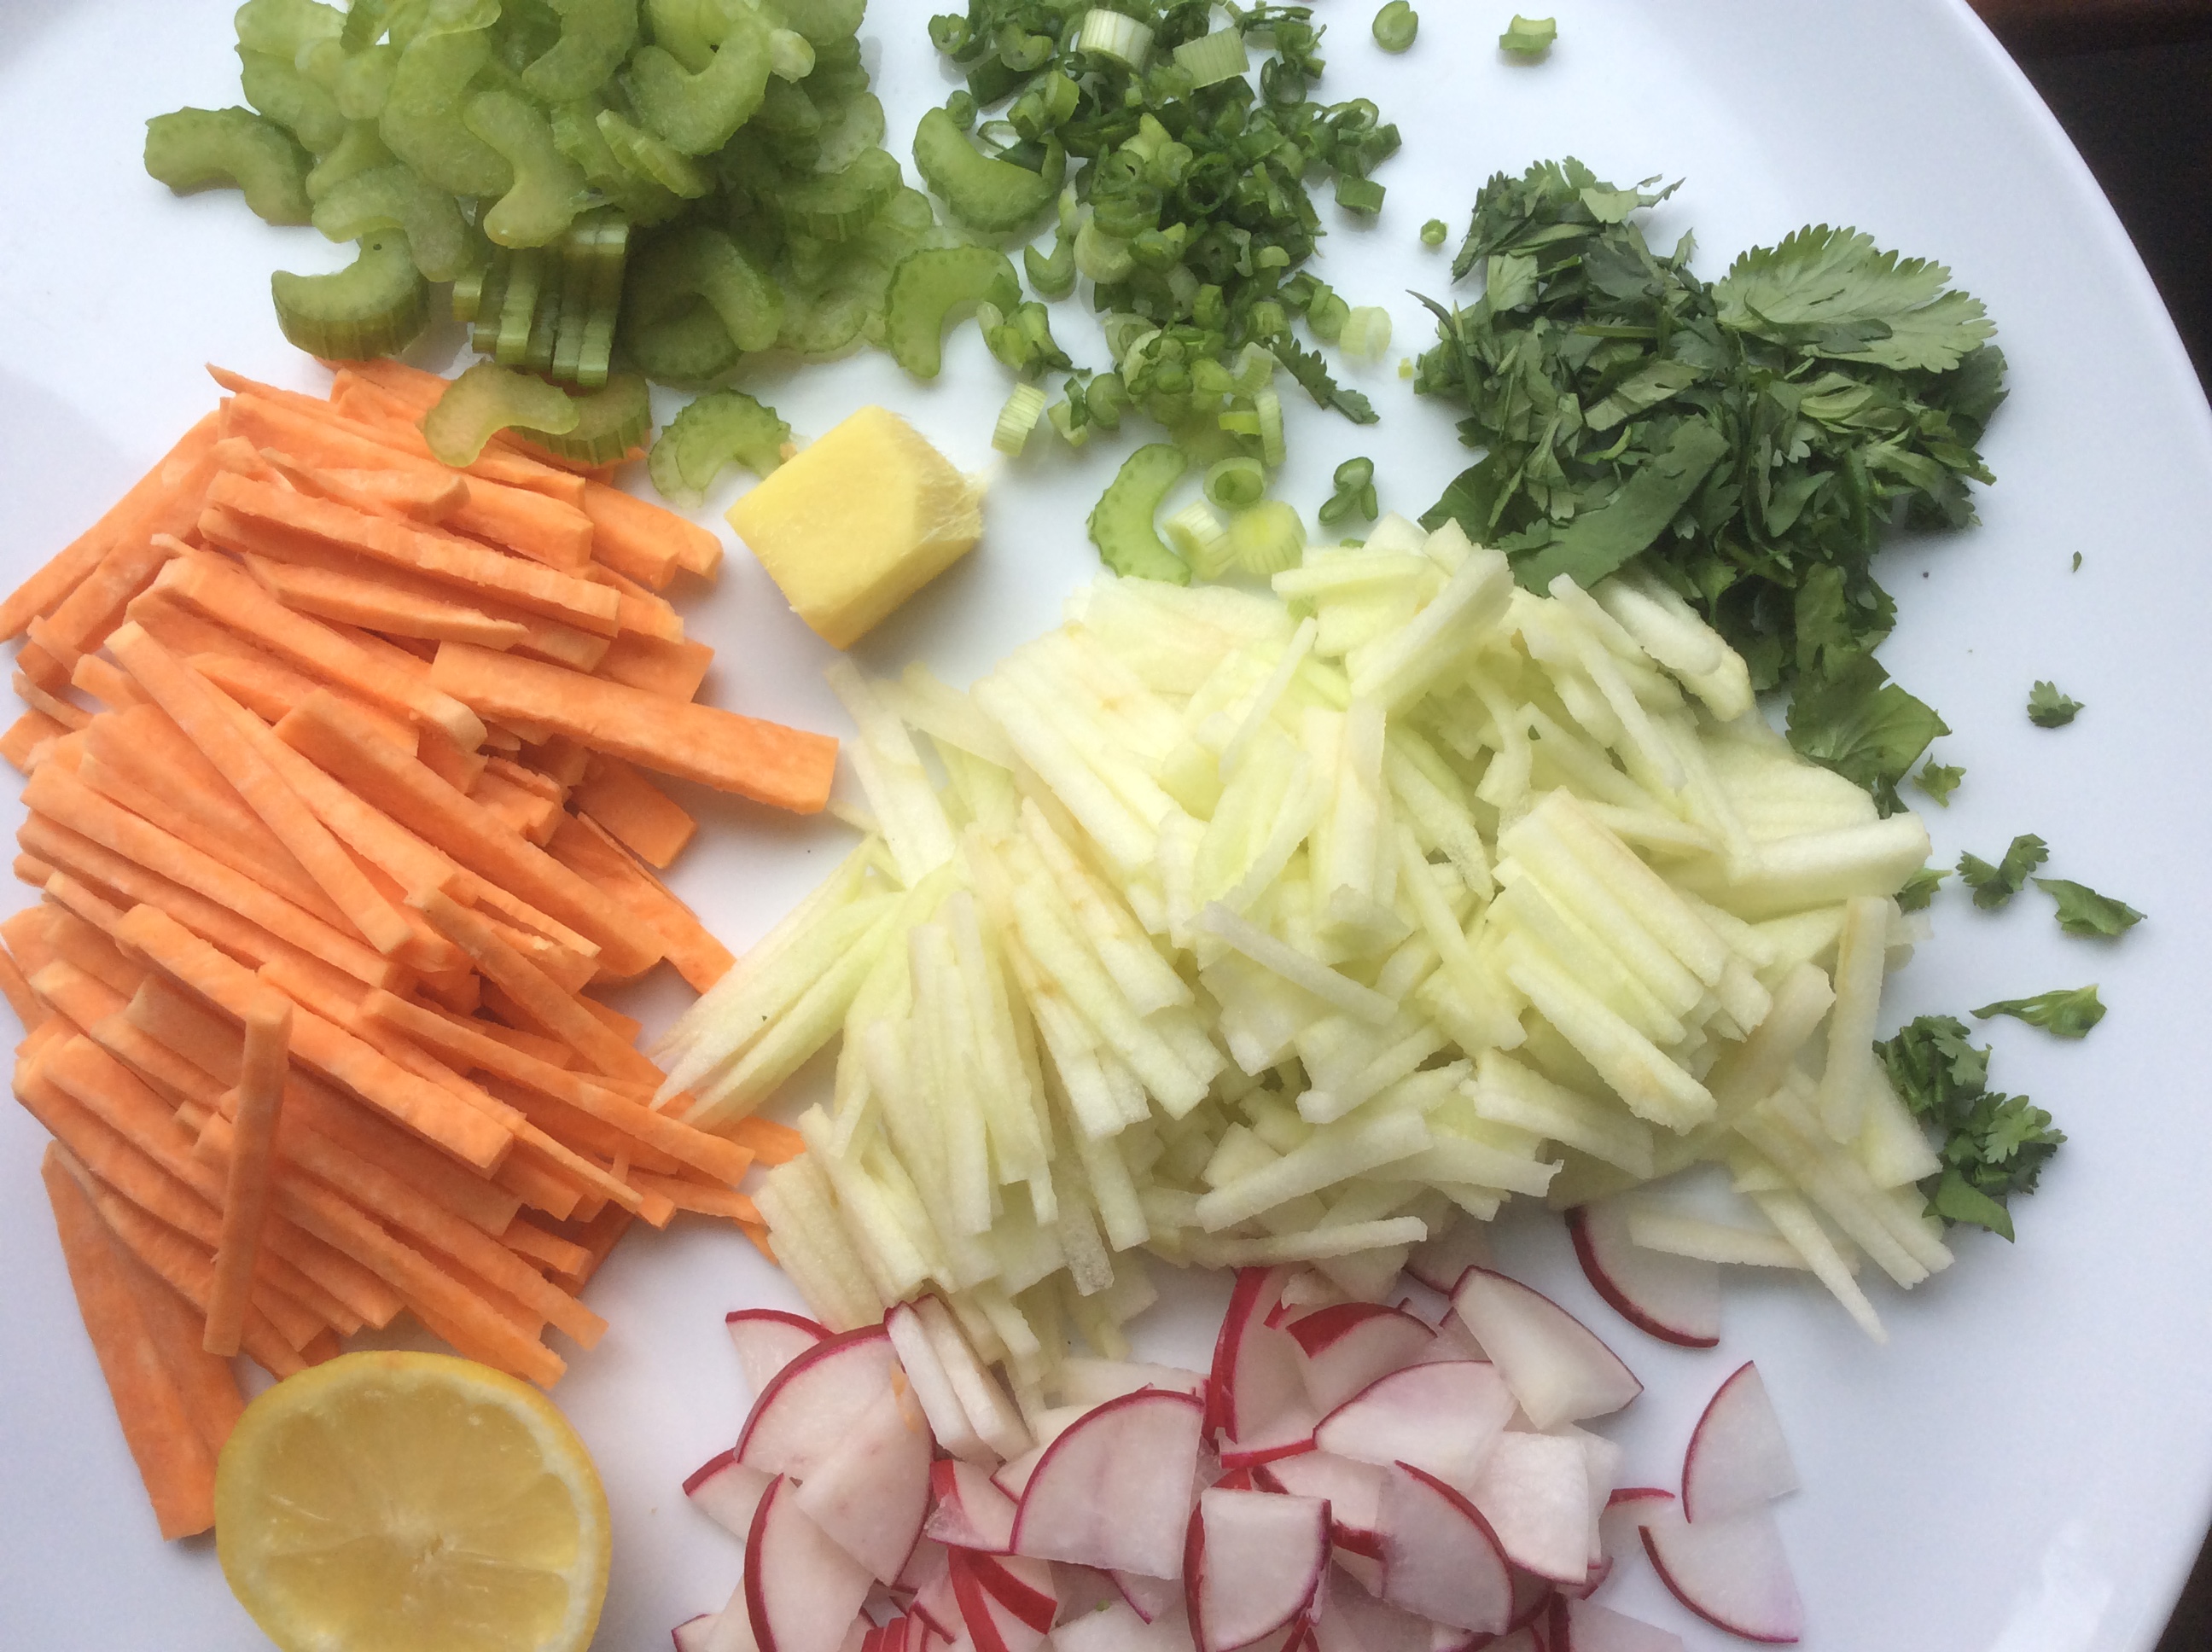
The only labor for this raw salad is the dicing, which I find enjoyable, but which can be easily done with a mandolin.
This recipe can officially kick off picnic season, with the extra scarf and sun hat of course. Welcome Spring!
Sweet Potato, Green Apple & Celery Salad (adapted slightly from http://www.food52.com)
2T lemon juice
1T freshly grated ginger
1/2T – 1T honey
2T extra-virgin olive oil
coarse salt and freshly grated pepper
1 small sweet potato, peeled and finely julienned into matchsticks
1 tart Apple like Granny Smith, cored and finely julienned into matchsticks
1 celery stalk, thinly sliced, with leaves
2 scallions, thinly sliced
3 radishes, quartered and finely julienned
3T toasted sesame seeds
1/4c packed fresh cilantro leaves
Instructions:
1. In a small bowl, whisk together lemon juice, ginger, honey and olive oil; season to taste with salt & pepper
2. In another bowl, combine sweet potato, apple, celery, scallions, radishes, sesame seeds and cilantro. Pour dressing over and toss gently.
Enjoy!
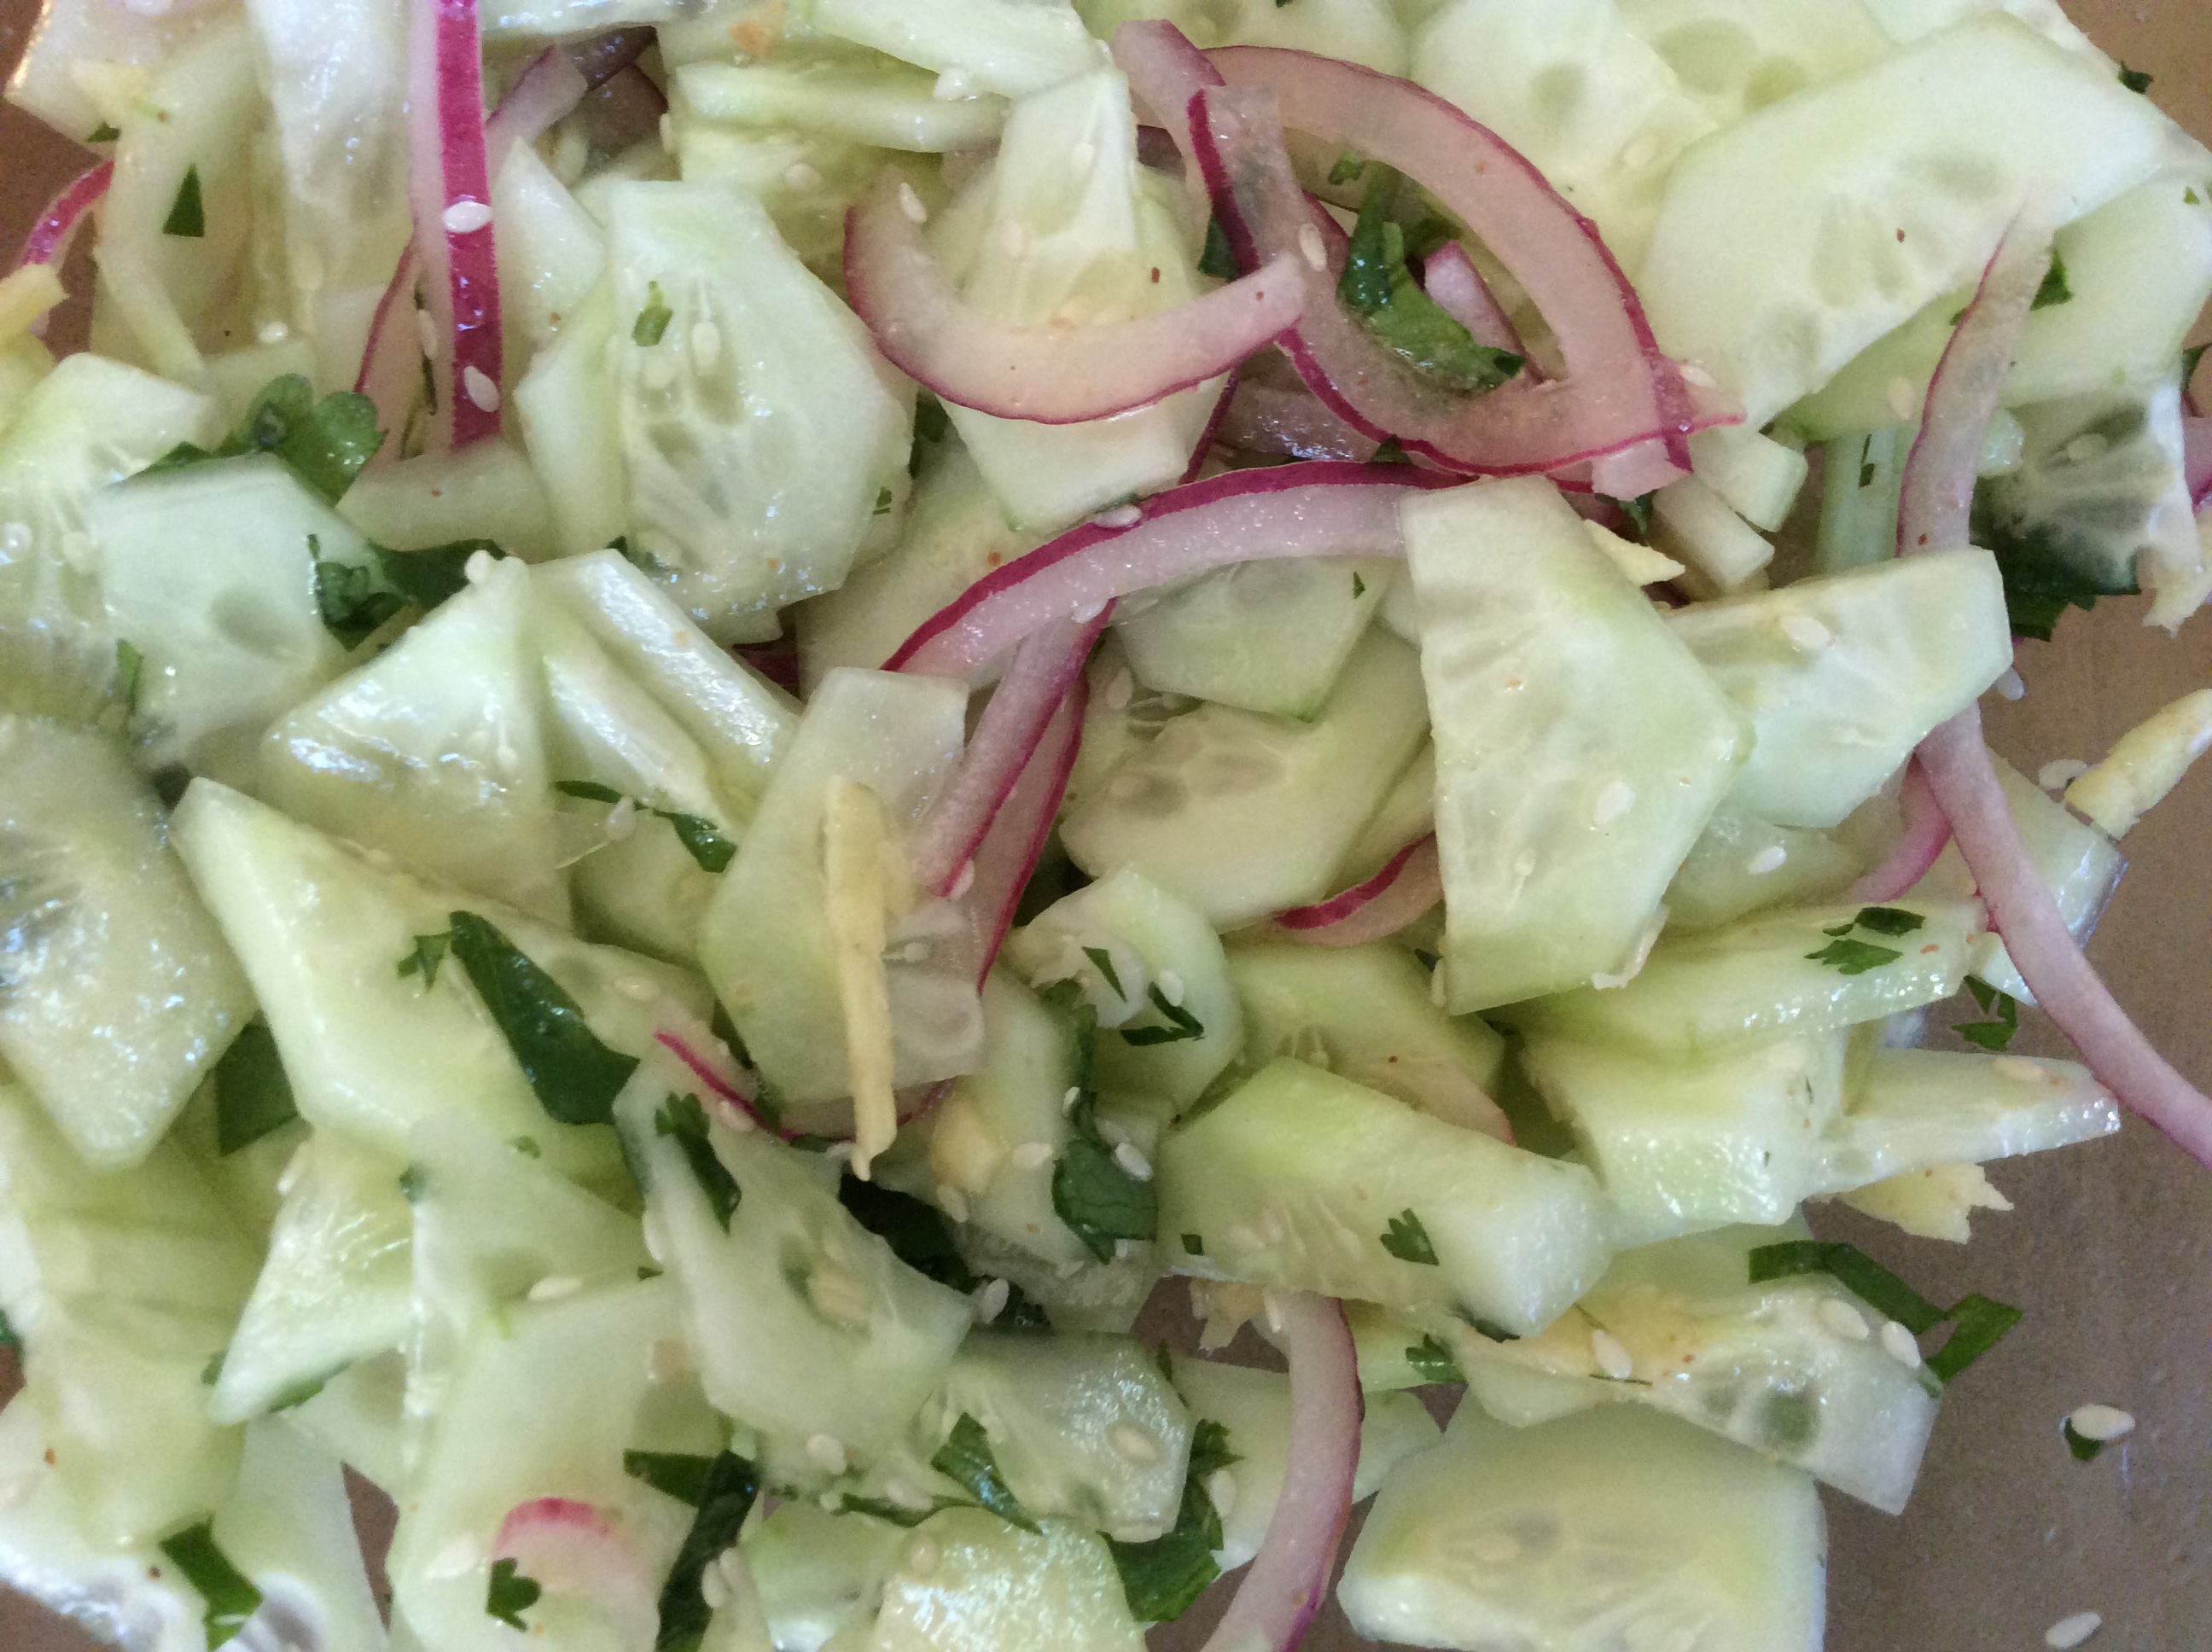
Happy new year! I really enjoy this time of the season, the lull after the holiday excitement, and the refocusing on the new year ahead. The weather is cold and bright here, so I see this zesty, fresh salad as a nice accompaniment to January: crisp, spicy and comforting.
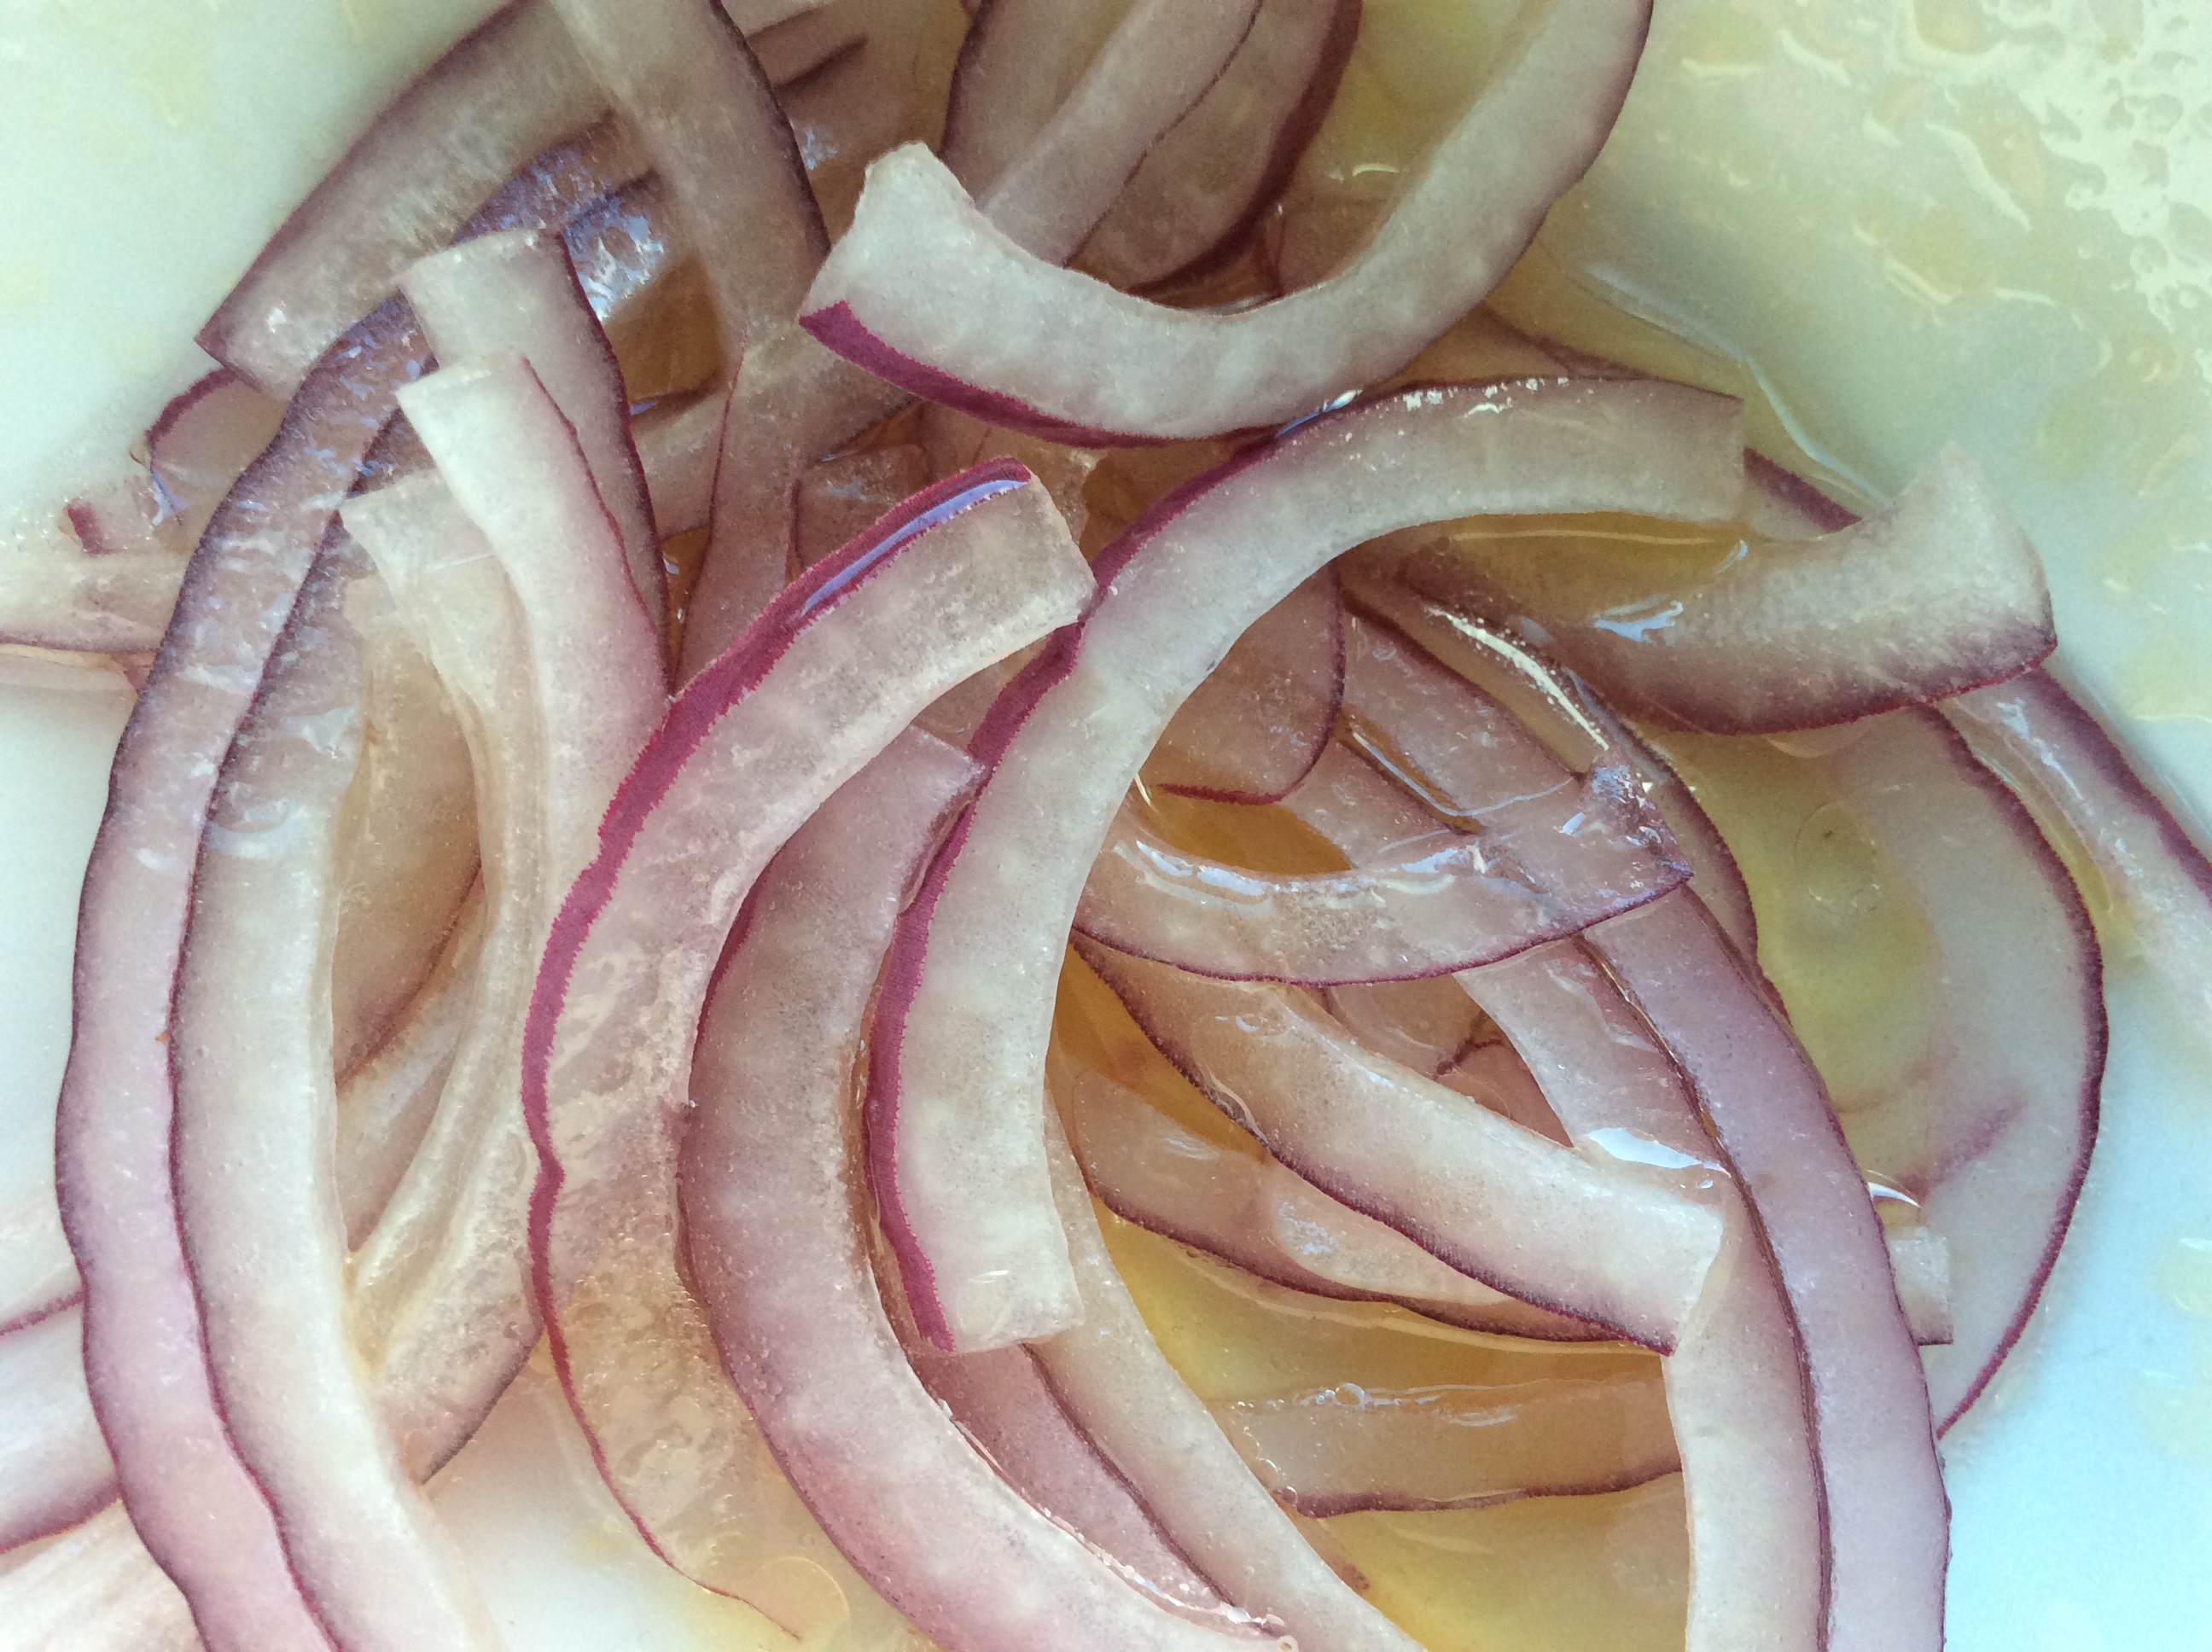
Red onions get a bit melbowed by a rice wine vinegar, sugar and sunflower oil dressing, but keep their crunch to contrast with the snappy cucumbers and spicy ginger.
Enjoy and best wishes in 2016.
Recipe: Plenty, by Yotam Ottolenghi
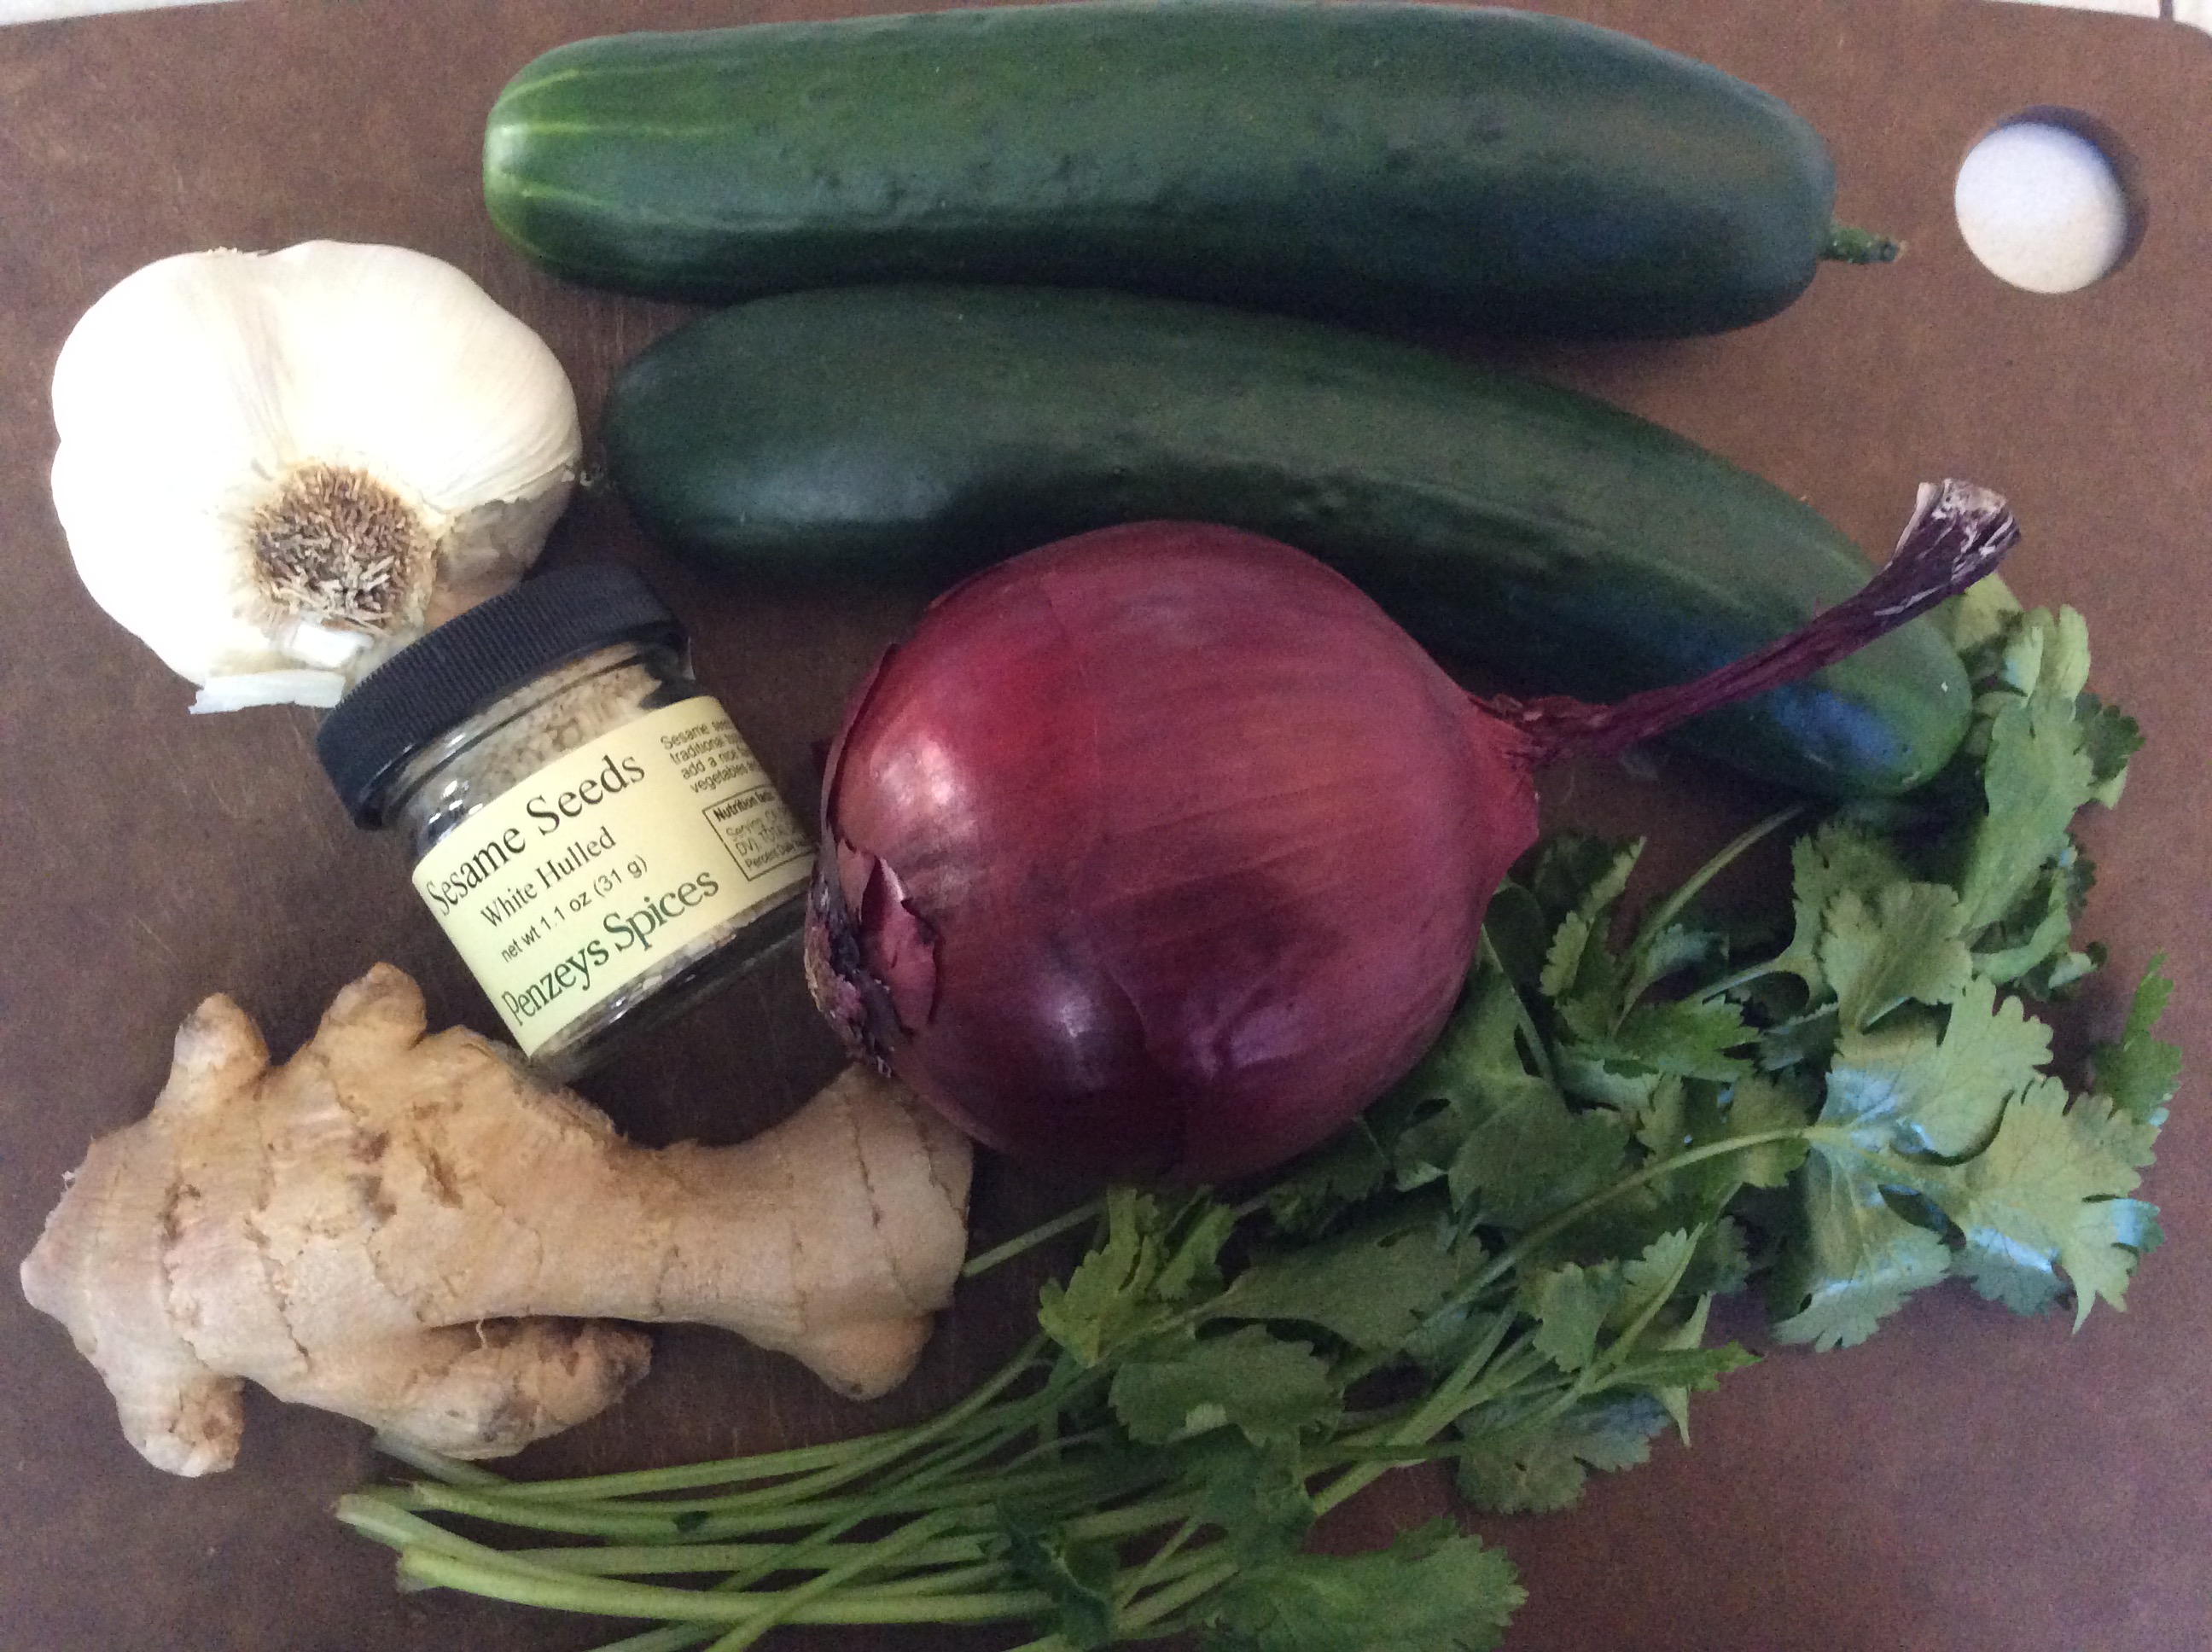
Cucumber salad with smashed garlic and ginger
Dressing:
3T rice wine vinegar
2t sugar
2T sunflower oil
2t toasted sesame oil
Ingredients:
1 small red onion, very thinly sliced
1 1/2 inches fresh ginger, peeled and sliced
1t Maldon sea salt
2 large garlic cloves, peeled
4 small (or 8 mini, or 2 English) cucumbers, peeled
1T toasted sesame seeds
3T chopped cilantro
1. To make dressing: whisk together all the dressing ingredients in a medium mixing bowl.
2. Add sliced red onion, mix well and leave aside to marinate for about an hour.
3. Place the ginger and salt in a mortar and pound well with a pestle. Add the garlic and continue pounding until it is also well crushed and broken into pieces (stop pounding before it disintegrates into a paste). Use a spatula to scrape the contents into the bowl with the onion and dressing. Stir together.
4. Cut the cucumbers lengthways in half, then cut each half on an angle into 1/4″ thick slices. Add the cucumber to the bowl, followed by the sesame seeds and cilantro. Stir well and leave to sit for 10 minutes.
5. Before serving, stir the salad again, tip out some of the liquid that may have accumulated, and adjust the seasoning.
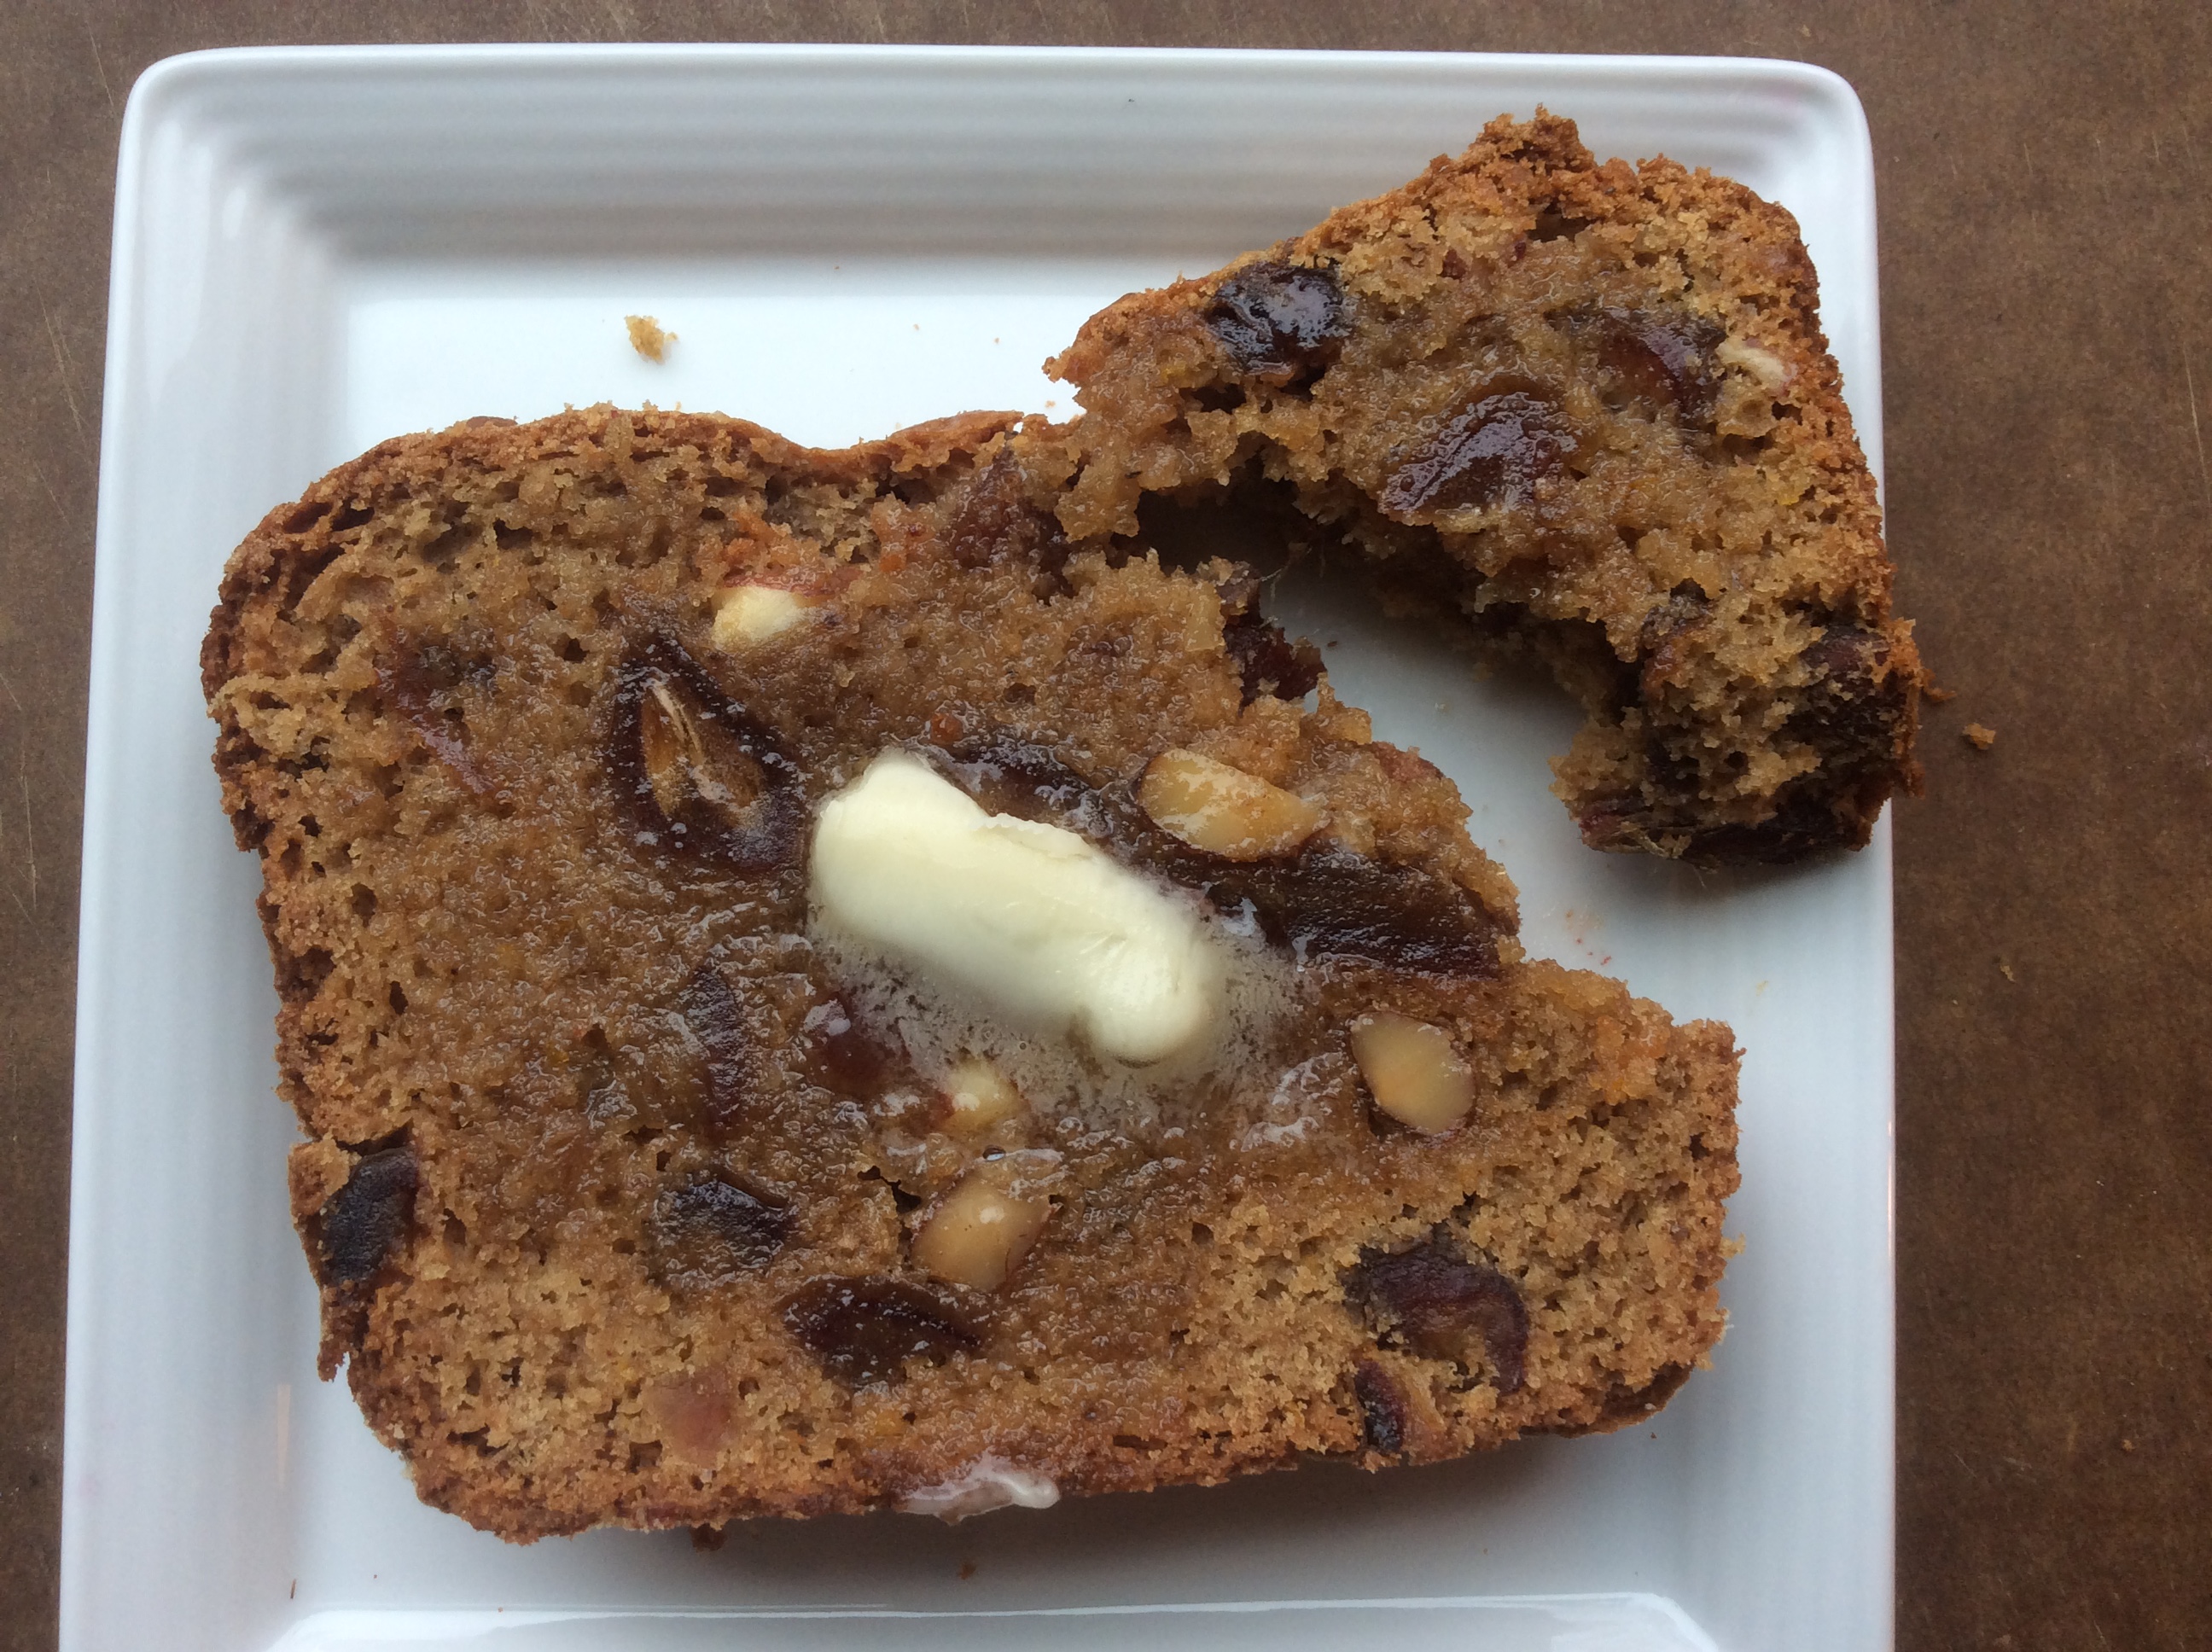
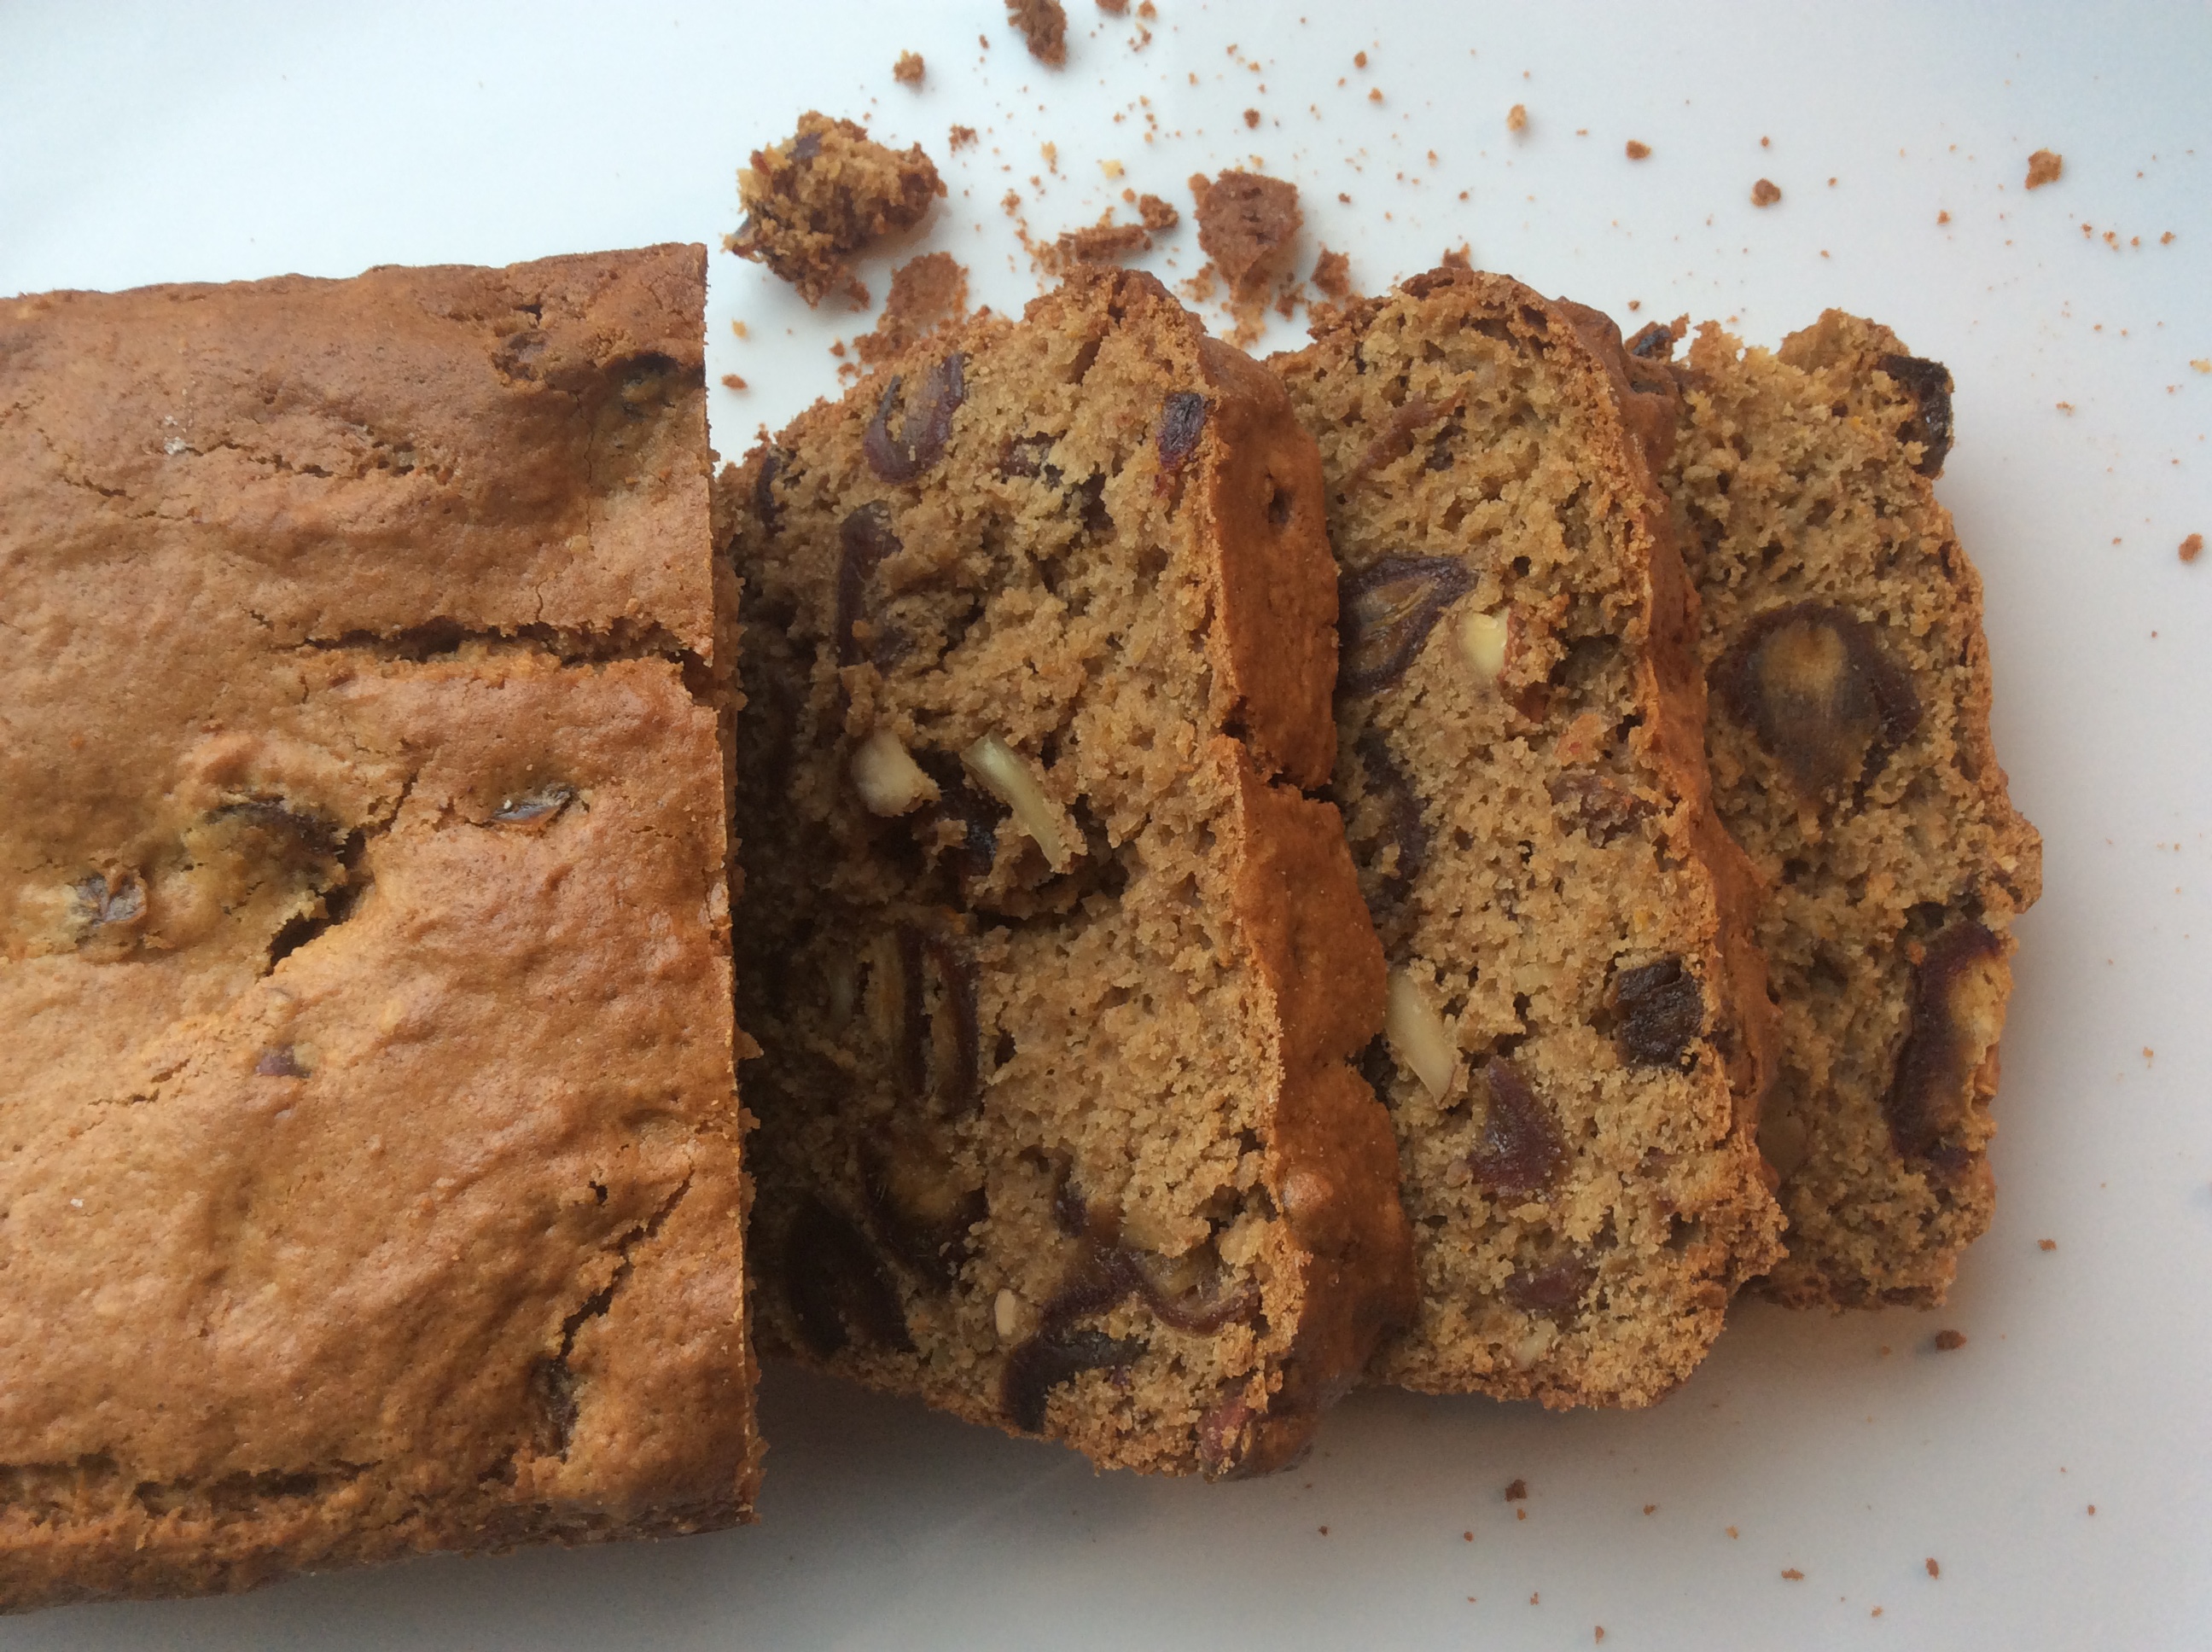
Welcome November! The weather here around Boston is starting to cool down, dusk arrives noticeably sooner and so it’s time for cozy, spice breads.
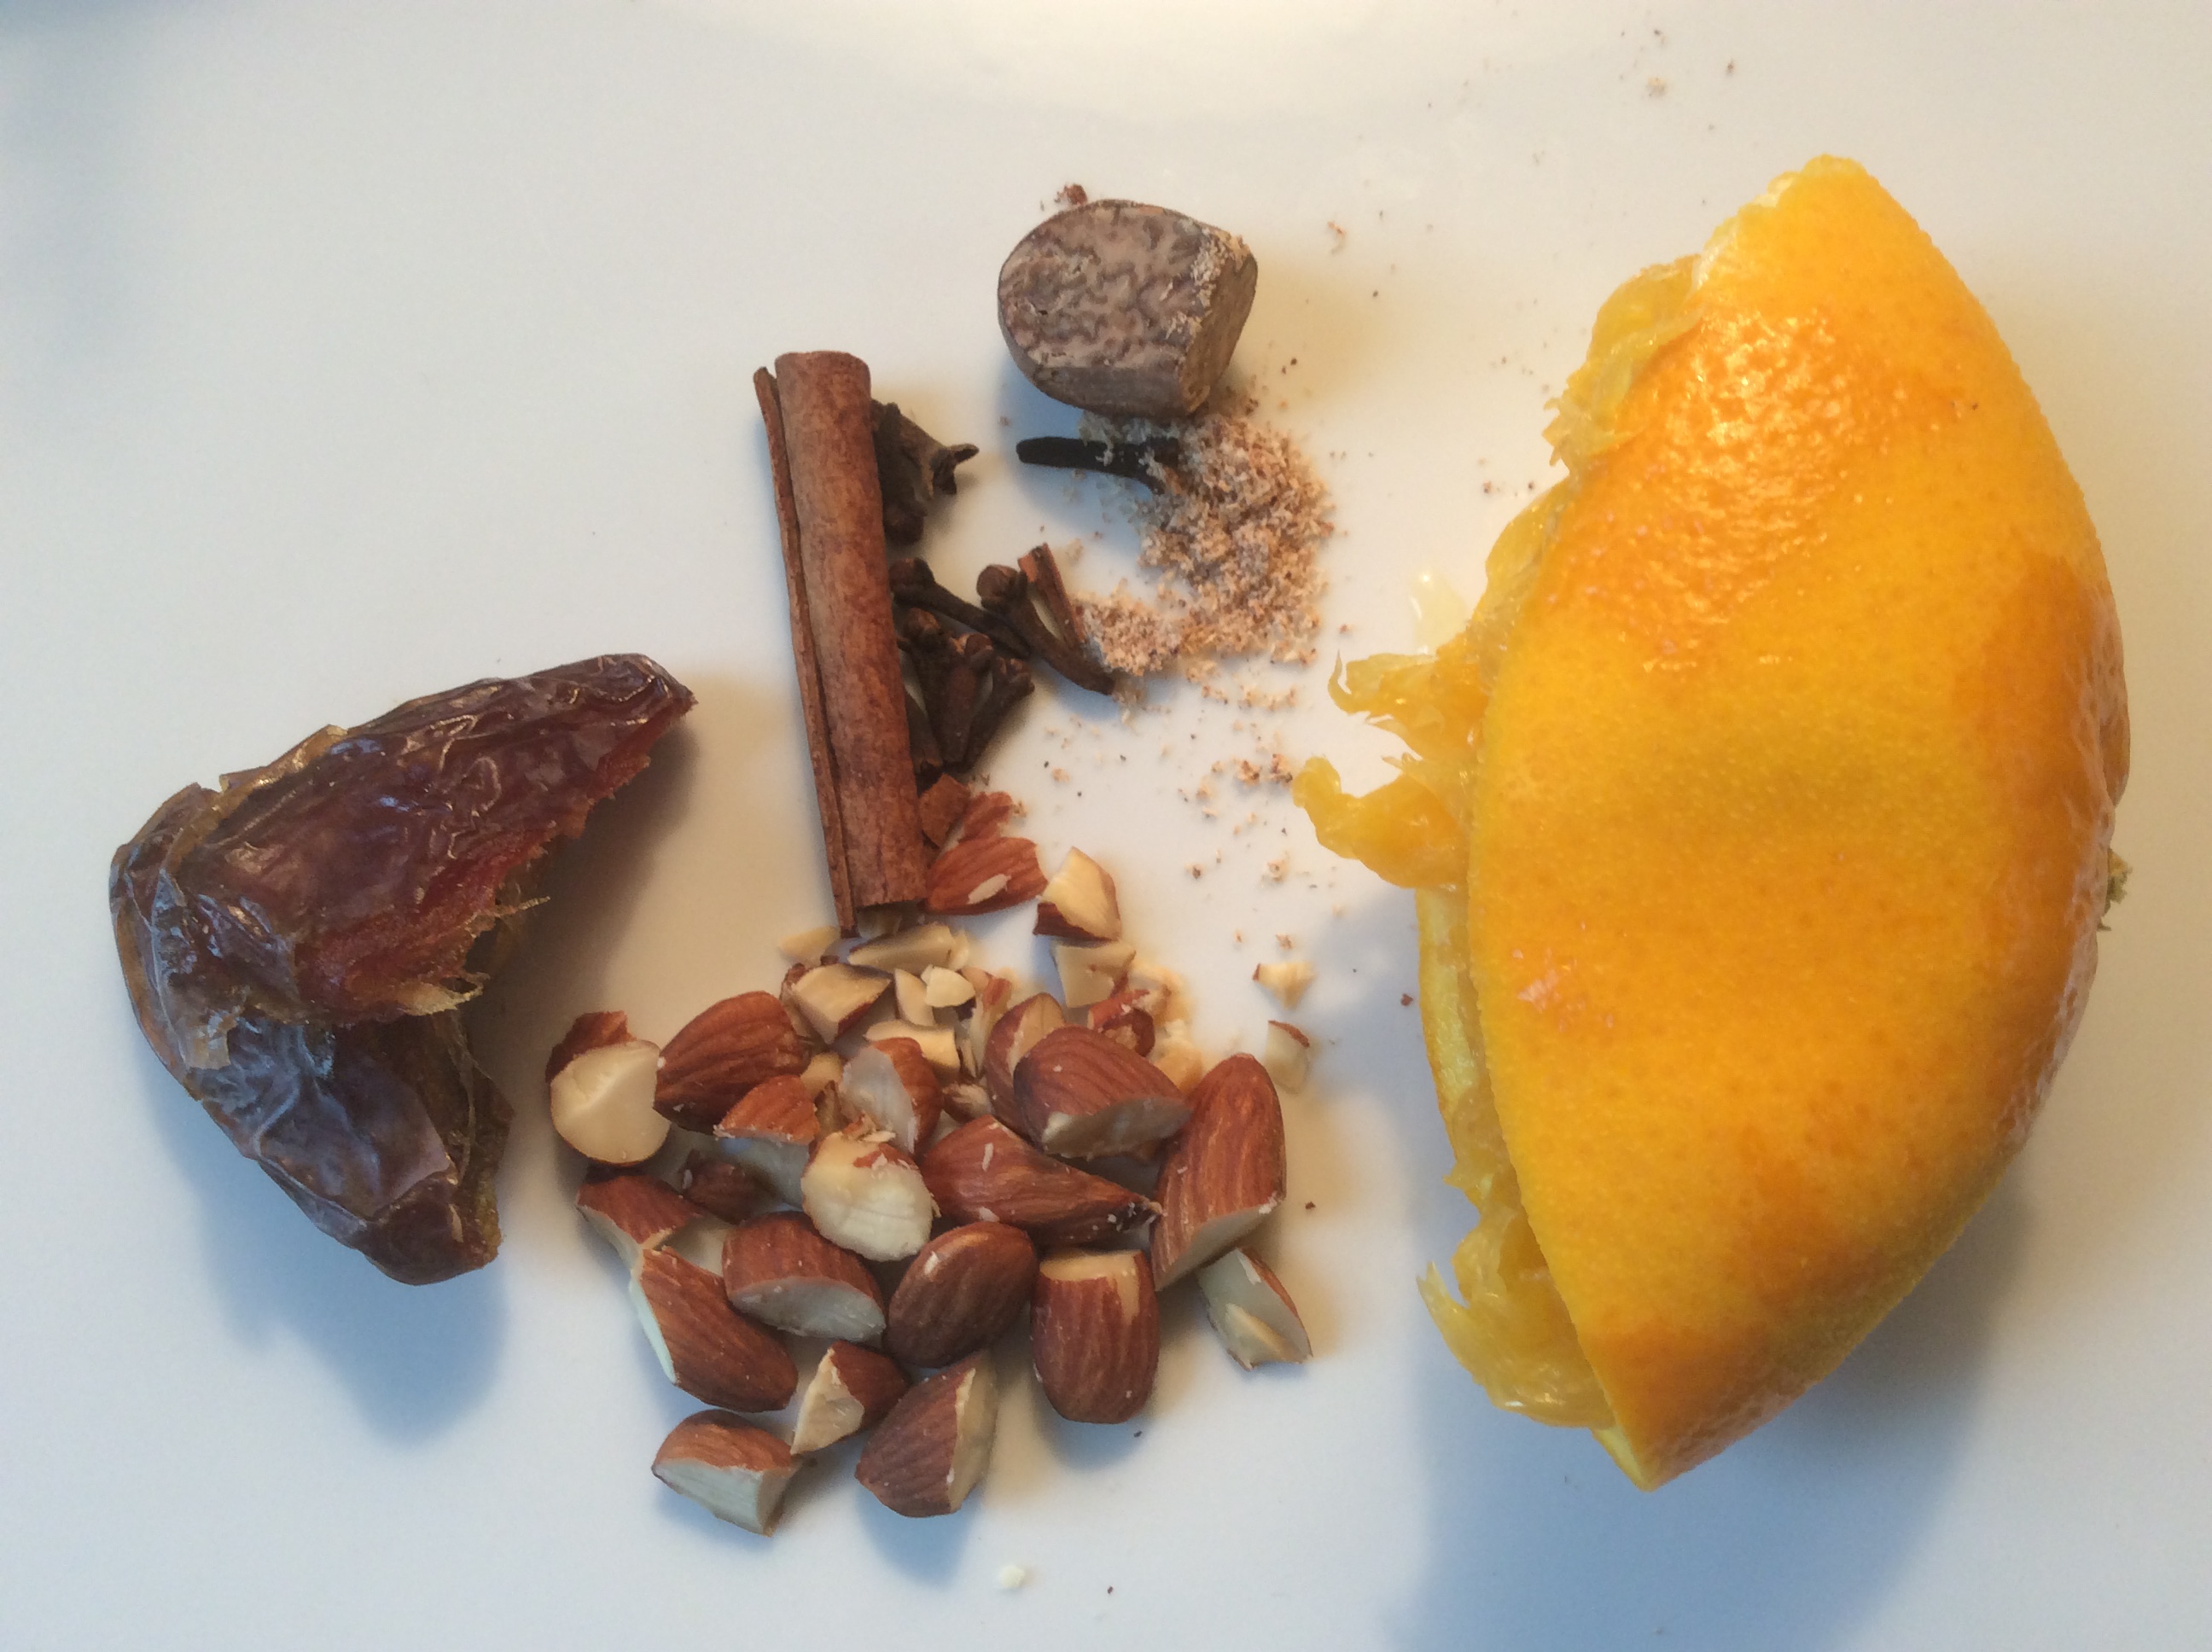
This one is jam-packed with marinated dates, almonds, cinnamon, nutmeg, cloves and lots of orange, making it wonderfully fragrant and perfectly seasonal.
Enjoy!
Recipe (adapted from Ina Garten)
Date Nut Spice Bread
Yield 1 loaf
Ingredients:
2 cups coarsely chopped dates, pitted
1/3 cup Cointreau or Triple Sec
4T unsalted butter, at room temperature
3/4 cup brown sugar
1 egg
1t vanilla extract
1T grated orange zest
2cups all-purpose flour
2t baking powder
1/2t baking soda
1t ground cinnamon
1t ground nutmeg, freshly grated if possible
1/4t ground cloves
1t kosher salt
3/4cup freshly squeezed orange juice
3/4cup coarsely chopped pecans or almonds
Directions:
1. Preheat oven to 350F. Butter bottom of 8 1/2 x 4 1/2 x 2 1/2 inch loaf pan. Line the bottom with parchment paper, then spray or butter and flour the pan.
2. Pit dates if they are not yet, chop and combine with orange liqueur in a small bowl and set aside for 20-30minutes. Stir occasionally.
3. In a large bowl with wooden spoon (or in electric mixing bowl), combine butter and brown sugar for one minute. Scrape down the bowl. Add the egg, vanilla, and zest, stir carefully but do not over mix. Sift together flour, baking powder, baking soda, cinnamon, nutmeg, cloves and salt. Stirring carefully (or with mixer on low), add the flour mixture alternately with the orange juice to the butter & sugar mixture, mixing only until combined. By hand, stir in the dates with their liquid, and the nuts.
4. Pour the batter into the prepared loaf pan and smooth the top. Bake for 50-60 minutes, until a toothpick comes out clean. Cool in the pan for 10 minutes, then turn onto a wire rack and cool completely.
Storage: Wrap or cover in plastic wrap and refrigerate for up to a week.
– Kristan
Looks can be deceiving: this is the Lima Bean story. If you see them in the market or store, they are completely unassuming:

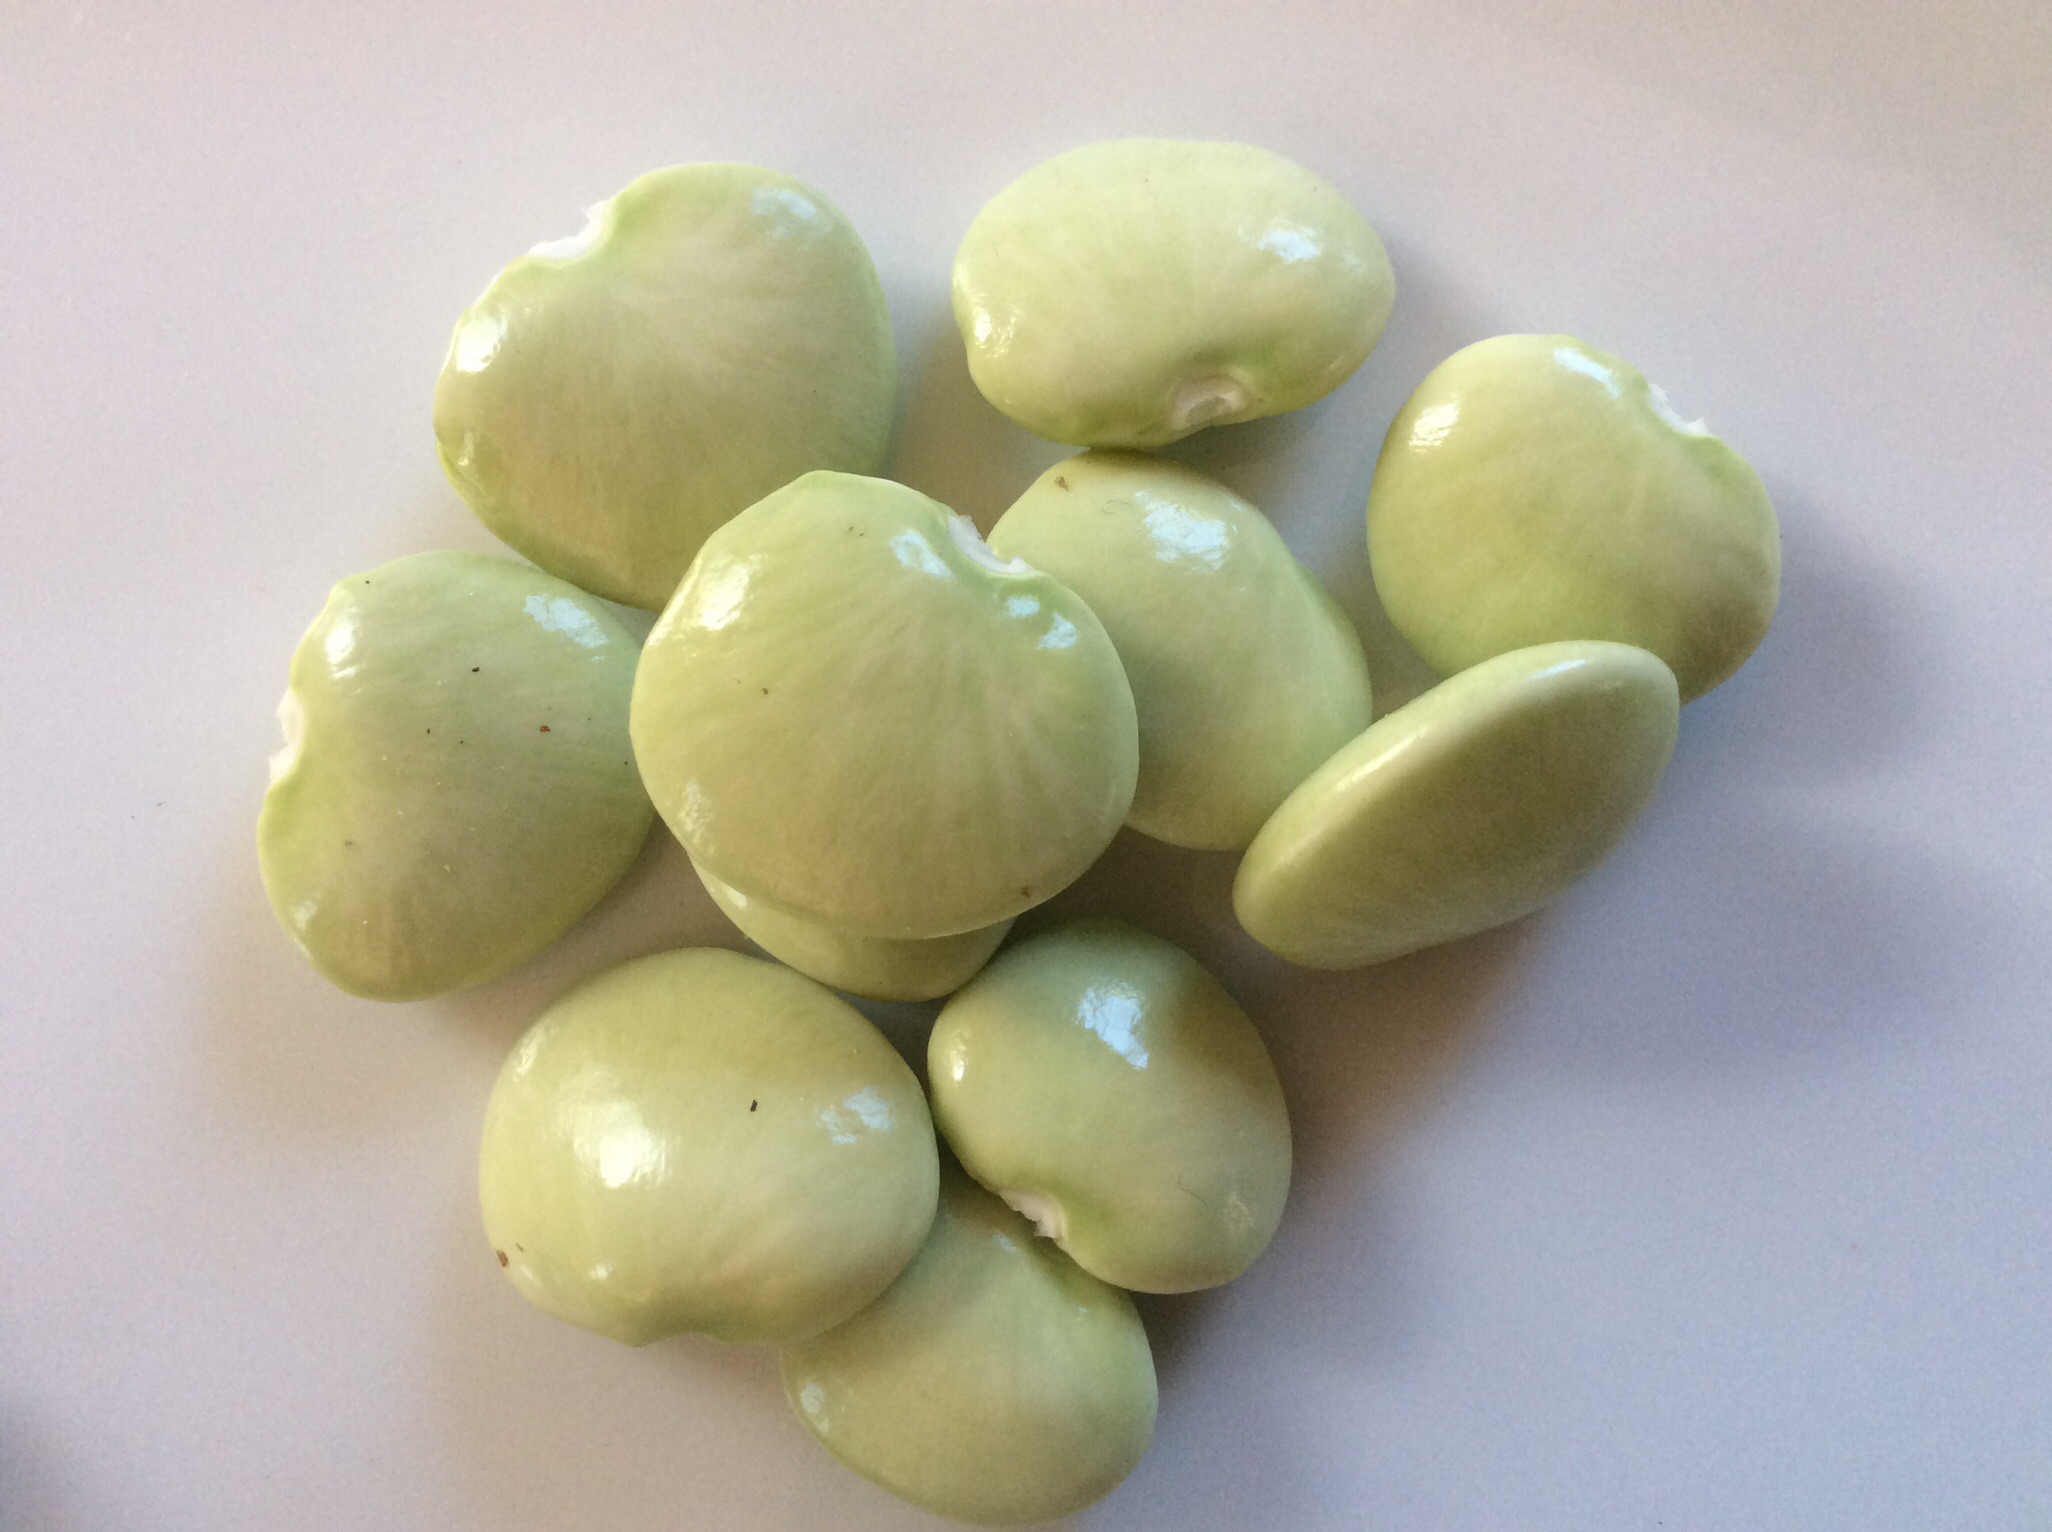
But what sneakily hides inside these flat pods is a treasure. They are one of the legumes that requires shelling, like soy beans (edamame) or fava beans, which is another way of their trickery (aah, another deterrent). But shelling takes very little time so don’t despair.

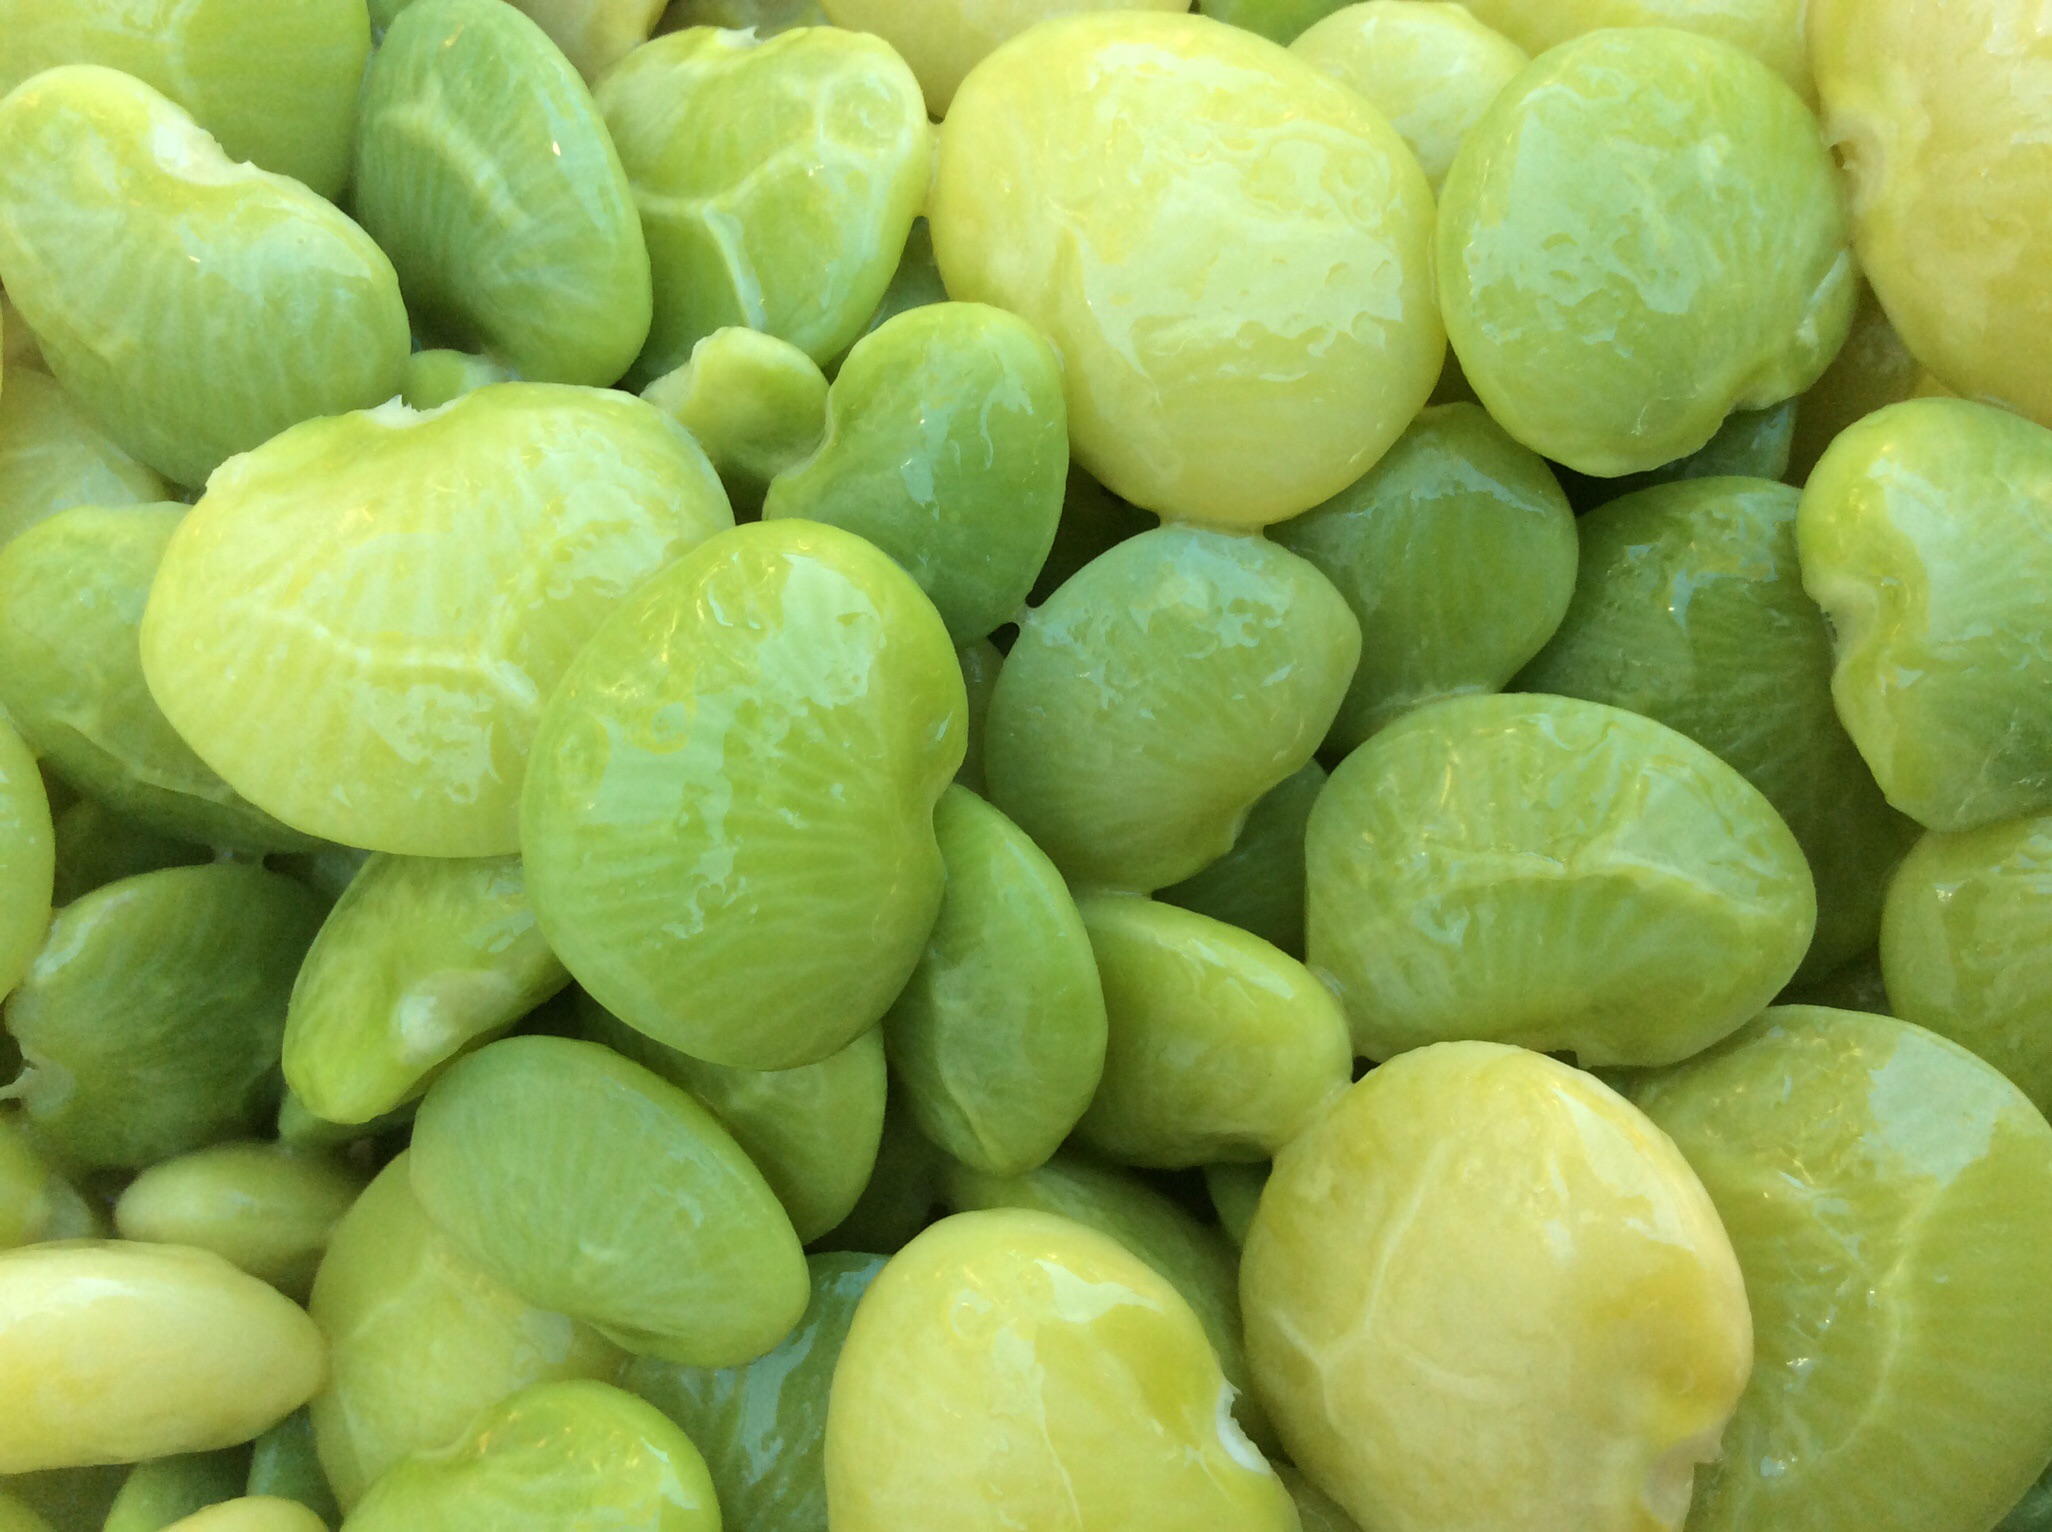
Once shelled, they still have a quiet presence: smooth and pale green staring back at you.
After several therapeutic minutes of shelling (even little hands like to help with this part), you will have scores staring back at you.
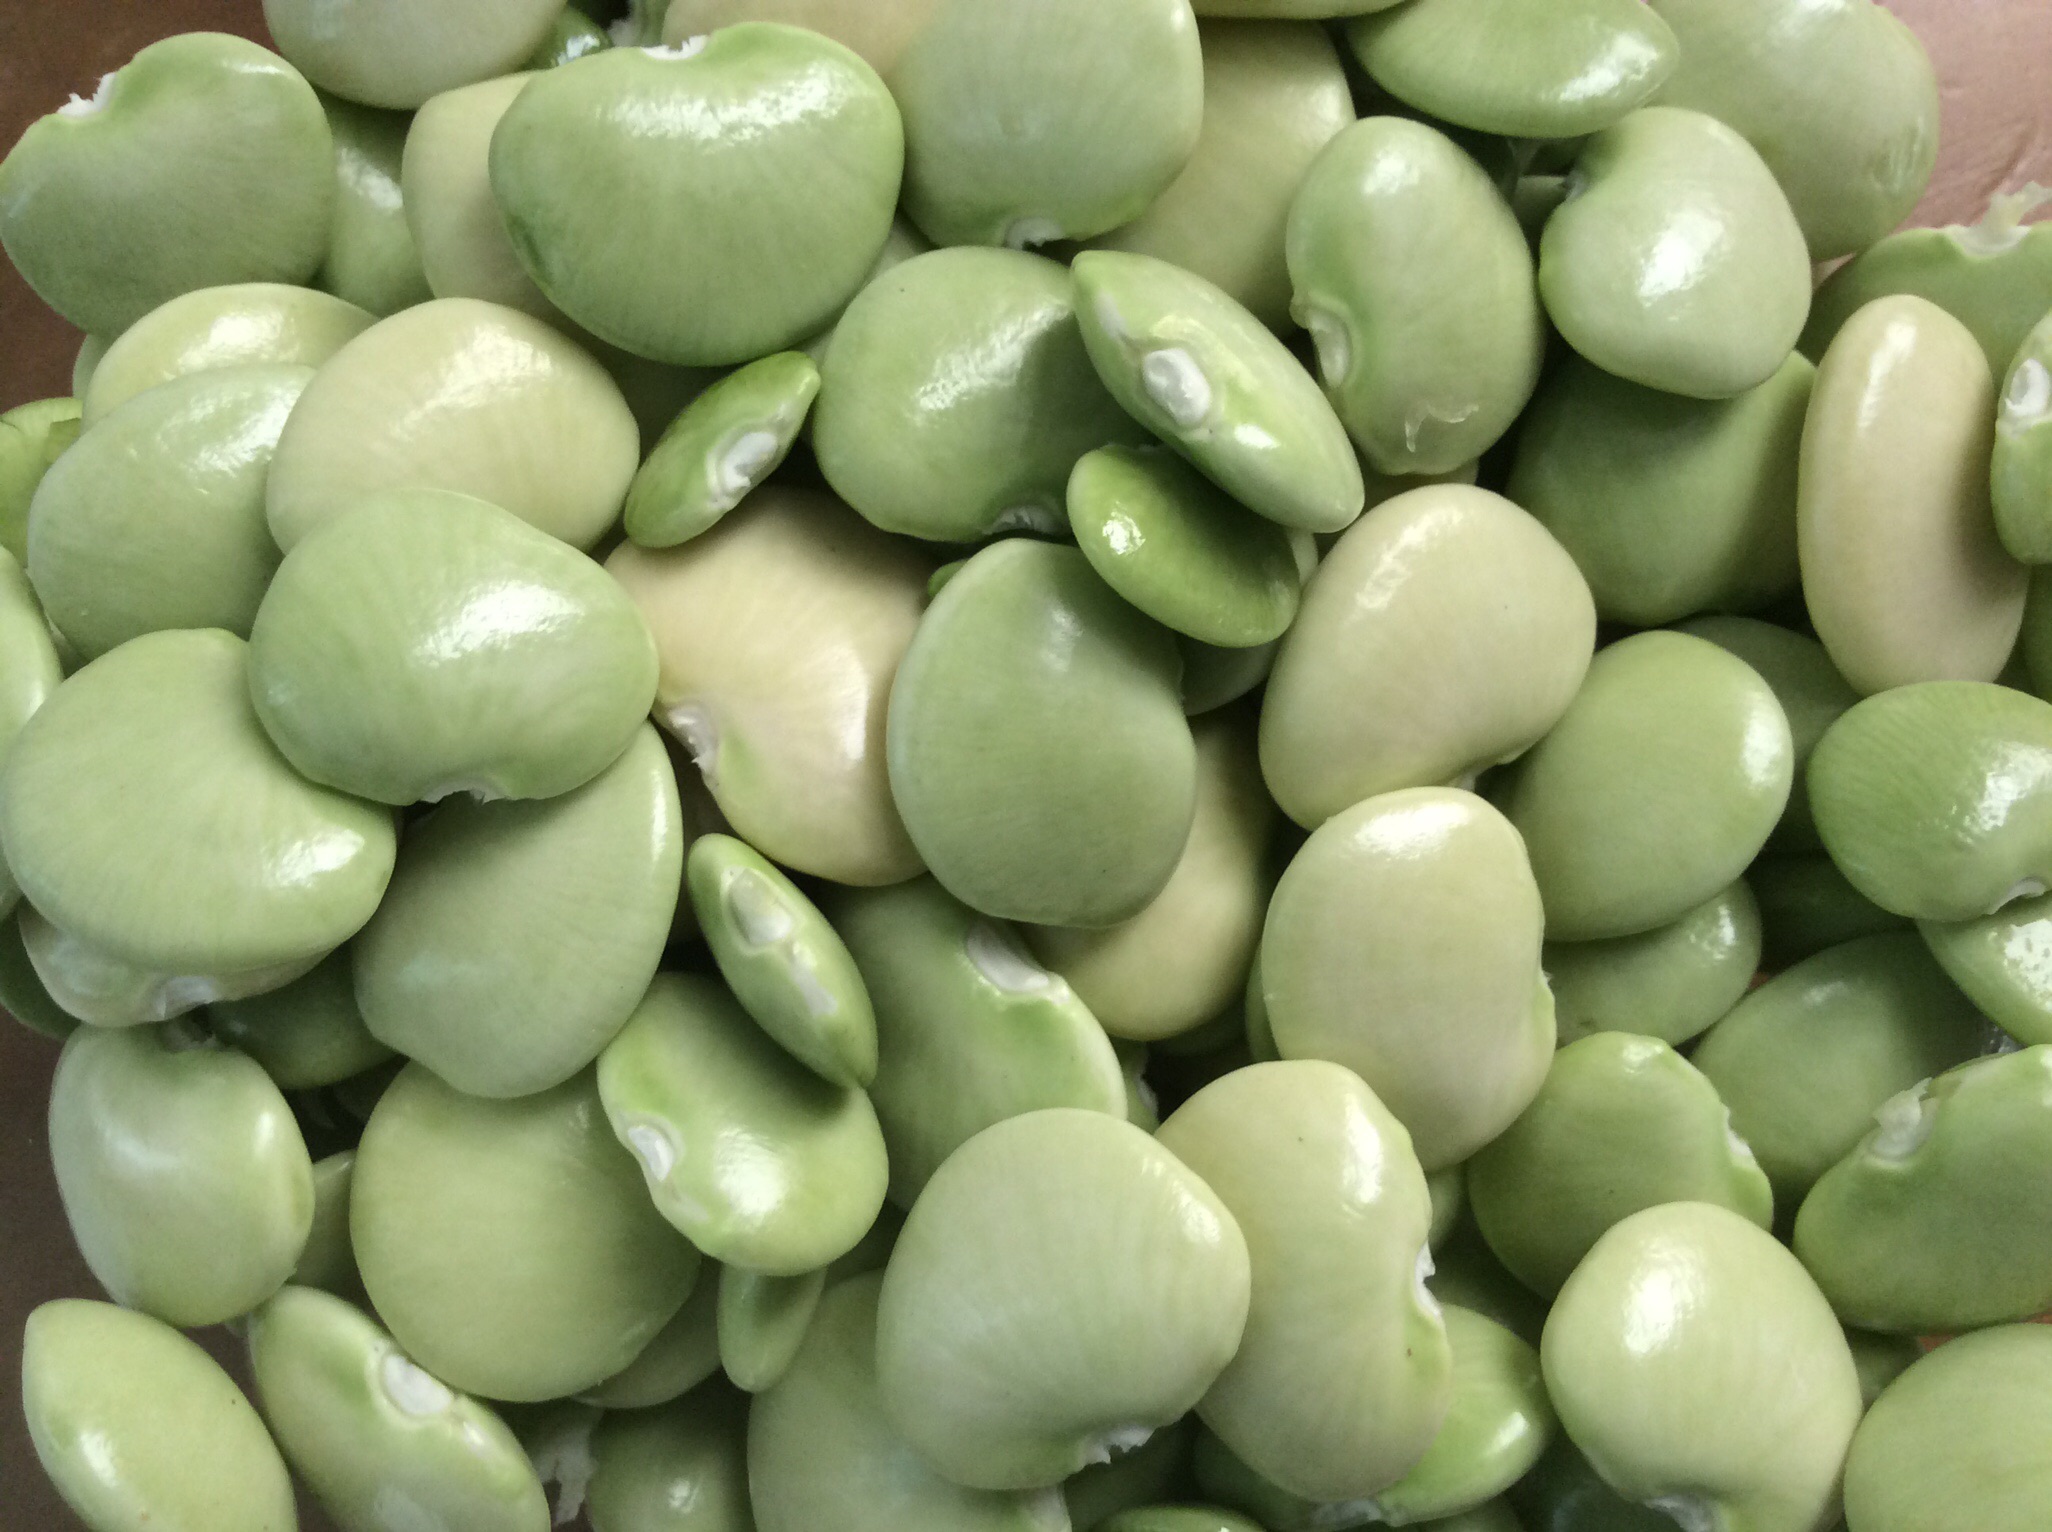
Let me tell you: it is all worth the wait. Freshly cooked lima beans, tossed in just a little bit of salty butter, are SUBLIME. They have a smooth bite, a nutty flavor, almost like pecans, but have their own earthiness, and they are an absolute treat. Don’t pass them by!
Local Fresh Lima Beans
1 1/2lbs beans in pod will yield roughly 2cups shelled beans
Shell by gently twisting pod, enough to open and remove beans, discard pod
Set large pot of water on stove to boil
Once boiling, add generous pinch of salt
Boil lima beans for 8-10minutes
Check often after 6-7min with a larger sized bean, texture should be smooth
Do not overcook, look for bright green color
Drain and run cool water to stop cooking
Toss with butter and salt to taste.

Happy Summer! Time to feel the heat and enjoy delicious ways to temper it. With the abundance of juicy berries in season and the summertime love of refreshing lemons, here are three sorbets to keep in your freezer for a quick chill down, lovely on their own or happily mixed and matched.
Strawberry Sorbet

So simple and sweet, all you have to do is remove the strawberry tops and you’ve done all the work.
Strawberry Sorbet, from Cook’s Illustrated
3 cups strawberries
1 cup sugar (K note: you can decrease sugar to 3/4c)
pinch salt
1/2 cup water
2 Tablespoons lemon juice
1 Tablespoon vodka (optional)
1. Pulse berries, sugar and salt together in food processor until combined, about 15 pulses. With processor running, add water, lemon juice and vodka, if using, and continue to process until sugar is dissolved, about one minute. Strain mixture through fine-mesh strainer into large bowl and refrigerate until completely chilled, about one hour.
2. Transfer mixture to ice-cream machine. Churn until mixture resembles soft-serve ice cream. Transfer to airtight container, press firmly to remove any air pockets, freeze until firm, at least three hours. Can be frozen for roughly 1-2 weeks.
Blueberry Sour Cream Sorbet
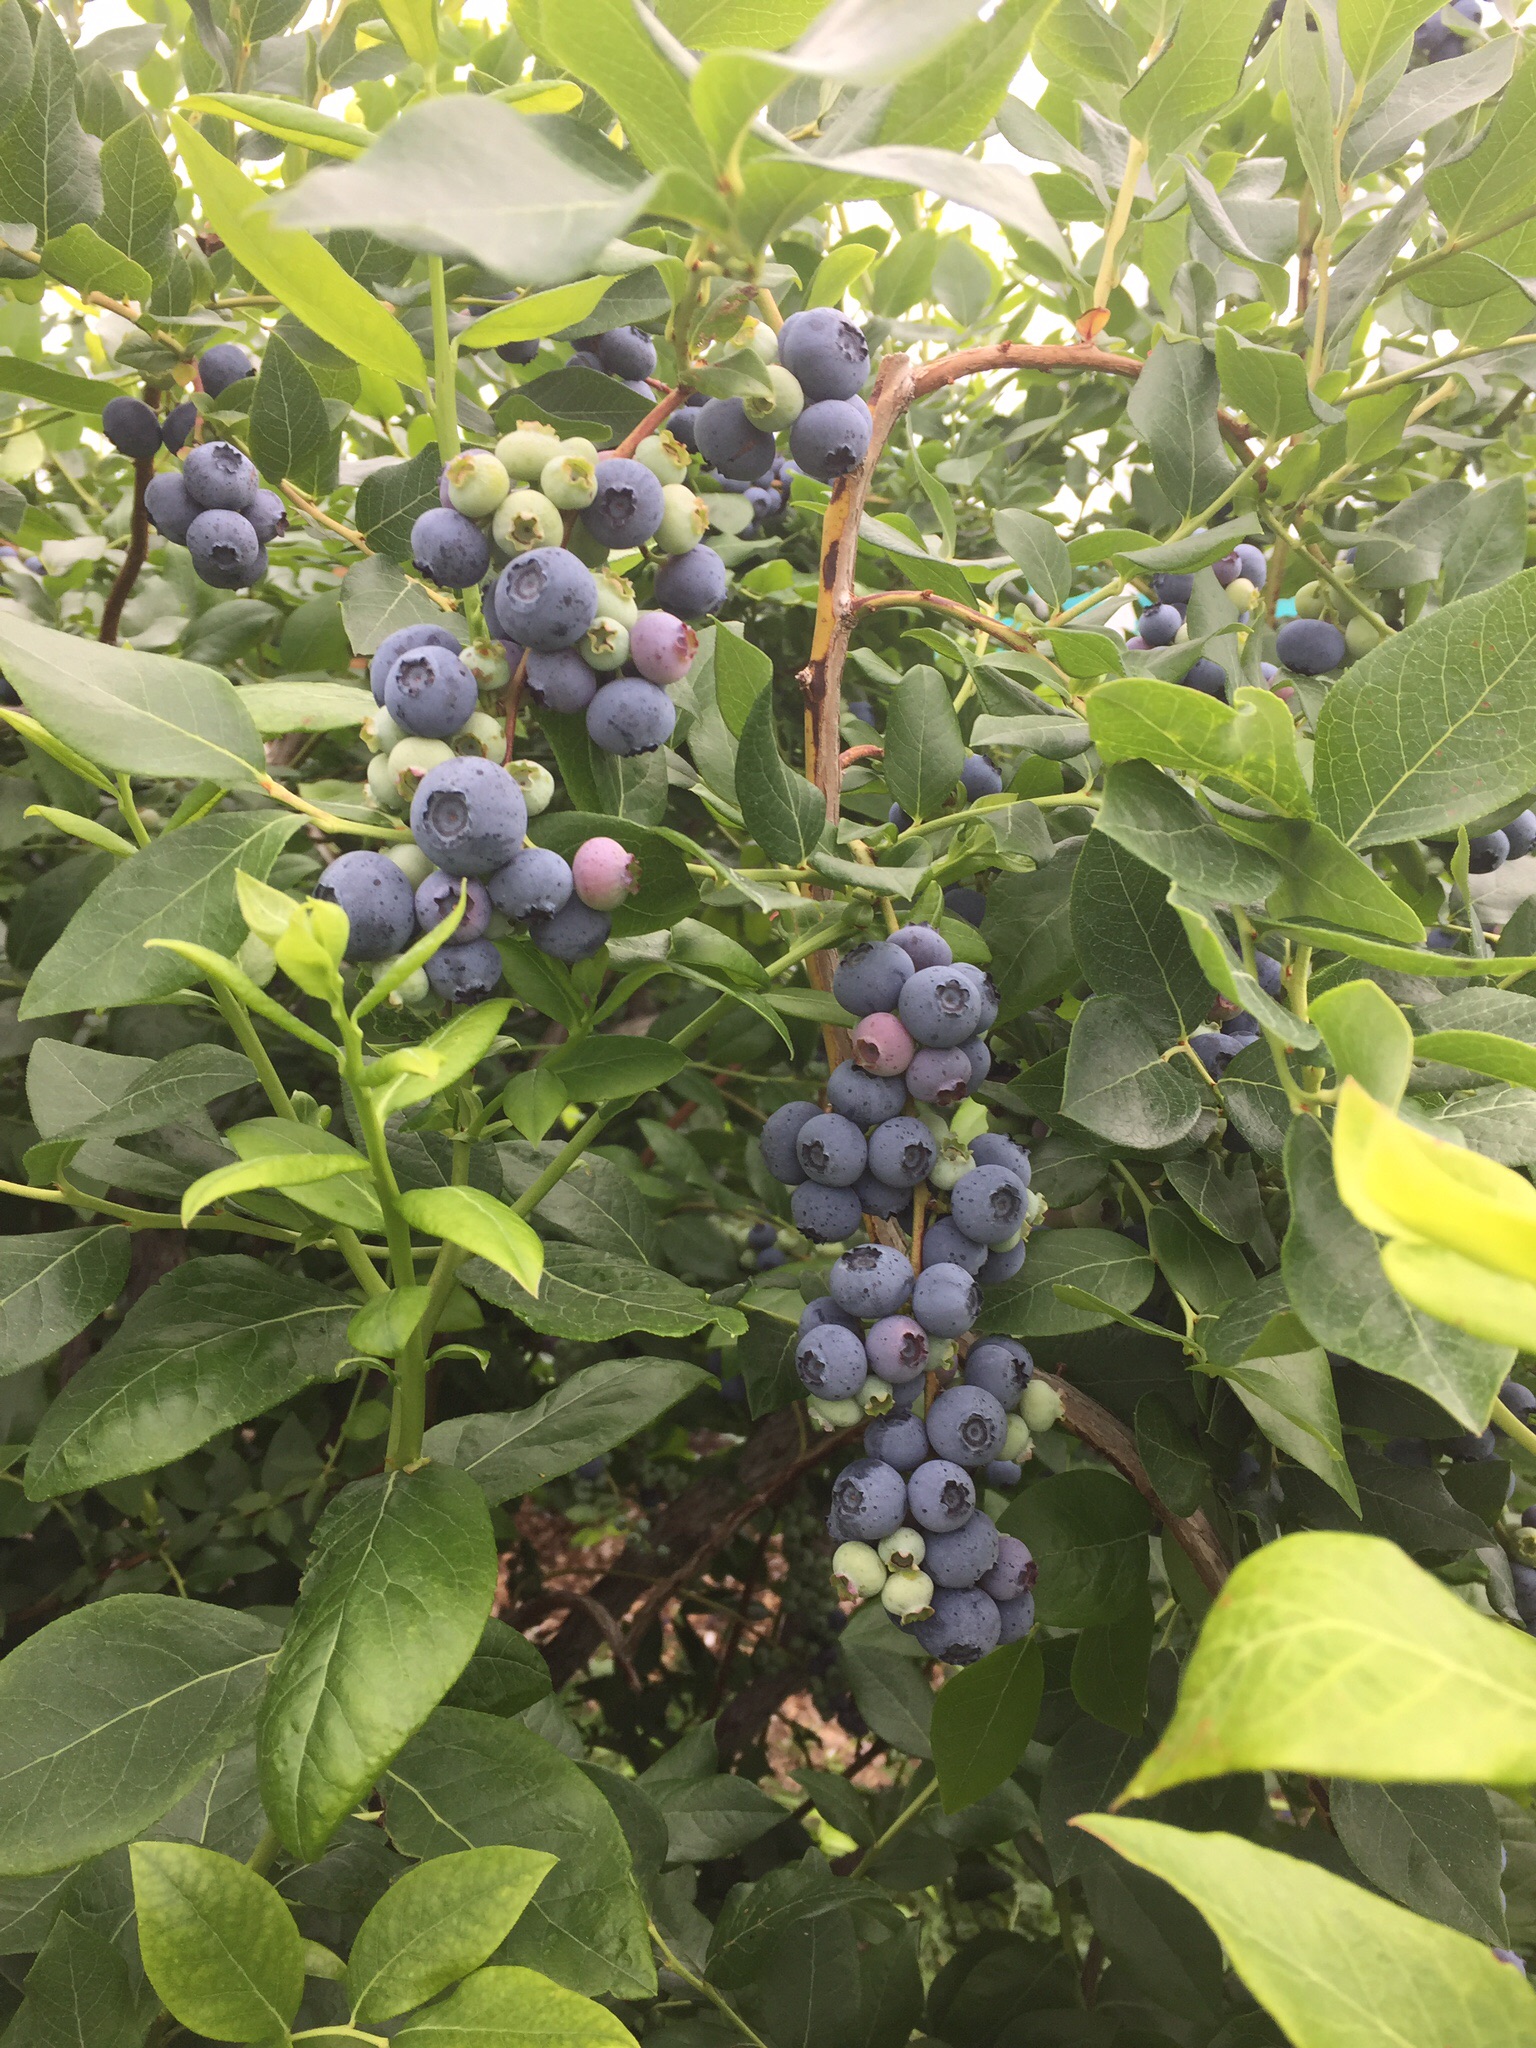
If you have enough will power to resist eating every single luscious blueberry you pick, and manage to make it home with a cup, this sorbet recipe calls also for sour cream, resulting in a tangy sorbet, almost like cheesecake, but lighter.
Blueberry-Sour Cream Ice Cream, from Dorie Greenspan
1 cup blueberries
1/3 cup sugar
pinch salt
grated zest and juice of 1/4 lemon (or lime if you prefer), or more juice to taste
3/4 cup heavy cream
3/4 cup sour cream
1. Put blueberries, sugar, salt and lemon zest and juice in a medium nonreactive saucepan and cook over medium heat, stirring, until the mixture boils and the berries pop and soften, about three minutes.
2. Turn the berries into a blender and whir until you have a fairly homogeneous puree, about one minute. (It will never be completely smooth, and that’s just fine). Add the heavy cream and sour cream and pulse just to blend. Taste and, if you’d like, add a squirt more lemon juice or a tiny bit more sugar.
3. Pour the custard into a bowl and refrigerate until it is chilled before churning into ice cream.
4. Scrape the chilled custard into the bowl of an ice cream maker and churn according to the manufacturer’s instructions. Pack the ice cream into a container and freeze for at least two hours, until it is firm enough to scoop. Can be frozen for roughly 1-2 weeks.
Lemon Sorbet

This is my new favorite lemon recipe: bright and clean and zesty with just the right amount of tartness.
Super Lemon Ice Cream, from David Lebovitz
2 lemons, preferable unsprayed
1/2 cup sugar
1/2 cup freshly squeeze lemon juice (from about three lemons)
2 cups half-and-half
pinch salt
1. Zest the lemons directly into a food processor or blender. Add the sugar and blend until the lemon zest is very fine. Add the lemon juice and blend until the sugar is completely dissolved. Blend in the half-and-half and salt until smooth.
2. Chill for one hour, then freeze the mixture in your ice cream maker according to the manufacturer’s instructions.
Enjoy!
