Skip to content

Bok Choy, Carrot & Apple Salad

image

This is a perfect salad! Five ingredients and the only work required is some matchstick dicing, (which can be quite a calming task) grating and squeezing. The ginger and lemon juice mellow each other and result in a lovely dressing, bright and spicy, tossed with the crunchy, snappy fruits and vegetables. This is basically all you need:

image

Bok Choy, Carrot & Apple Slaw (altered slightly from Food Everyday)
Ingredients:
1lb baby bok choy (5-6 heads), halved lengthwise
coarse salt and fresh ground pepper
1 apple, peeled, cored and cut into matchsticks
2 large carrots, peeled & shredded (or cut into matchsticks)
3 Tablespoons fresh lemon juice
1 Tablespoon vegetable oil
1 teaspoon finely grated peeled fresh ginger

Directions:
1. Rinse bok choy under cold water to remove grit, let drain. Cut crosswise into thin strips; place in a large bowl.
2. Add apple, carrots, lemon juice, oil and ginger; season with salt & pepper. Toss.
3. Serve right away, or you can also refrigerate for a few hours to allow flavors to marry; toss before serving.

image

Sweet Potato, Pear & Bacon Soup

image

I love when a soup like this comes together! I found myself with a handful of sweet potatoes and a few juicy Bartlett pears, both which needed action before being past their prime. When I discovered a recipe for a sweet potato, pear & bacon soup, I happily plucked some bacon from my freezer and got right to work!

image

In this Mark Bittman recipe, he calls for browning the bacon, removing it to a paper towel lined plate and adding the shredded potatoes and pears to the salty hot grease…yes, an excellent start…

image

Then to the softened shredded vegetables and fruit, add allspice, cayenne, stock or water, and cream and let it bubble away for a quick 10 or 15 minutes. Once the squash is tender, whirr the immersion blender to carefully puree. Taste for seasonings – it should be a lovely mix of earthy sweet potato, fruity pear, a little smoky, with the perfect amount of kick from the cayenne. Garnish with the crunchy bacon and you will be one happy camper. Here’s to surprise victories while cleaning out the extras!

image

Sweet Potato Soup with Pears & Bacon
By Mark Bittman

Ingredients:
8 slices of bacon
1 1/2 lbs sweet potatoes
2 large pears
1 small onion
1 teaspoon allspice
1/4 teaspoon cayenne
salt & pepper
5 cups chicken or vegetable stock, or water
1 cup cream

Directions:
Chop 8 slices bacon into 1-inch pieces.
Add bacon to large pot over medium heat.
Cook, stirring occasionally, until crisp, 5-10 minutes.
Peel & trim sweet potatoes, cut into small pieces to feed into food processor.
Peel & core pears.
Trim, peel & quarter the onion.
When bacon is crisp, transfer it to paper towel lined plate with a slotted spoon. Turn heat to low.
Shred vegetables & fruit in food processor with grating disk; empty work bowl into pot as it fills.
Raise heat to medium-high; add 1t allspice, 1/4t cayenne, sprinkle of salt & pepper.
Cook, stirring, until spices are fragrant, about one minute.
Add five cups stock or water and one cup cream.
Bring to a boil, reduce heat so that it bubbles gently but steadily.
Cook until squash is fully tender, 10-15 minutes.
Turn off heat and run an immersion blender through the pot, or working in batches transfer it to an upright blender and carefully puree.
Reheat the soup for one or two minutes if necessary. Taste and adjust seasoning.
Divide soup among four bowls, garnish with bacon and serve.

Spring Potato Salad

image

My thoughts this week are drifting to Spring’s arrival on Friday. It was a great winter for cooking, lots of new recipes, lots of tinkering with past ones, but the sun’s angle has shifted, clocks have been changed and the snow is finally melting a bit. So this week as I gaze at fingerling potatoes, I’m seeing Spring colors in the form of one of my favorite, simple dishes: potato salad. Violet hued shallots, light green celery, and dark green parsley. Lots & lots of parsley.

image

Of course, you’ll want some good sea salt and freshly cracked pepper.

image

Potatoes, steamed & smashed, skins on, crispy celery, crunchy shallots, mayonnaise, champagne vinegar, and a little salt & pepper. Preferably, all of it still a bit warm from the steaming.

image

For me, potato salad is not a summer thing, it’s a spring thing and, if I may speak on behalf of all New Englanders, we are ready for a little Springtime.

image

Enjoy!

Parsnip Soup with Leeks, Apples, Pecans and Nutmeg

image

‘Tis the season to embrace the season. We are in the deep winter now. Here in New England, we are buried in snow, with snowbank peaks and valleys higher than our heads. By these involuntary or voluntary means, it’s time to slow down, reflect a little more often and cozy up. It’s also a great time for Parsnip Soup.

image

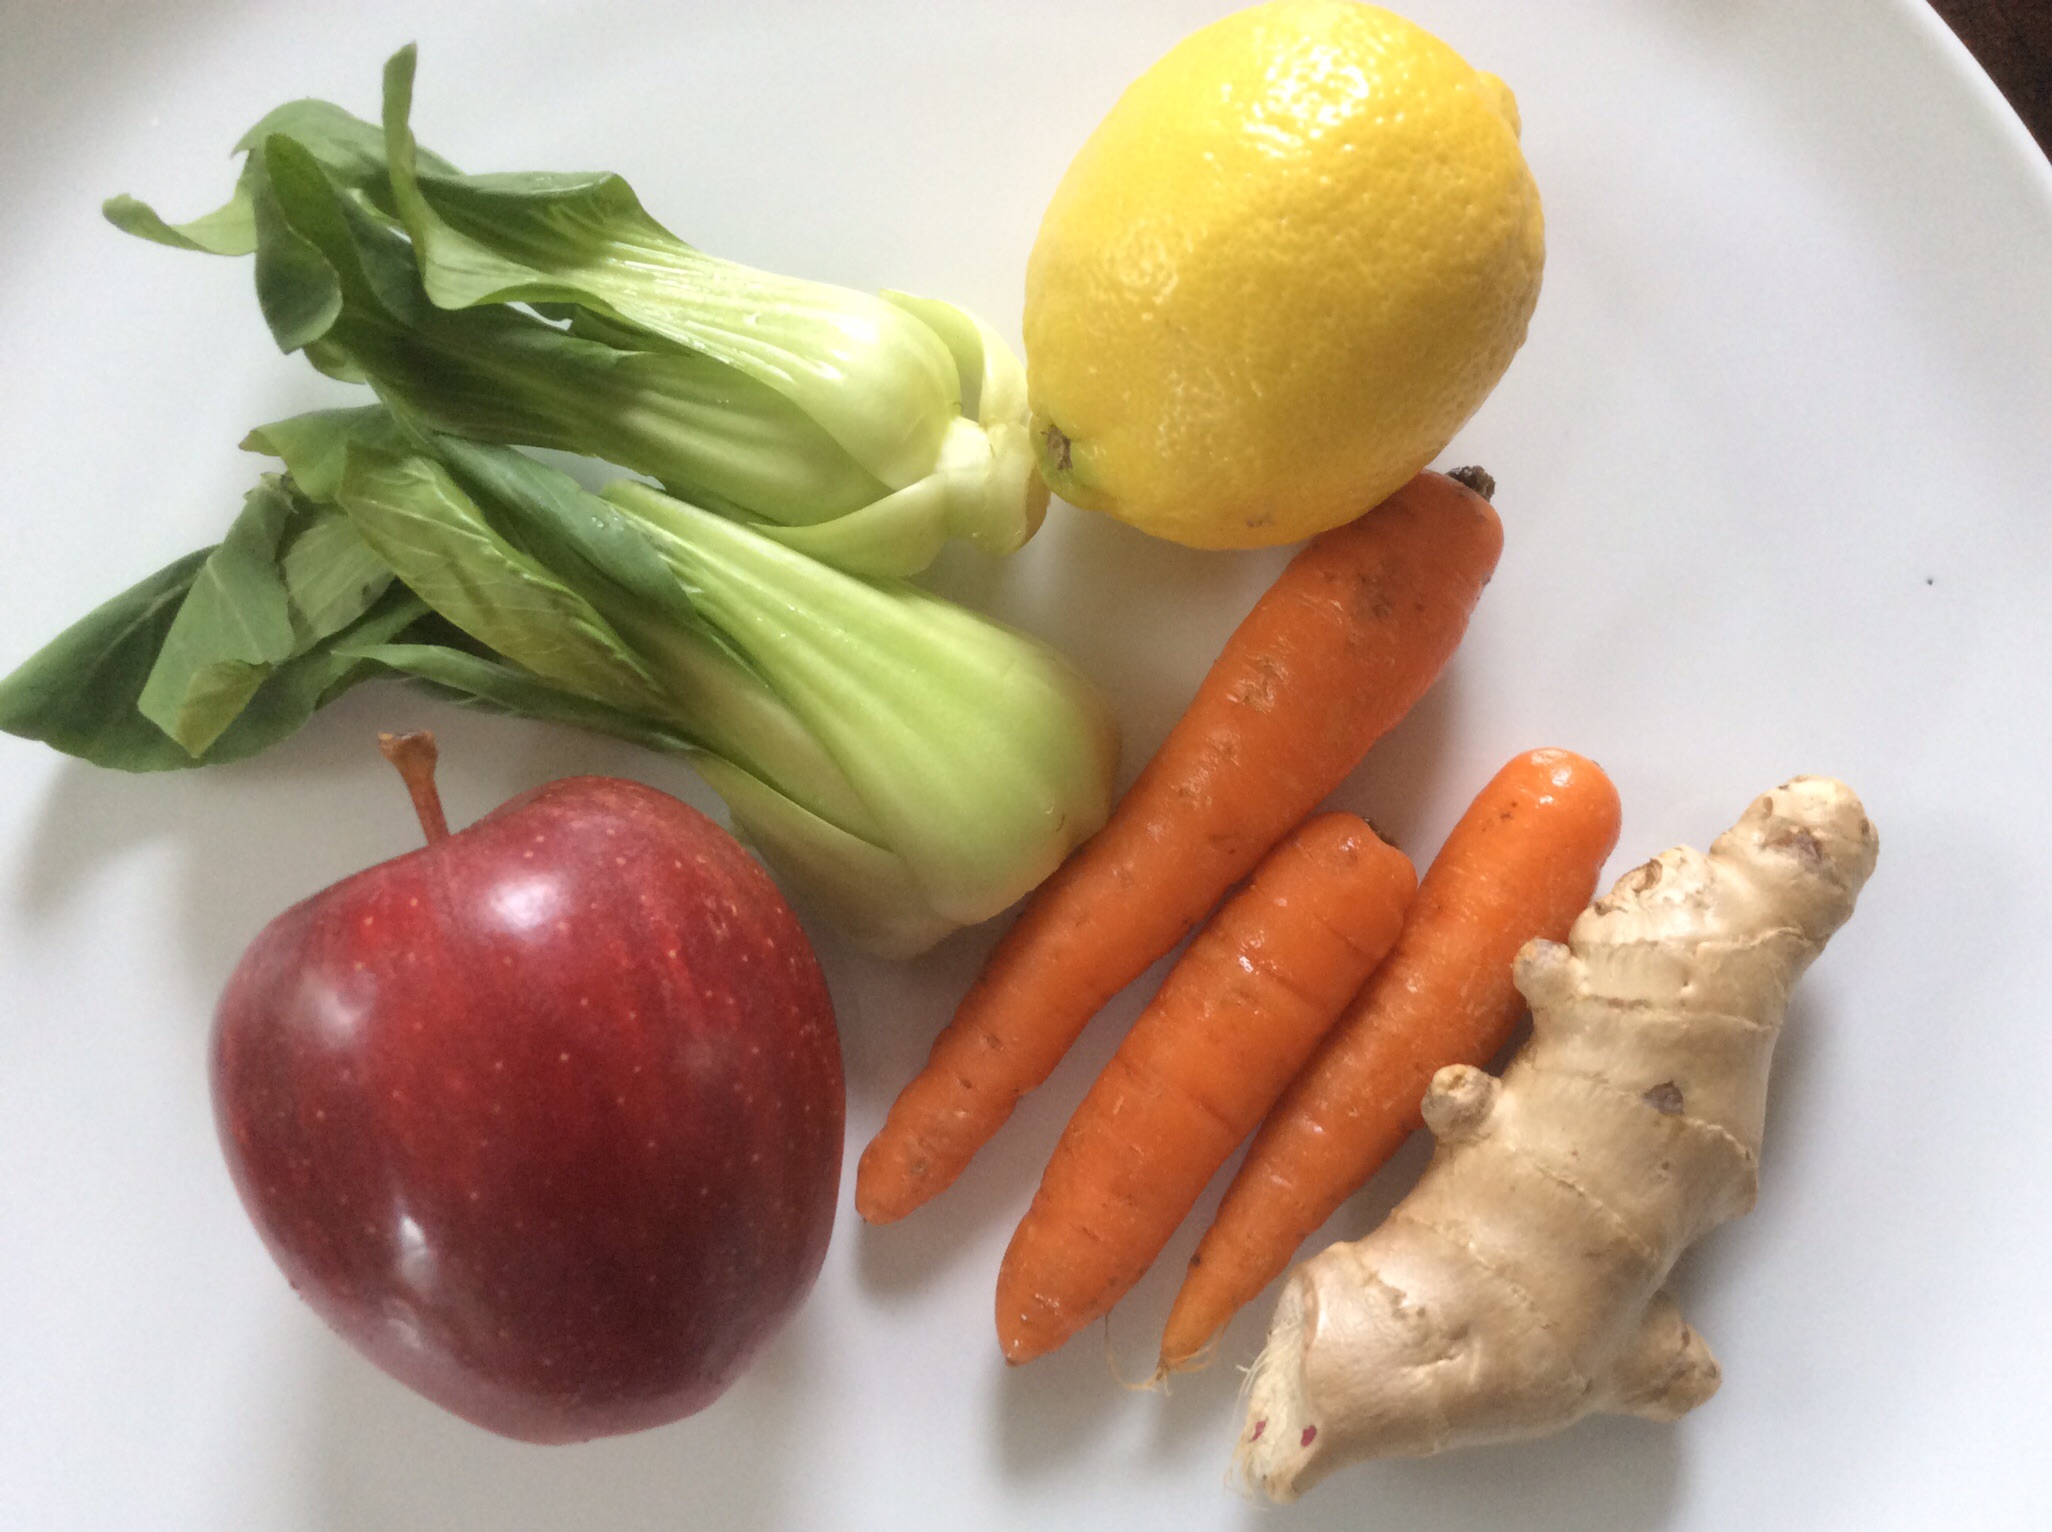
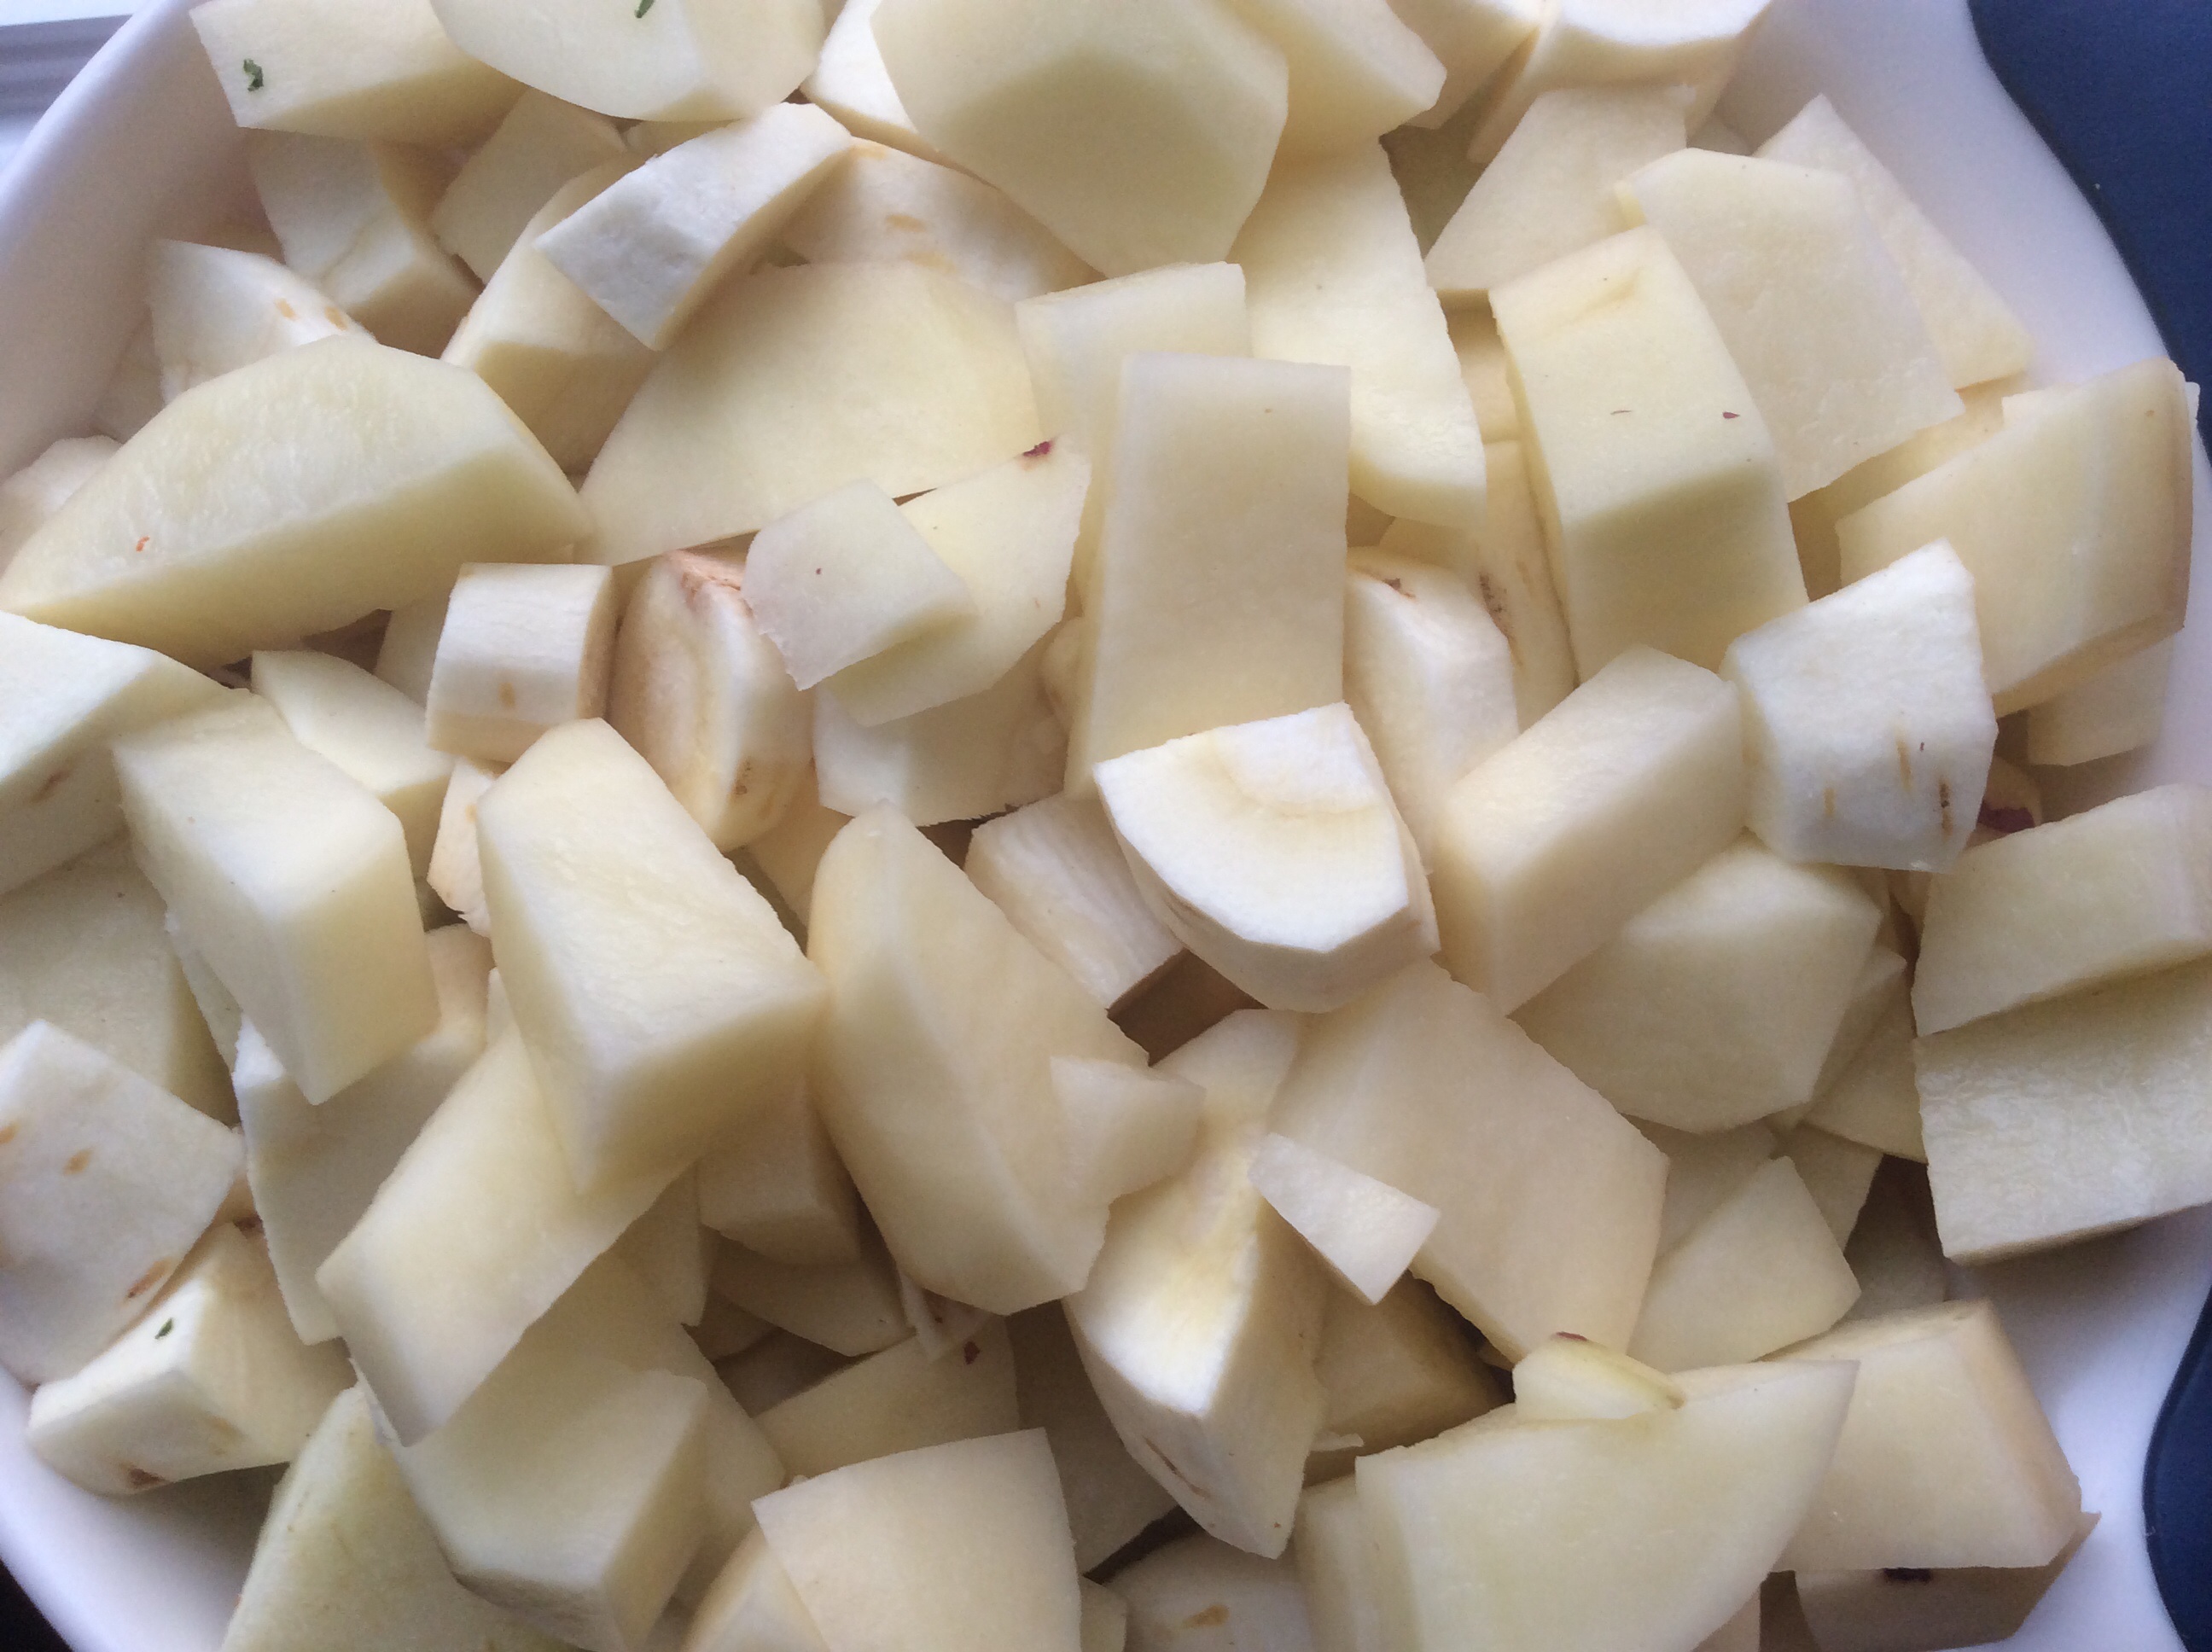
This soup starts with a pound of parsnips, which may look like a lot, but between their thick heads and spindly bottoms, you’ll peel and chop down to the right amount in no time. Same goes with the apples and potato: a quick peel and chop, and suddenly you’ll have a beautiful blend of white wintry colored chopped ingredients: parsnips, apples and potato.

image

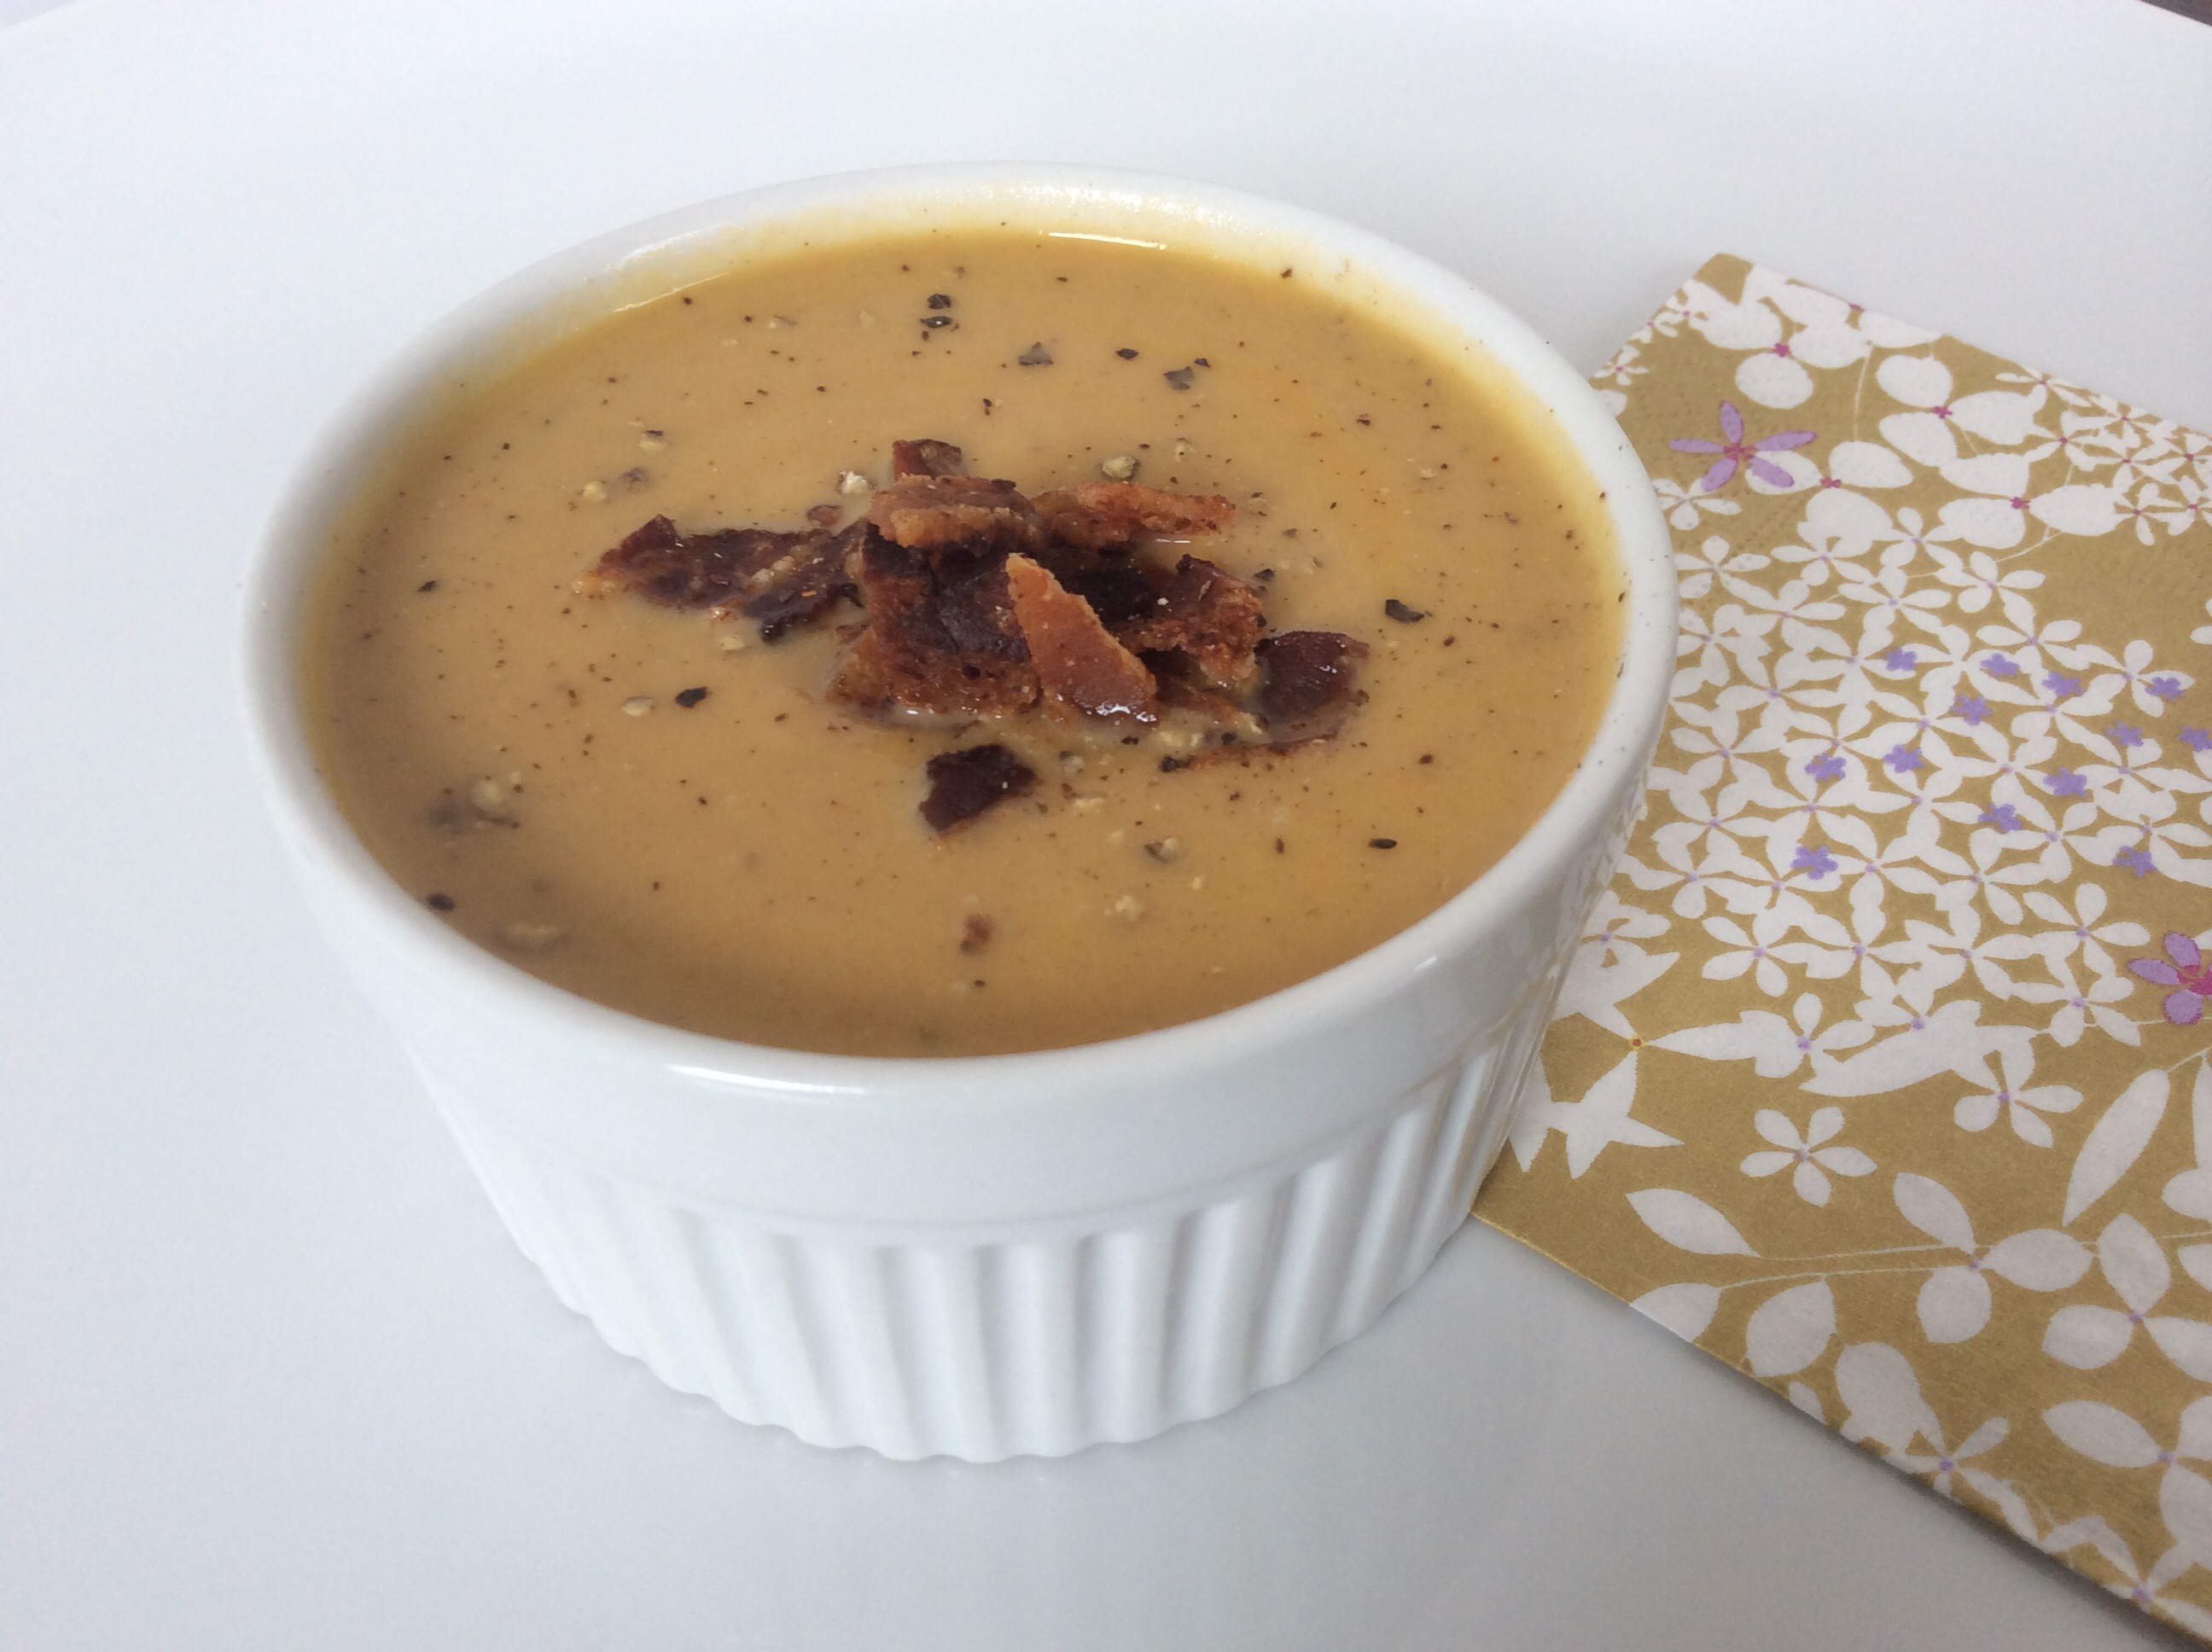
It’s simply a one-pot process after that. Start with browning the leeks, add the chopped ingredients, a little broth, a little water, boil and simmer. Then puree, add a bit of cream, salt & pepper and garnishes.

Creamy Parsnip Soup
Serves 4, prep time 20min, cook time 45min

2T unsalted butter
1 lb (2 cups) prepared sliced leeks
1 lb parsnips, trimmed, peeled, cut into 1-inch pieces
2 apples, peeled, cored, cut into 1-inch pieces
1 medium baking potato (about 1/2lb), peeled, cut into 1-inch pieces
1 can (14.5oz) reduced sodium chicken broth
3T heavy cream

K’s added garnishes:
1/2c chopped apple
1/3c chopped pecans
fresh nutmeg

A quick note about broth: I often use Better Than Boullion Chicken Base for any recipe calling for broth; it’s has a great chicken broth-y flavor and because it’s a paste you mix with water, you can adjust potency for a recipe, like this one, which calls for reduced sodium.

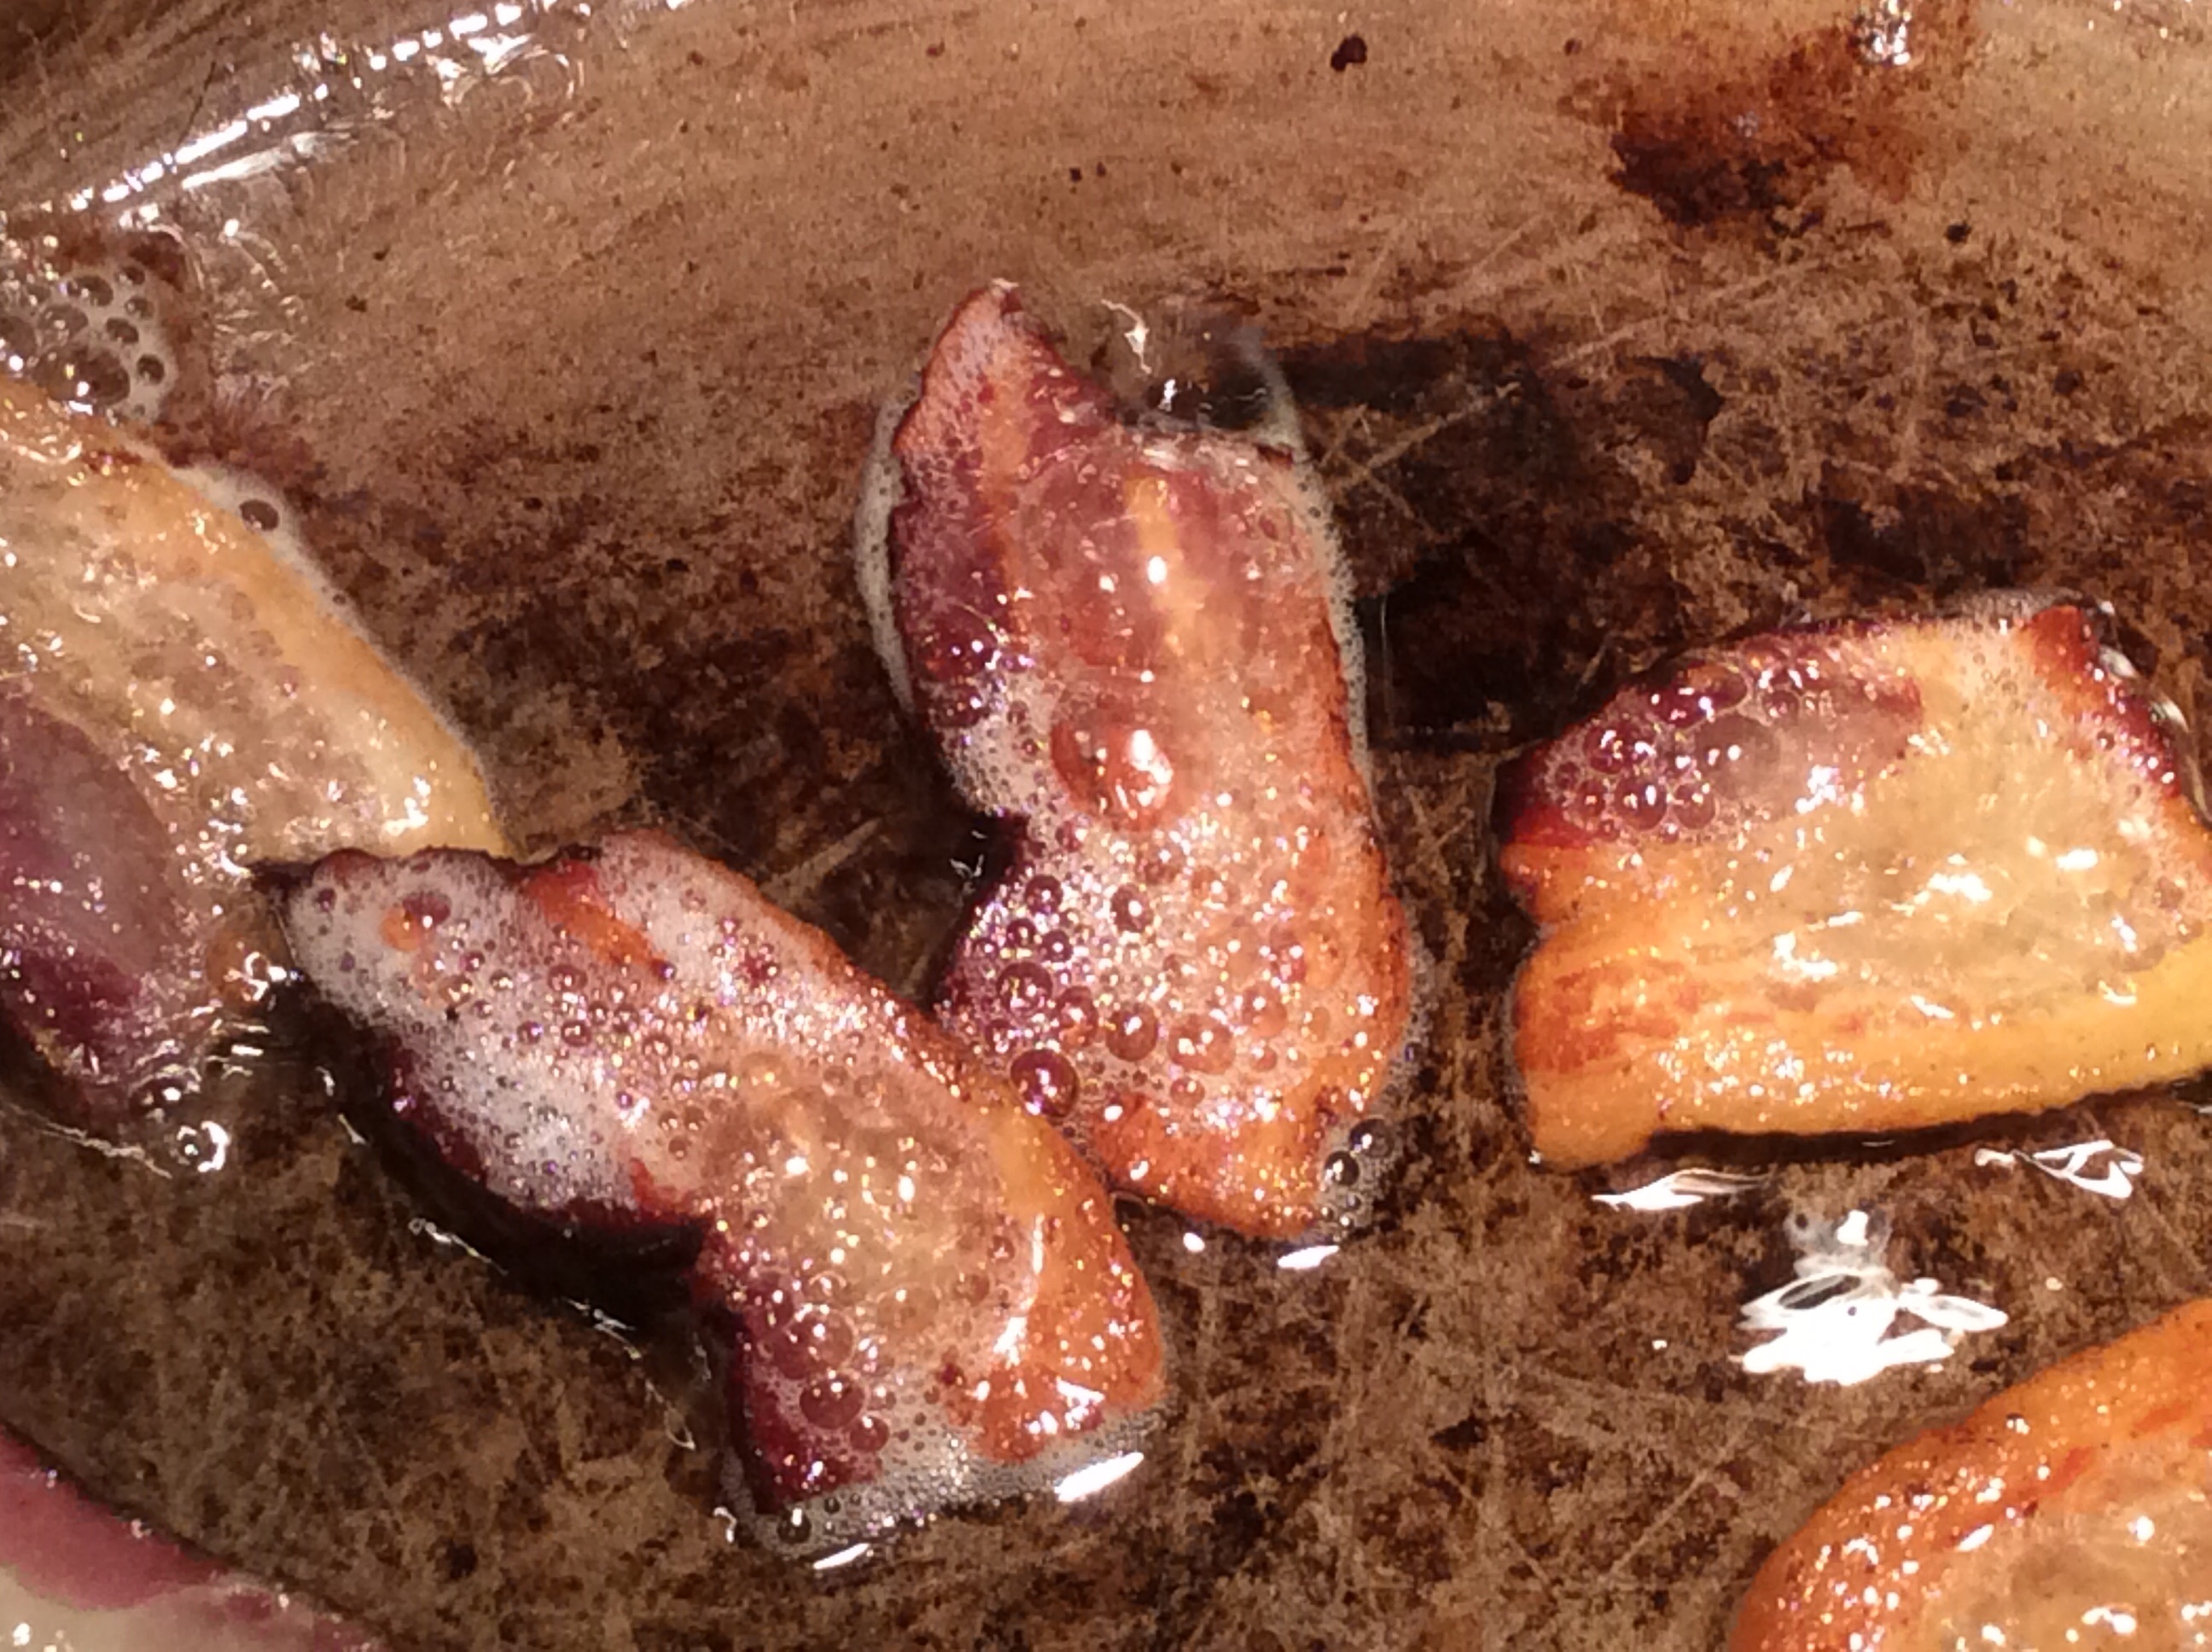
1) Heat the butter in a large pot over medium heat. Add the leeks (reserving 1/2c for garnish). Cook, stirring for five minutes.

2) Add the parsnips, apples, potato, broth and 4 cups water. Bring to a boil; reduce heat and simmer, partially covered, until the vegetables are tender, 20-25 minutes.

3) Working in batches (or with a handheld immersion blender), puree the soup until smooth. Stir in the cream. Taste for salt & pepper, and season accordingly. Top with your preferred garnishes.

4) Garnish: Make just before serving: In a large skillet, heat 1T butter over medium-high heat. Add the leeks, cook, stirring, until golden brown, about 3 minutes. Lower heat to medium, add apple and pecans, stir together, cook for 2 or 3 minutes (goal here is a quick warming and mixing of ingredients – be careful not to overcook). Sprinkle salt and a bit of pepper, and generous grate of fresh nutmeg.

image

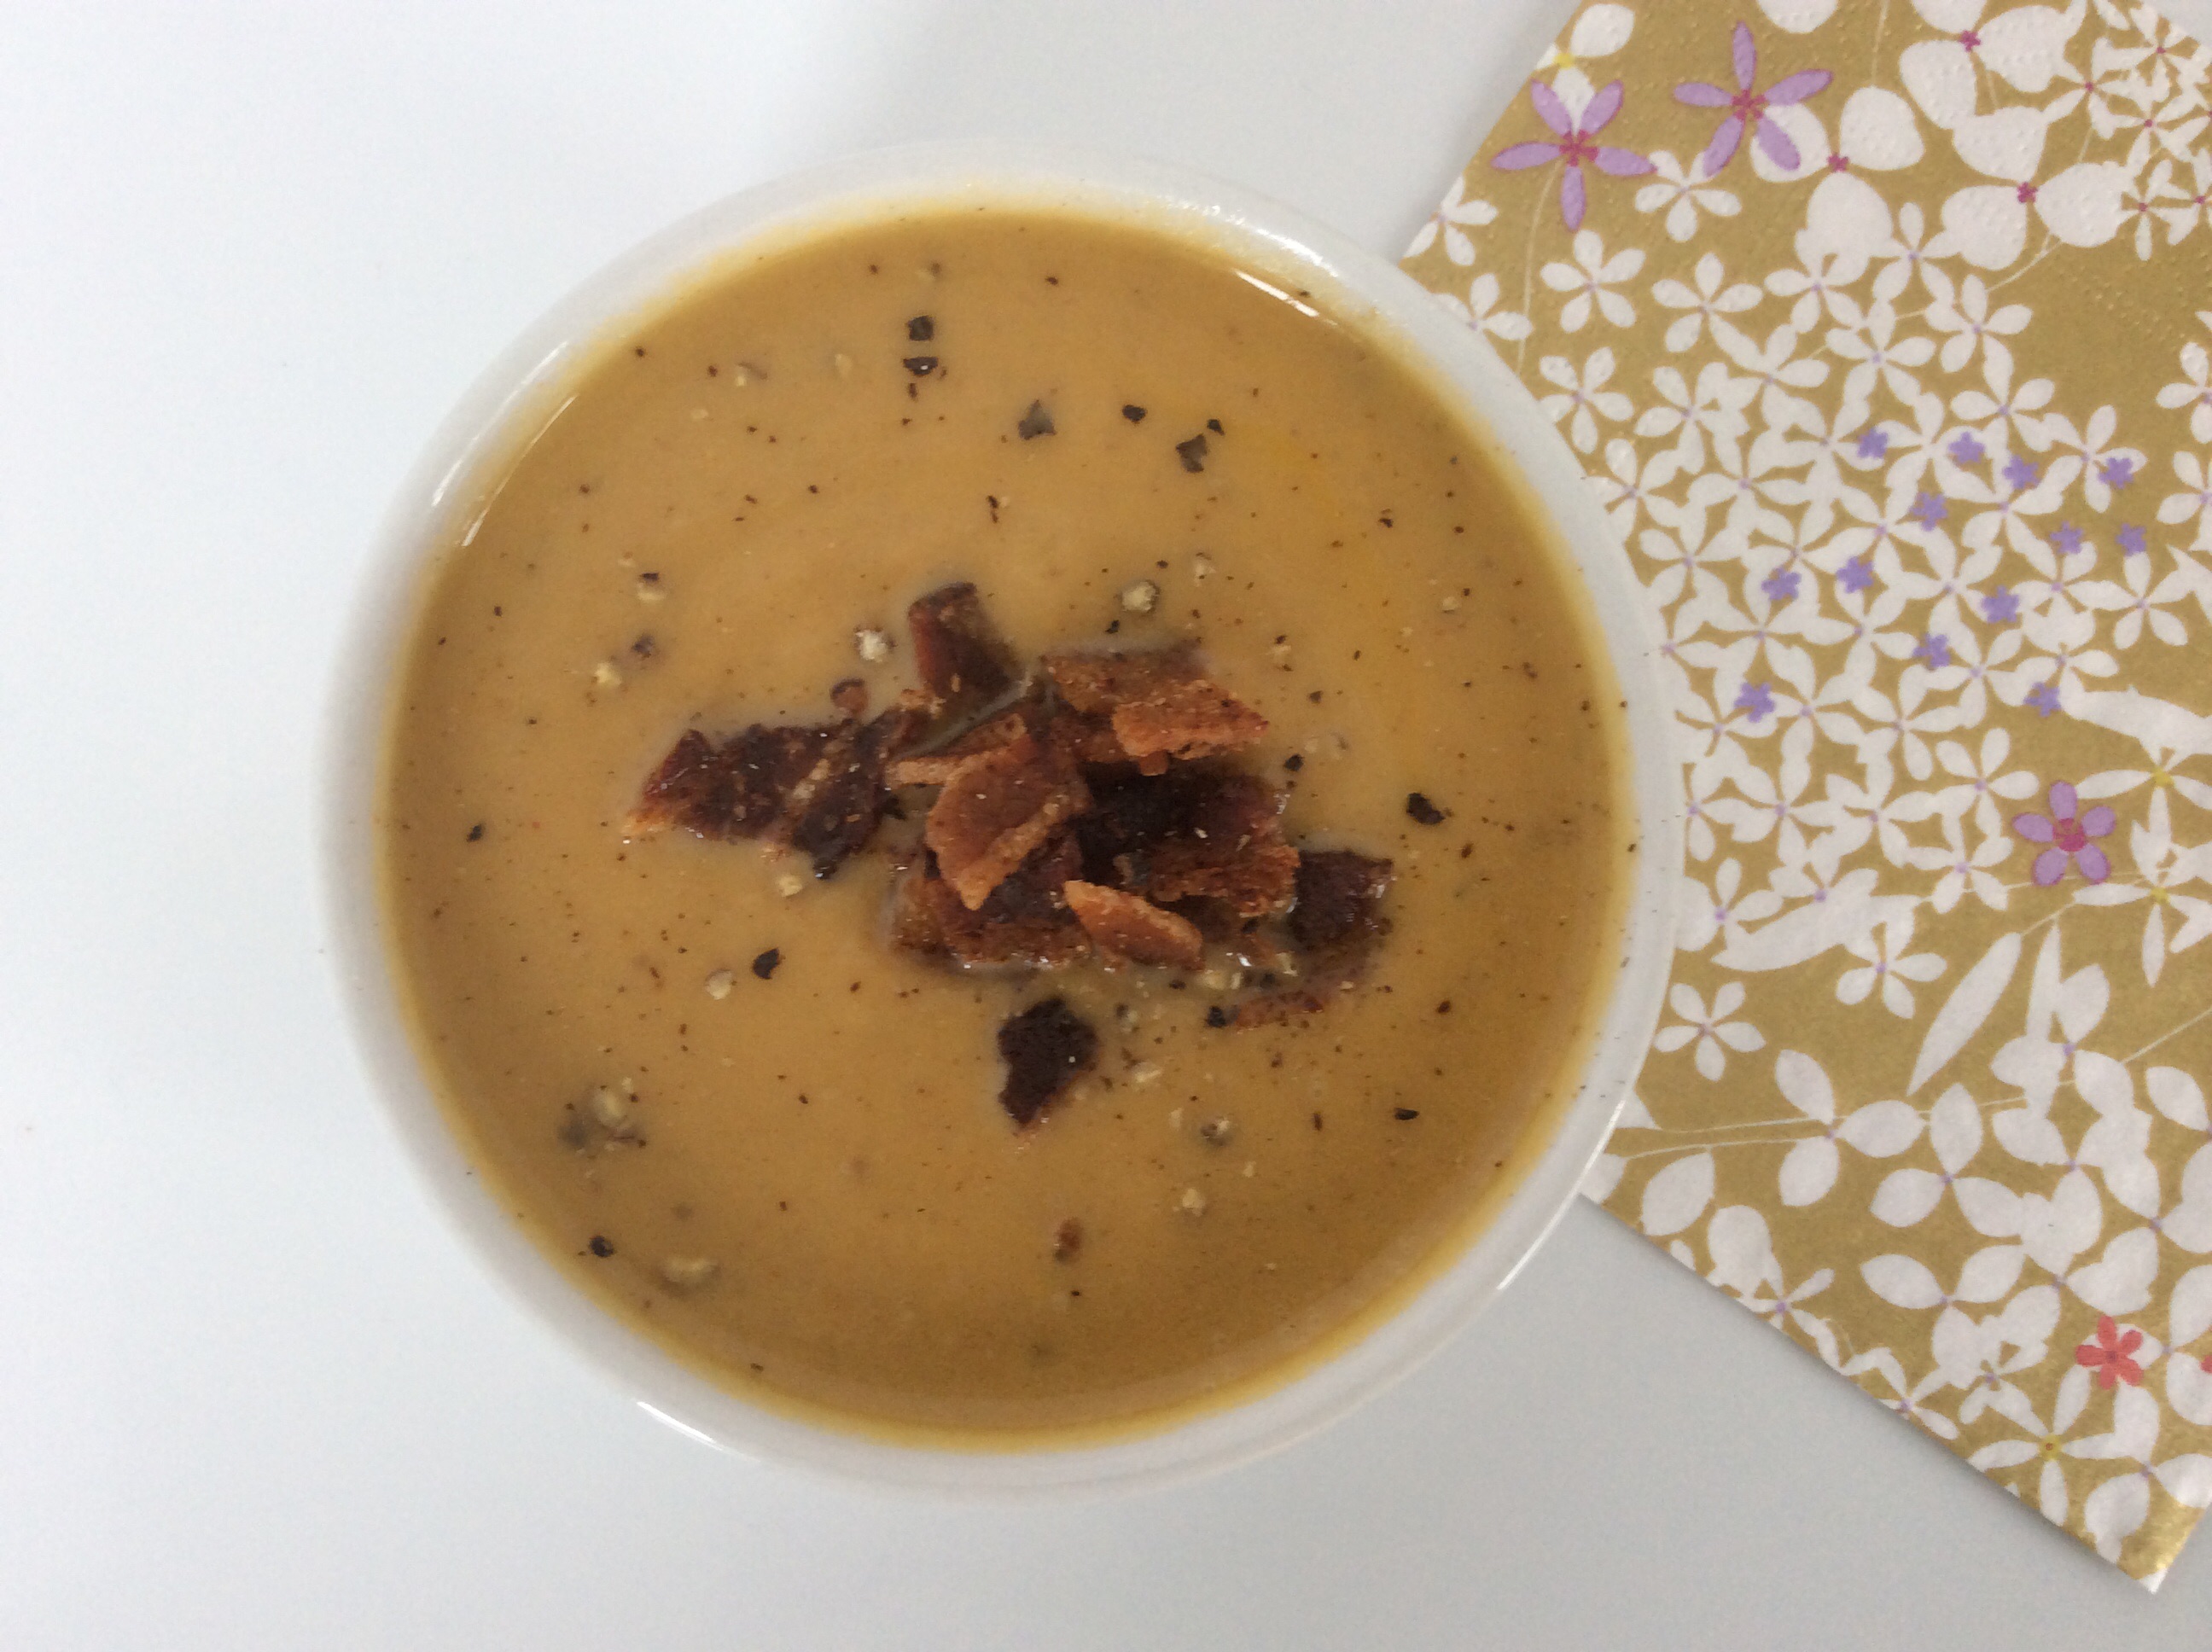
The end product will be a hearty and comforting soup with sweet apple, crunchy pecans, crispy leeks and fragrant nutmeg. Enjoy!

Pain d’Epices – Honey & Spice Cake

image

This ‘cake’ is a marvel of baking chemistry. Pain d’Epices (which translates to ‘spice bread’) has a roughly 450 year old rich history in France, resulting in countless variations. Dorie Greenspan’s latest book ‘Baking Chez Moi’ has a version that suddenly moved me to action. Think of a teacake or loaf cake, and historically, one that relies primarily on only honey for sweetness, a varying list of spices and no eggs. Even more interesting, Master Greenspan instructed to wrap the cake well and leave on the counter for a few days to ‘ripen’, as this cake is best aged. I was intrigued. When her opening ingredients included orange, peppercorns, fresh ginger and lavender to steep together to be added to the dough, it was officially time for me to make my first one.

image

After steeping these ingredients in water, you strain them and, to this uber-fragrant infusion, stir in melted butter and honey. In a different bowl, you grate citrus zest over the sugar and rub them together and this is added to the flour and baking powder. You then mix wet and dry ingredients, finally stirring in dried cherries and placing into loaf pan. But the real magic is the ‘ripening’. The cake is perfectly acceptable soon out of the oven as a tea cake for dunking, but after two days, the flavors are layered, you taste the honey, then the lavender, then the ginger, and by five days after, suddenly the texture too has changed, shifting from a crumbly cake for dunking to a soft, doughy bread with great flavor depth. I love the concept of a cake being at its best days after the baking itself, and I wish I had another slice right now. Bundle up everyone (cakes included).

Homemade Granola, Yogurt & Pomegranate Seeds

image

Homemade granola is just about perfect. You can make one or two baking sheets of it and it will sit patiently, and quite beautifully, in a jar on your counter for at least two weeks – but it will never stick around that long. It’s crunchy and sweet and buttery, and you’ll suddenly want to sprinkle it on everything. My favorite mid morning snack / lunch / after dinner dessert / late night snack is this granola recipe from ‘Nuts in the Kitchen’ by Susan Herrmann Loomis, stirred into plain yogurt. Recipe further below.

image

image

If you keep a container of plain yogurt in your refrigerator, then you can mix it up whenever you need an energy boost. When I noticed this week that fresh pomegranates had arrived at the store, I scooped one up for the seeds, and their texture and tangy juice are a great addition. Incidentally, the trick to removing pomegranate seeds from the pulp & peel is simple: have a large bowl and wooden spoon handy, slice the whole fruit in half, invert the open half down into your upward facing palm, and with your hand & fruit over the bowl, beat the living daylights on the outside of the pomegranate with the wooden spoon. The seeds will loosen and fall through your fingers into the bowl catching the juices as well.

Crunchy Granola
from Nuts in the Kitchen, by Susan Herrmann Loomis
Yield 6 cups (two full baking sheets worth)
* Very easy to halve this recipe

I suggest a few alterations, as noted.

Ingredients:
1 cup (16T) unsalted butter
1/4 cup mild honey
1/4 cup dark brown sugar
1/4 teaspoon sea salt
1 teaspoon vanilla
4 cups rolled oats (or flakes made from other grains *not rice flakes)
1 cup unsweetened coconut ** K: do make the effort to find unsweetened, it’s more coconut-ty
1/4 cup sunflower seeds
1/3 cup sesame seeds ** K: make sure they are fresh and if you can find black sesame seeds, it’s nice variation to mix
1/3 cup raw almonds ** K: chop these a bit, and consider walnuts which are excellent (and a bit softer)

Directions:
1) Preheat oven to 350F. Line two baking sheets with parchment paper, aluminum foil or silpat.

2) Place butter in a medium saucepan over medium heat. When it has melted enough to cover the bottom of the pan, add the honey and brown sugar and whisk occasionally as the butter melts. When it is fully melted, gently whisk in salt and vanilla. Remove from the heat.

3) Place the grains, coconut, seeds and nuts in a large bowl. Pour the sauce – it may still be very hot, which is fine – over the mixture. Toss until all the ingredients are thoroughly combined, then turn out the granola onto two baking sheets. Spread it out into an even layer and bake in the center of the oven, stirring occasionally, until the granola is golden, 20-25min. ** K: Check after 10 minutes and stir a bit – you will know when it’s ready by its golden color.

4) Remove from heat and let cool, then break up the clumps and transfer to airtight containers and store in a cool spot. The granola will keep well for about one month.

image

Honey Wheat Cookies

image

Happy Autumn! These little ‘cookies’ are more like little cakes, thanks to their chewy texture. The recipe calls for good honey, lemon zest, and wheat germ which is a handy pantry item (good to add to chocolate shakes) and even handier when needed for a cookie recipe. Thank you to the wonderful Dorie Greenspan and her book “Baking, From my home to yours”, p. 81.

image

A quick dough, refrigerated briefly, then scooped into balls and rolled in a final dusting of wheat germ.

image

image

Bake at 350F, andΒ you will have the perfect afternoon (and morning and evening) cookie. They are wonderfully surprising because of the layers of flavor: first the lemon, then the honey, the perfect saltiness, and before you know it, you will need to mix another batch of batter.

Here’s to blustery Saturday mornings, an cup of your favorite coffee or tea, and a big plate of these cookies.

Marinated Mushrooms with walnut and tahini yogurt

image

Here is a perfect summer mushroom plate. It is light & healthy and travels very well for lunch al fresco. It starts with a tangy marinade of olive oil, white wine vinegar, maple syrup and lemons whisked and poured over a mix of button mushrooms and beech (or shimeji) mushrooms. I love the use of white button mushrooms here, since their simplicity is often over looked. Whip up a tahini yogurt with greek yogurt, tahini paste, and garlic and set it aside. Finally, give a quick boil to some bright fava beans (skin them if you like afterwards, which I do), chop some walnuts, fresh dill and fresh oregano and it’s simply assembly time. Add the beans, walnuts & cumin to the mushrooms, stir well, check for seasonings. Then add a dollop of tahini yogurt and sprinkle with fresh herbs. A welcome addition to summer picnics or a park bench lunch.

image

image

Marinated Mushrooms with walnut and tahini yogurt

Plenty p. 58, by Yotam Ottolenghi

http://www.theguardian.com/lifeandstyle/2009/apr/11/yotam-ottolenghi-new-vegetarian

Homemade Sunflower Butter

Homemade Sunflower Butter

Nut & seed butters! Delicious, good for you, so easy to make you won’t believe it, and economical. If you have a food processor, you can literally whirr up a batch in less than 25 minutes, from start to finish. I swapped in sunflower seeds to make creamy sunflower butter, and you can save a few bucks to make your own rather than buy: roughly $6/lb store bought vs. $4/lb homemade. The seeds/nuts will go through many stages during the puree process, but stay with it! The end result will be as you expect…

image

image

image

image

image

image

image

This recipe is from Susan Hermann Loomis, who has a terrific cookbook called “Nuts in the Kitchen”, and I have adapted where noted below.

Ingredients:
2 cups sunflower seeds or raw nuts
sea salt to taste

1. Preheat oven to 350F

2. Place nuts/seeds in a baking pan and bake in the oven until they are golden and smell toasty, 7-9 minutes. Remove from the oven and transfer nuts directly to a food processor. Process the nuts/seeds until they turn to butter, which will take approximately 15 minutes. The nuts will go through several stages before they begin to turn to a puree and become oily. First they will be coarsely chopped, then more finely chopped, then minced, then they will take on a rough, dusty aspect. At this point you may think you need to add oil – don’t! Let the processor continue to run. The nuts will become finer and begin to turn oily. Don’t turn off the food processor until you have a fine puree, a beautiful nut butter.

Kristan’s note: I did indeed stop a few times only to scrape down the sides with a spatula.
Kristan’s note: I also added a tablespoon or so of honey for sweetness. Add, or do not, as you wish.

3. Transfer the nut butter to a container. Don’t seal the container until the nut butter has completely cooled. Stored in an airtight glass jar, in the refrigerator, it will keep for about two weeks.

Just in time for summer hikes!

Homemade Peppermint Patties

Homemade Peppermint Patties

How much fun is it to discover you can make – in your very own kitchen – your favorite treat in the world, say peppermint patties? That’s exactly what happened, and you won’t believe how simple it is. In a small bowl, mix corn syrup, water and mint extract, then slowly begin adding the powdered sugar.

image
image

Knead dough gently and it will come together.

image

No rolling pin needed! Just stretch the dough out to desired thickness, and let dry for an hour or so. Even with plenty of powdered sugar on the silpat, the dough wants to stick, so be sure to just rotate and flip every 10minutes or so.

image

Cut out your shapes and place on parchment paper. Melt chocolate (I like extra-dark or bittersweet) in a bowl over a pan of simmering water, and quickly dip each mint into the melted chocolate; then place on the parchment. Try very hard not to eat them all right on the spot. Cool on counter, chill in freezer, devour. Delicious!

Recipe from David Lebovitz, The Perfect Scoop p. 206

2 cups confectioner’s sugar

3 Tablespoons light corn syrup

2 teaspoons water

1/8 teaspoon peppermint extract or oil

6 ounces bittersweet or semisweet chocolate, chopped

1. Line baking sheet with plastic wrap or parchment paper and dust with about 1T of confectioner’s sugar

2. In a bowl, mix the corn syrup, water, and mint extract. Gradually stir in the remaining confectioner’s sugar. As the mixture thickens, knead it with your hands until it forms a smooth ball (it will seem dry at first, but it will come together).

3. Pat the dough out onto the sugar-dusted baking sheet about 1/3″ (1cm) thick and let it dry, uncovered, for at least 8 hours or overnight (Kristan: I couldn’t wait 8 hours! Allowing one hour drying with regular rotation of dough worked fine).

4. Melt the chocolate in a clean, dry bowl set over simmering water, stirring until smooth. Remove from heat. Line a dinner plate or baking sheet with plastic wrap or parchment paper. Cut the mint disks into six triangular wedges (Kristan: or preferred shape), brush off any excess powdered sugar. Using two forks, dip each piece in the chocolate, coating both sides, then transfer to the plastic lined plate.

5. Chill in the refrigerator or freezer until the chocolate has firmed up, then chop into bite sized pieces.

Thank you Mr Lebovitz!